Formal Elements within Abstraction photography!
photographer research that use the idea of Abstraction in there own work:
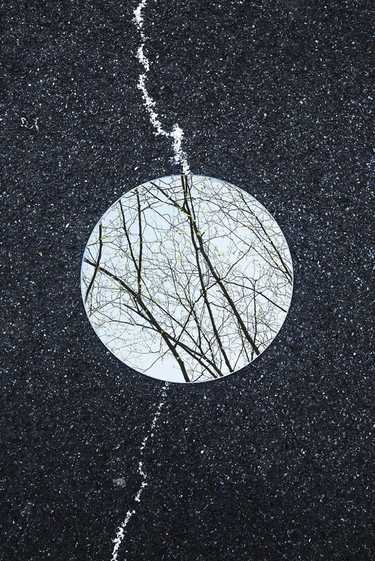
Sebastian Megnani:
|
ABOUT THE PHOTOGRAPHERS WORK:
The photographer called Sebastian Magnani has been working on a photo project called "reflections". the idea behind the work he's that me don't take a image of his directly but reflections them from a round mirror. to help make the images look more out of place and to give the images within the photo shoot more abstraction. 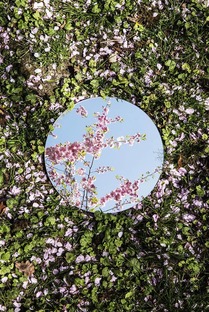
|
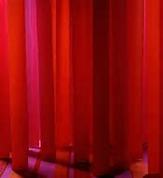
Nick Albertson:
key formal elements shown in his work:Focus: the images are very focus due to how close up and zoomed in the photos are to the objects and if they didn't have a good focus they would not be very good or clean.
Light: the lighting in the images are soft box lighting was not taken in nature light due to what is in the images. Line: there are lines in the images where the objects are over lapping one and other. Repetition: the repetition in the image is of the images and the pattern of the objects in line in some of the images. Shape: there is lots of different shapes within the images due to the types of objects. pace:there is little free space in this photo due to how close the objects in the photo are placed together, this is because this is what aloud the objects to be hinder to see what they are and to make more of the small objects to fill the space. Texture: due to how close up it is to the objects you are able to see in my detail the textures of the different objects within the photos 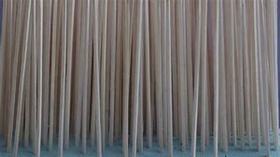
|
ABOUT THE PHOTOGRAPHERS WORK:
Nicks works within photography and video and looks and very clos-up photos of everyday objects but shows them in cool different ways to what you would see if you was just looking at it in your everyday life. making them look like a different object, he does this as he wants people to stop and look at something in a different way that you would not know see it to make you thing about the objects more that you use in everyday life. 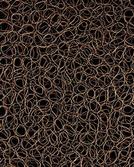

|
Ernst Haas:
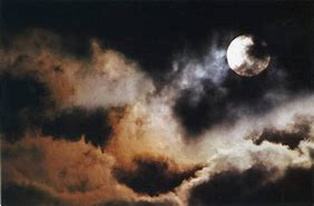
Key formal element shown in his work:
Focus: the focus in the images is not very clear as the images have lots of different objects within them.
Light: the lighting of the images is very nature as they are almost taken out side of everyday scenes of life. Line: the only lines in the photo are the nature lines of the builds. and how the photographer mostly use the idea of the rule of three is used. Repetition: there is some time shown in the work from the lighting. Shape: there are the shapes of the builds in the landscape. Space: there is a a lot of space in the photo due to the image mostly being landscape. Texture: Value/Tone: |
ABOUT THE PHOTOGRAPHERS WORK:
Ernst was a photojournalist and a pioneering colour photographer he liked use he's work to show a medium for expression and creativity. he was also a early innovator in colour photography. his work was in magazines like for example "life and vogue" in the 1962. 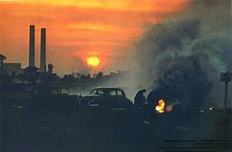

|
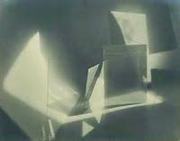
Jaromir Funke:
|
ABOUT THE PHOTOGRAPHERS WORK:
This photographer was a leading figure in Czech photography during the 1920s and 1930s. he like making his photos different and like the use of shadows in his own work. he taken most of his photos very close to home. and didn't travel to take them. 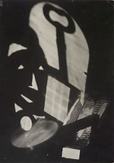
|
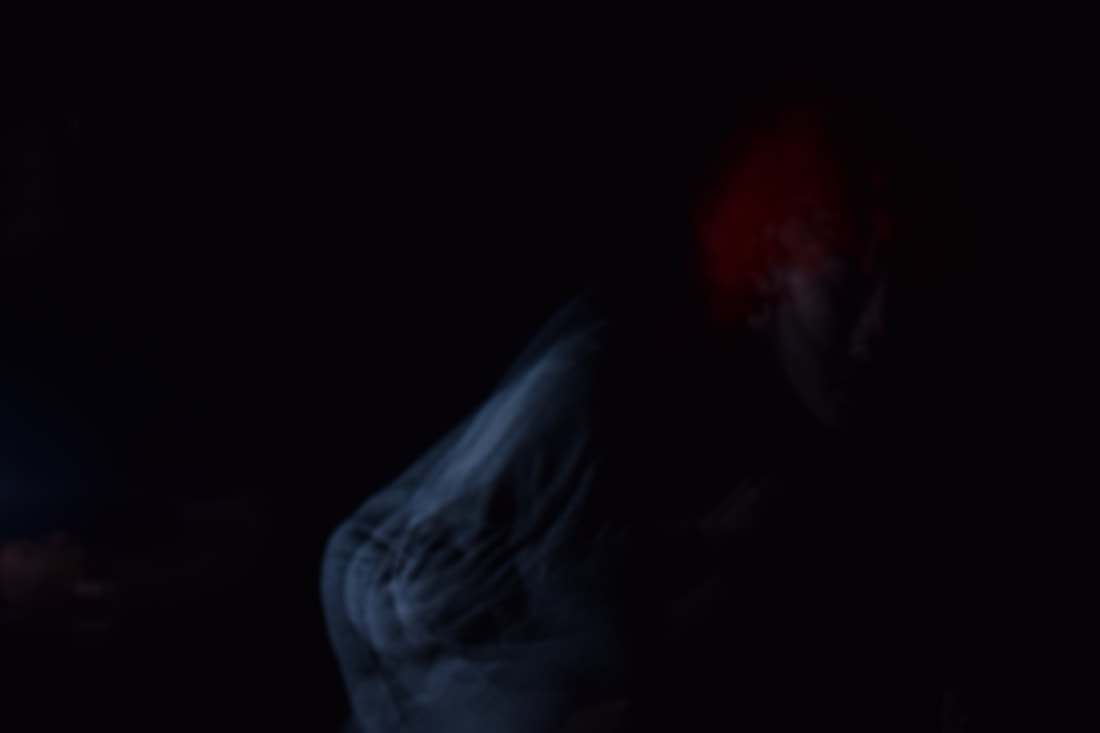
Flash Photography
|
Before this photo shoot I looked at a photographer called Harold Edgerton which I went at look that there work so that I know what the type of photography was about here is a example of his work and a bit about hem:
Invented the electronic flash- which allowed him to capture things the human eyes cannot see and was able to show movement in a new way within one image.
My own photos for the idea of the photographers work:
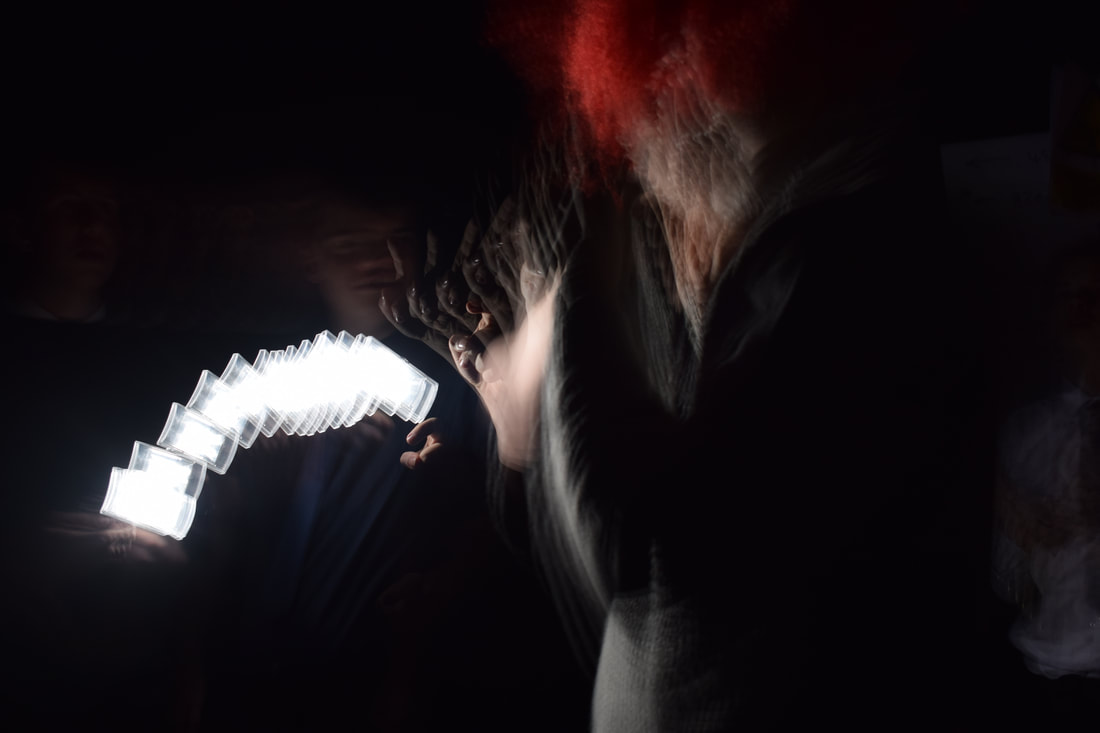
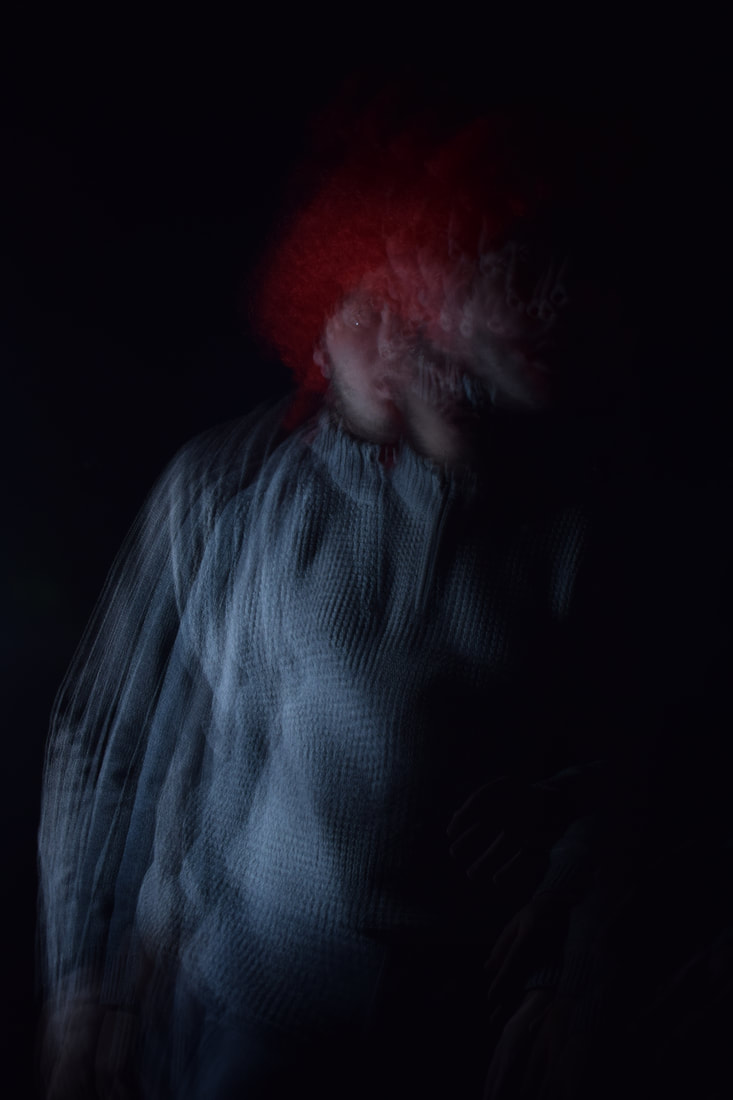
WWW: I think this photo shoot went really well as I got my head a round how to use the flash well and what where the best Crimea settings to do a photo shoot like this so if I was to do one again I would know what I am doing.
EBI: this photo shoot did go a bit bad as I found it hard at first to get the settings right and I used most of my shoot time working out how to do my settings to get the best image but in the end I'm happy that I think I got it. if I was to do this photo shoot again I would get my model to do more moving and I would change the flash speed more to see what it would do to my photos. 
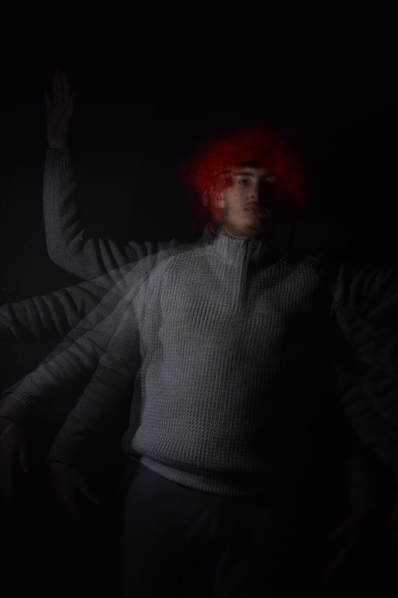
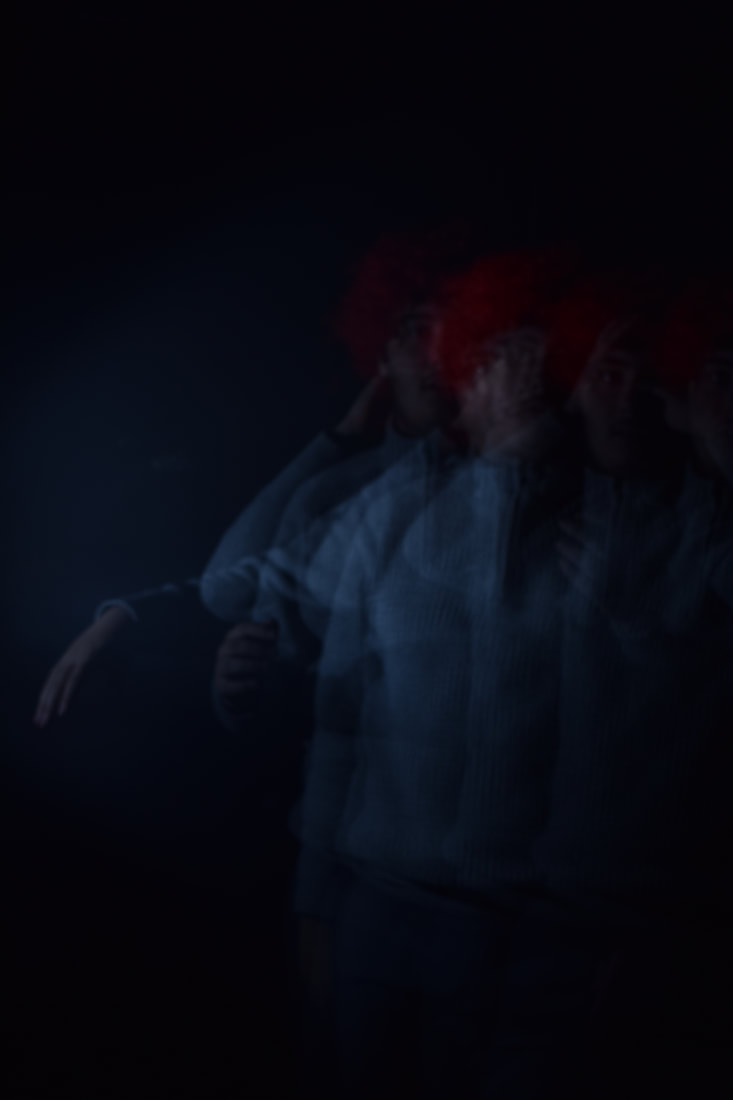
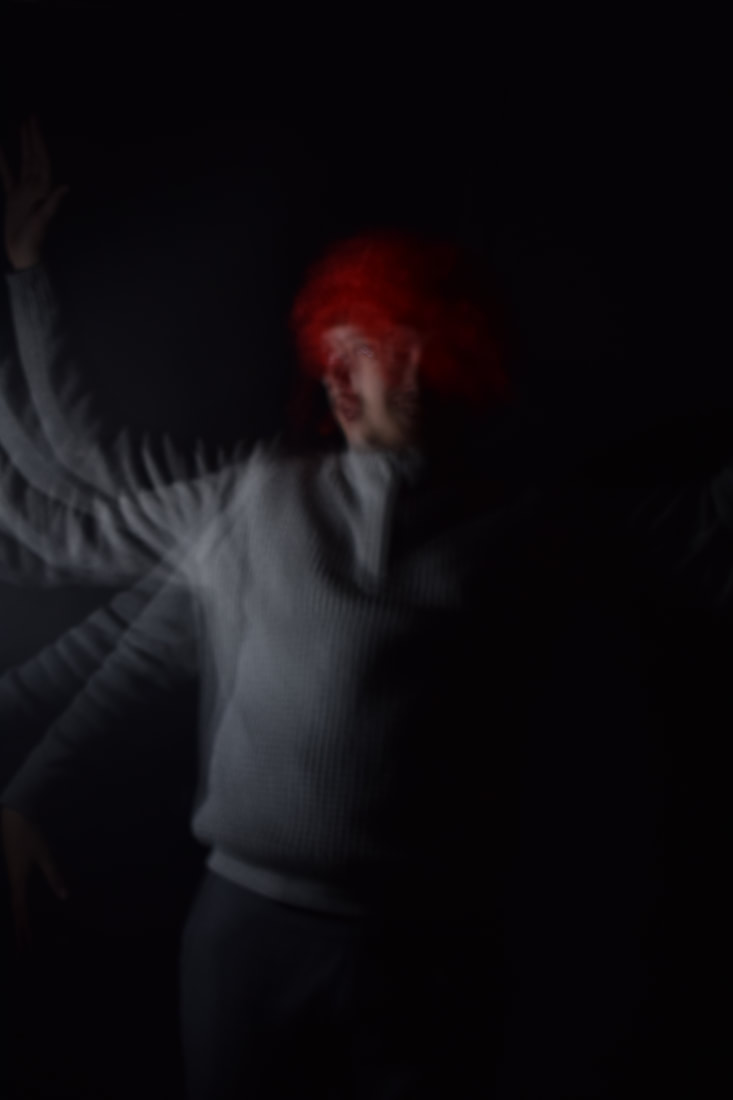
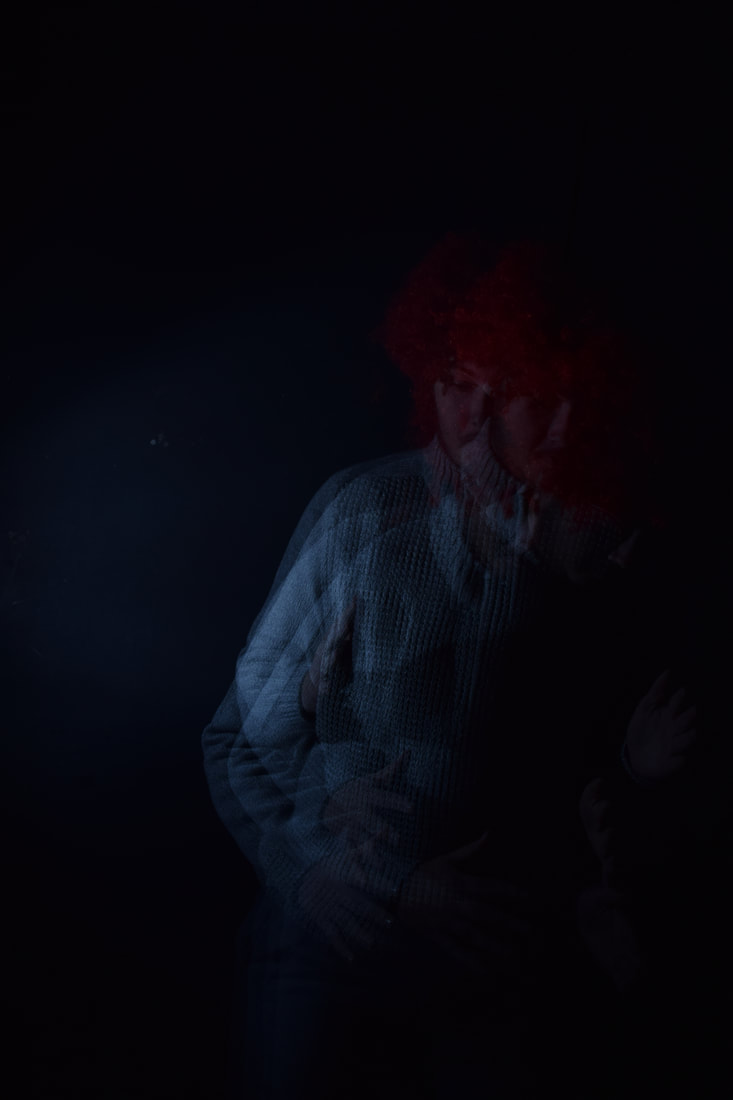
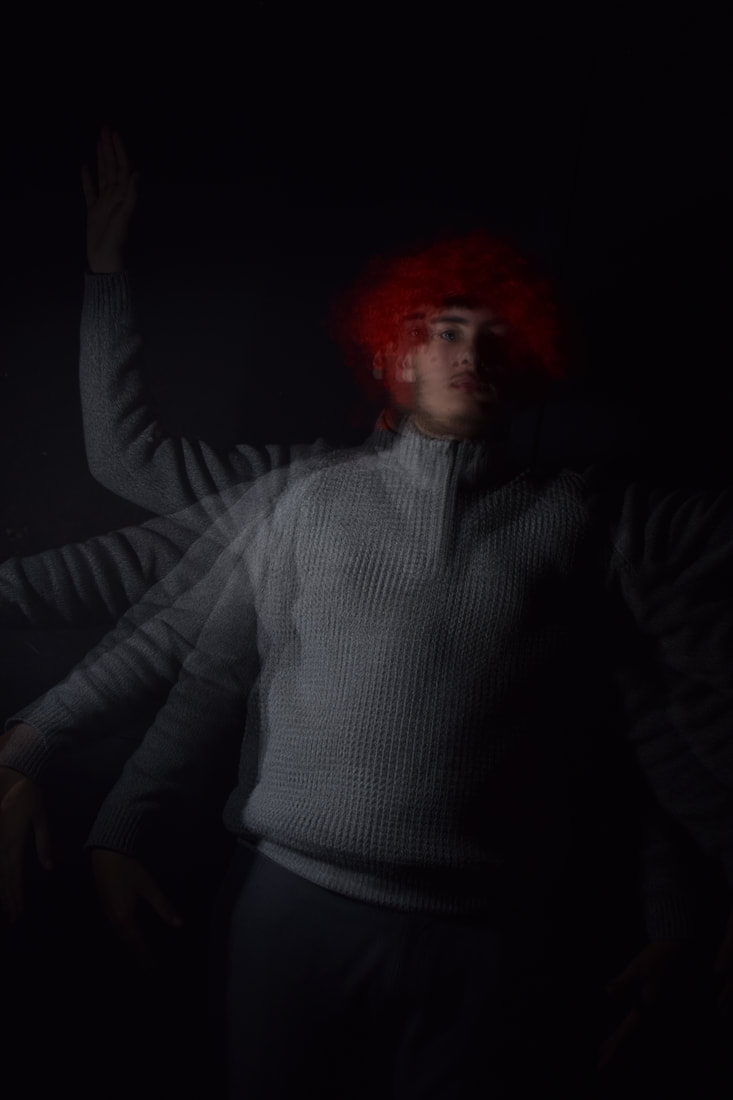
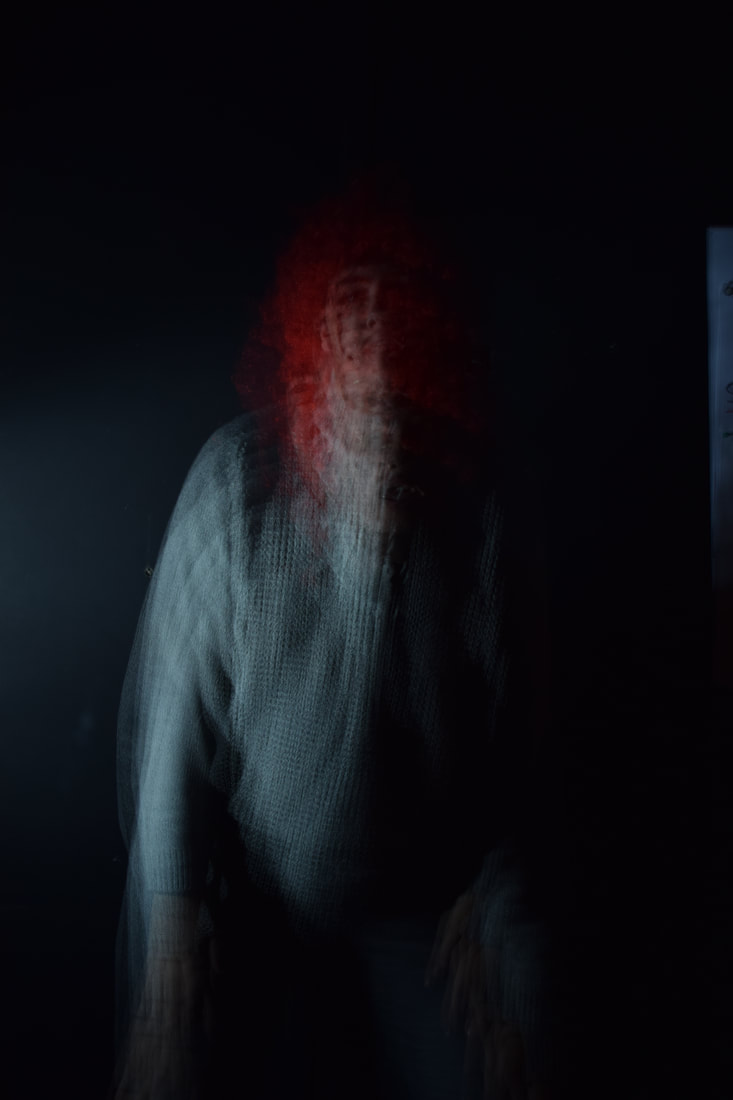
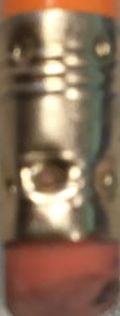
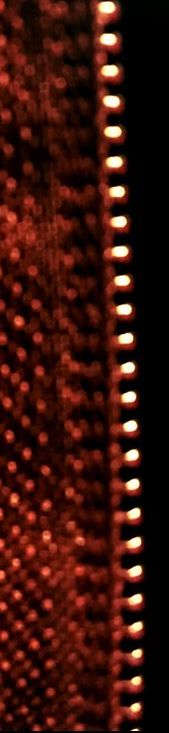
In this image I got my model to move he's arms up and down and his head side to side this time the flash was really slow and this is how the image came out in the end after moving he closer to me and the flash light. with was placed to the side of hem.
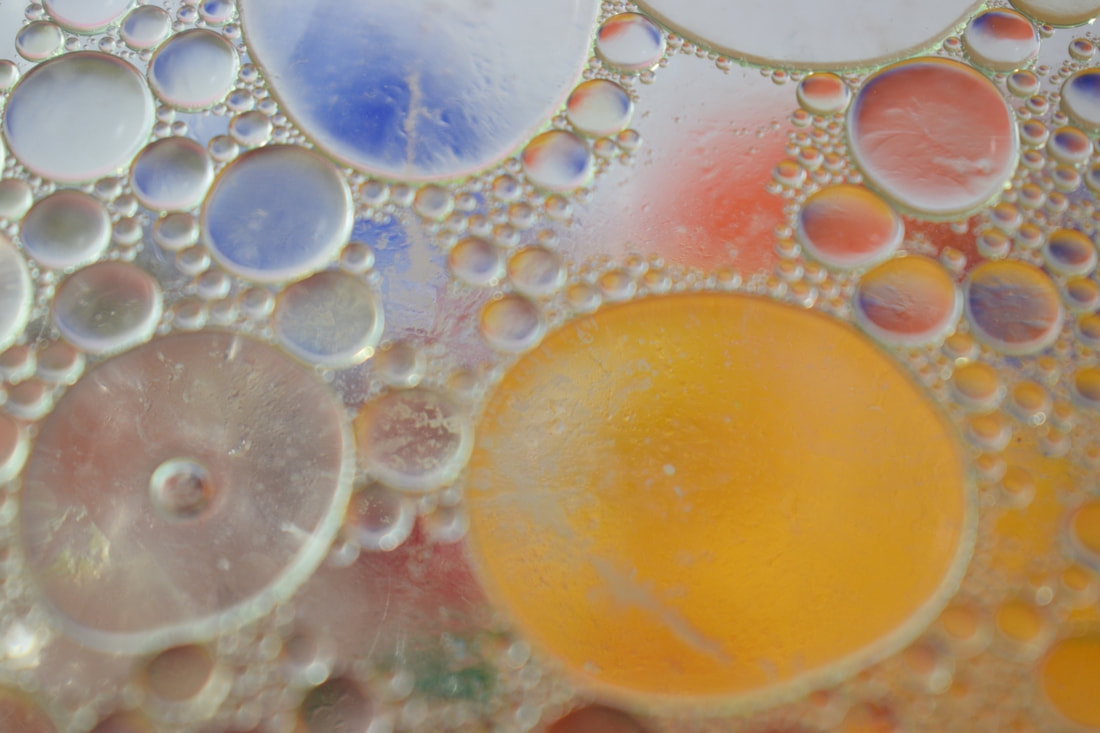
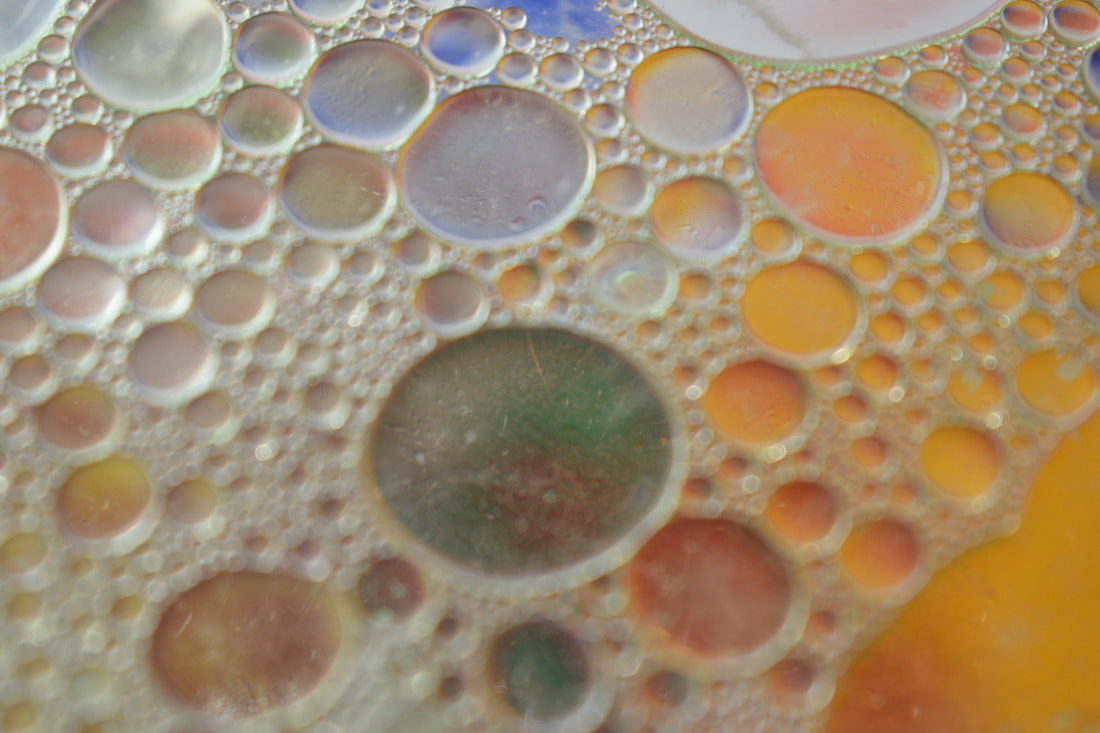
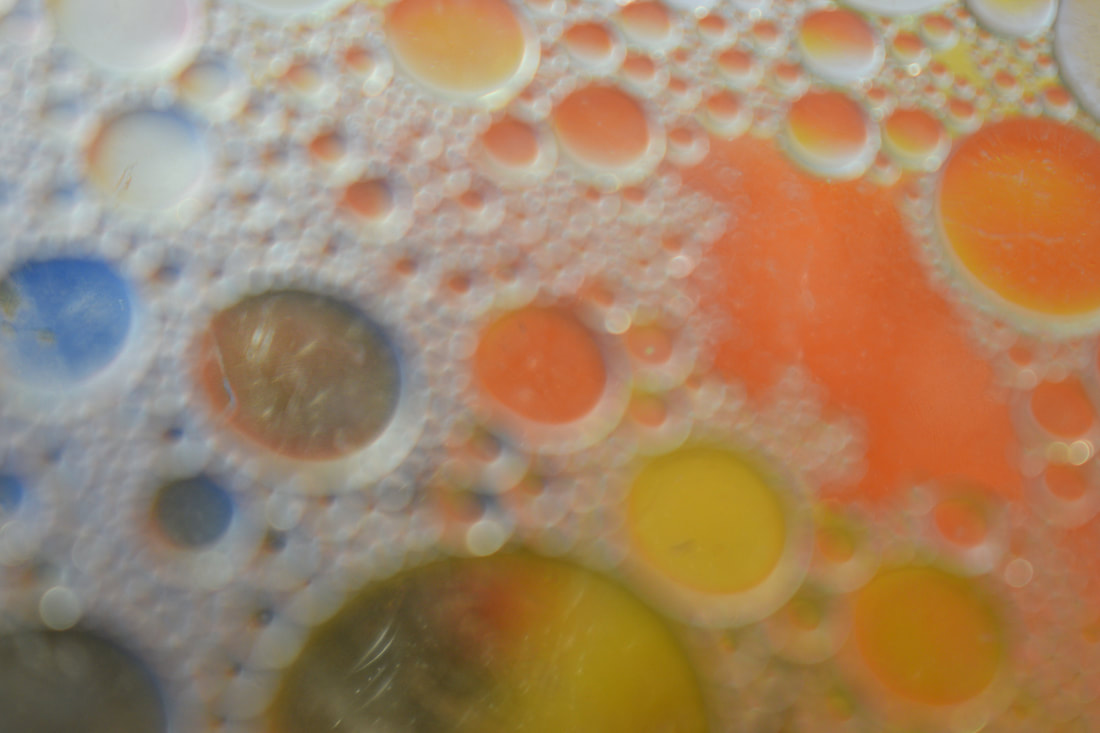
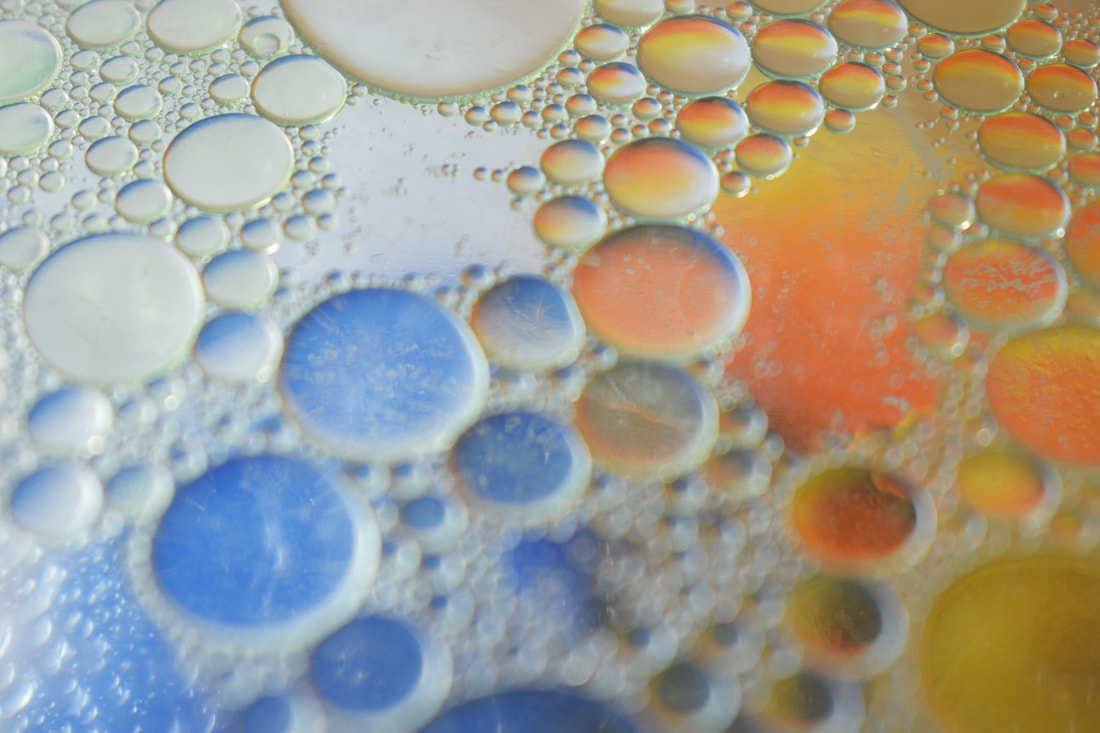
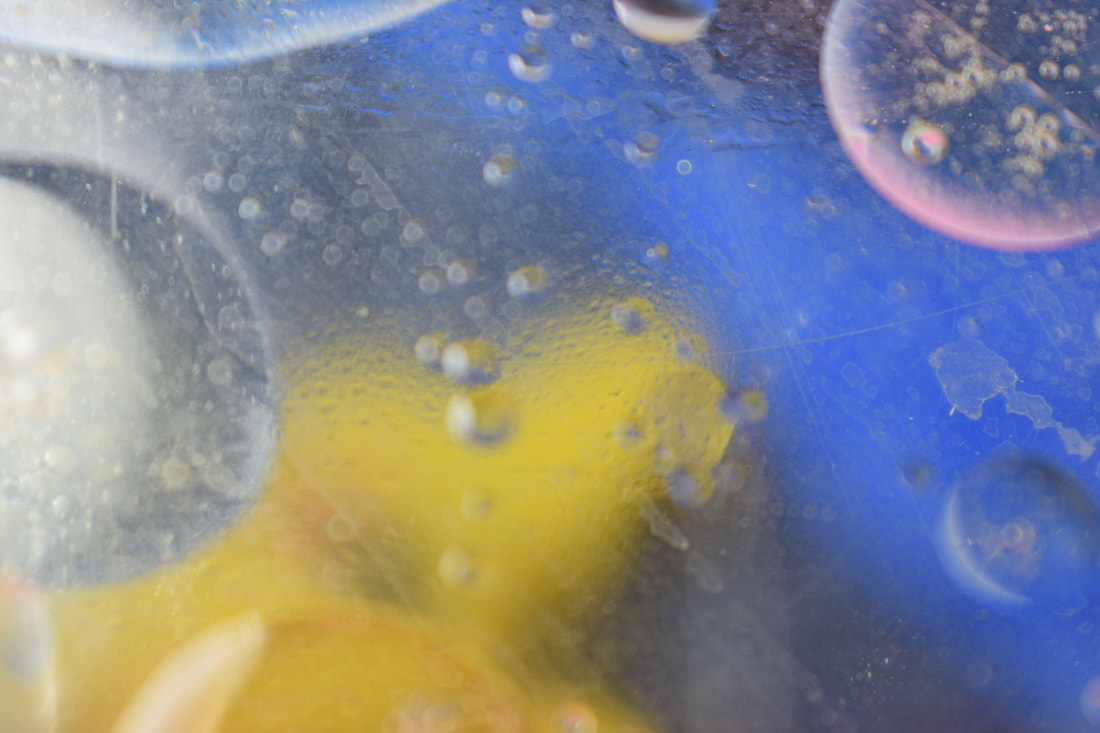
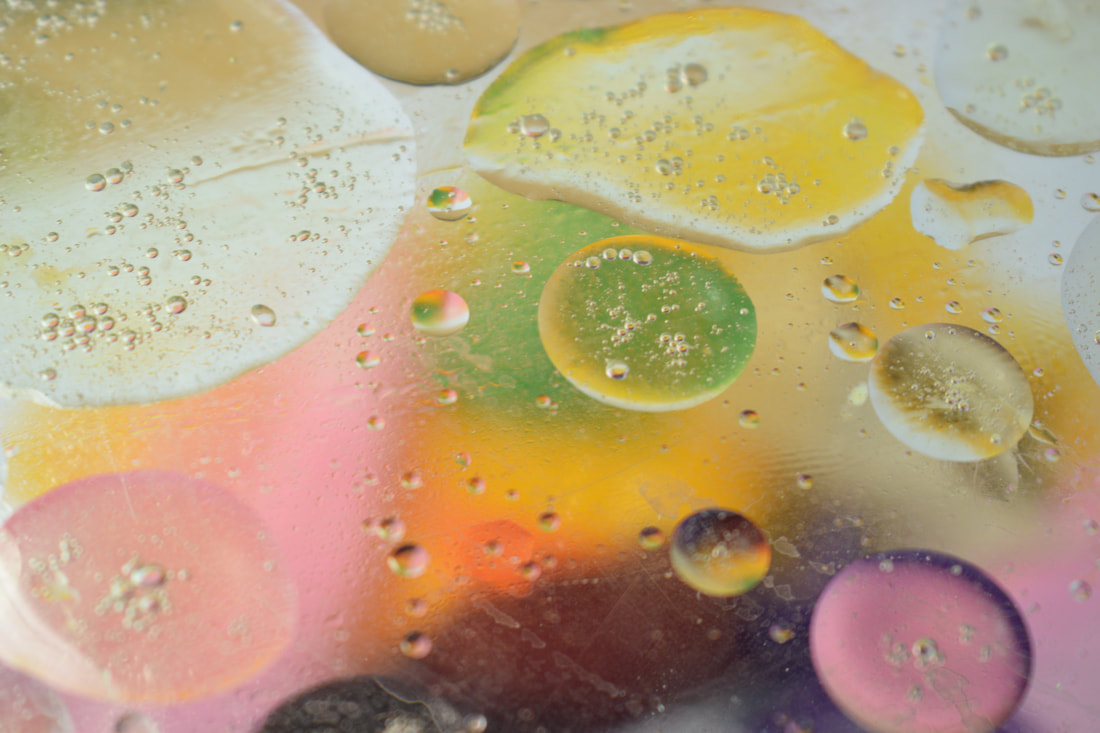
Oil and washing up liquid and water photography set up:
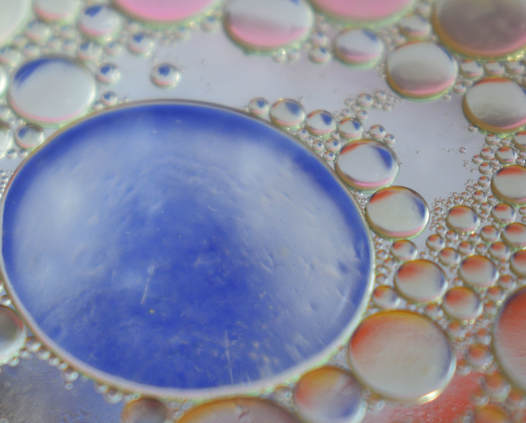
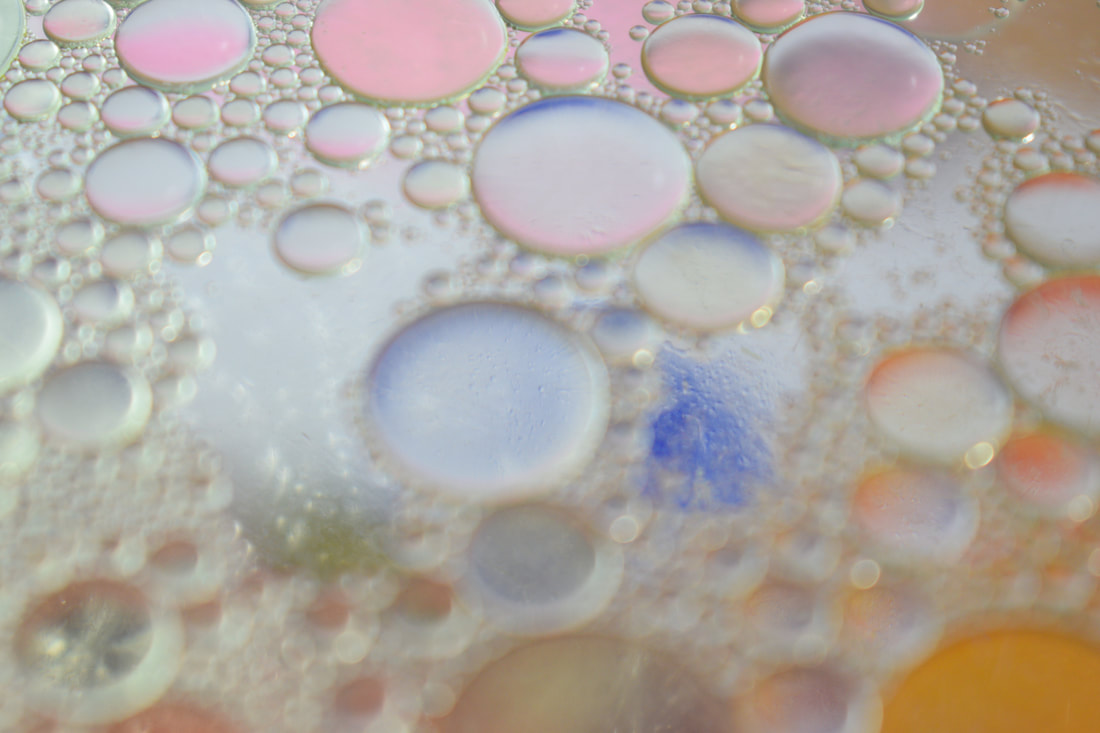
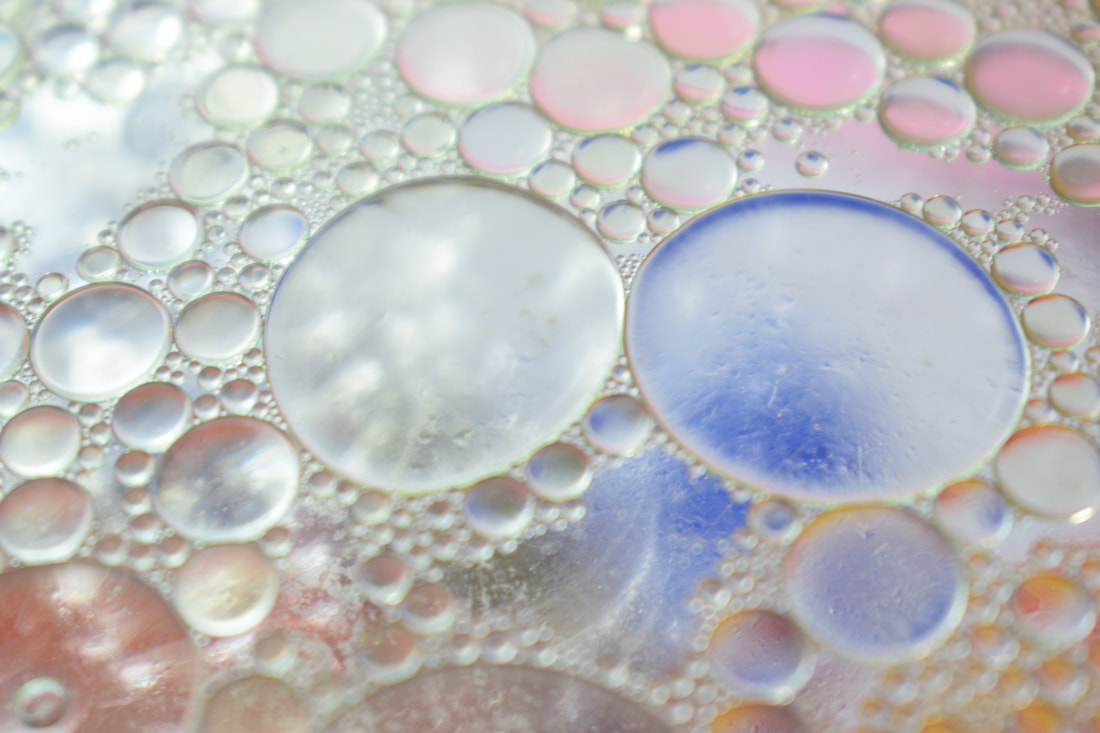
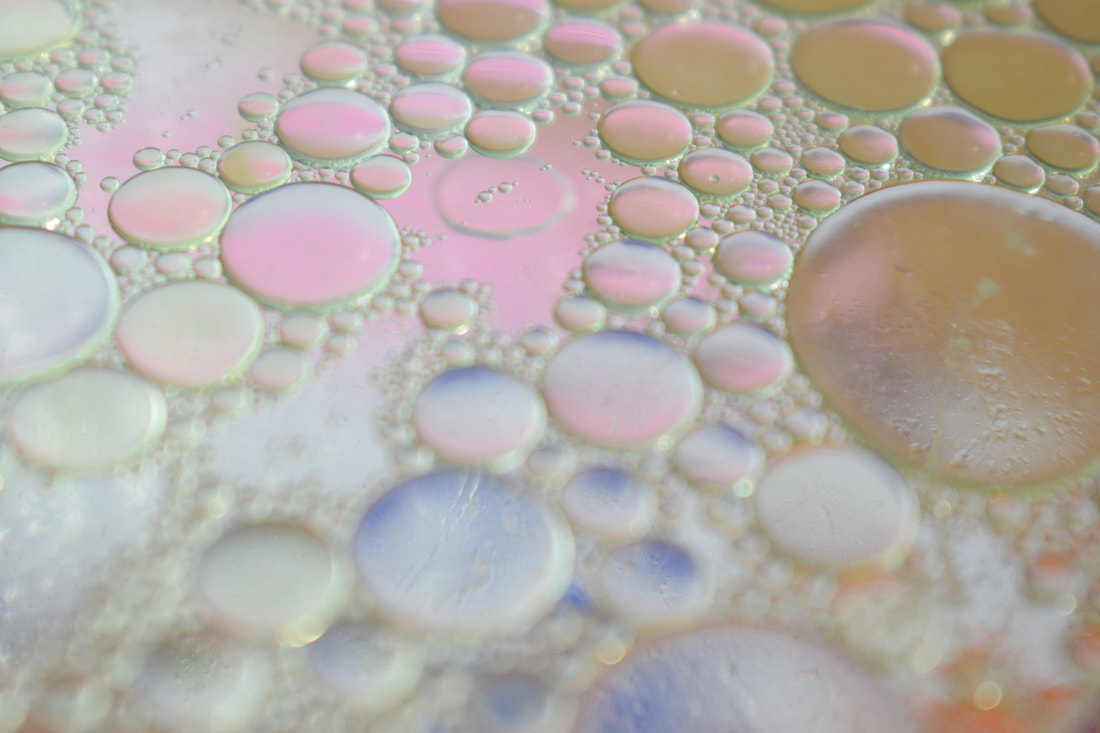
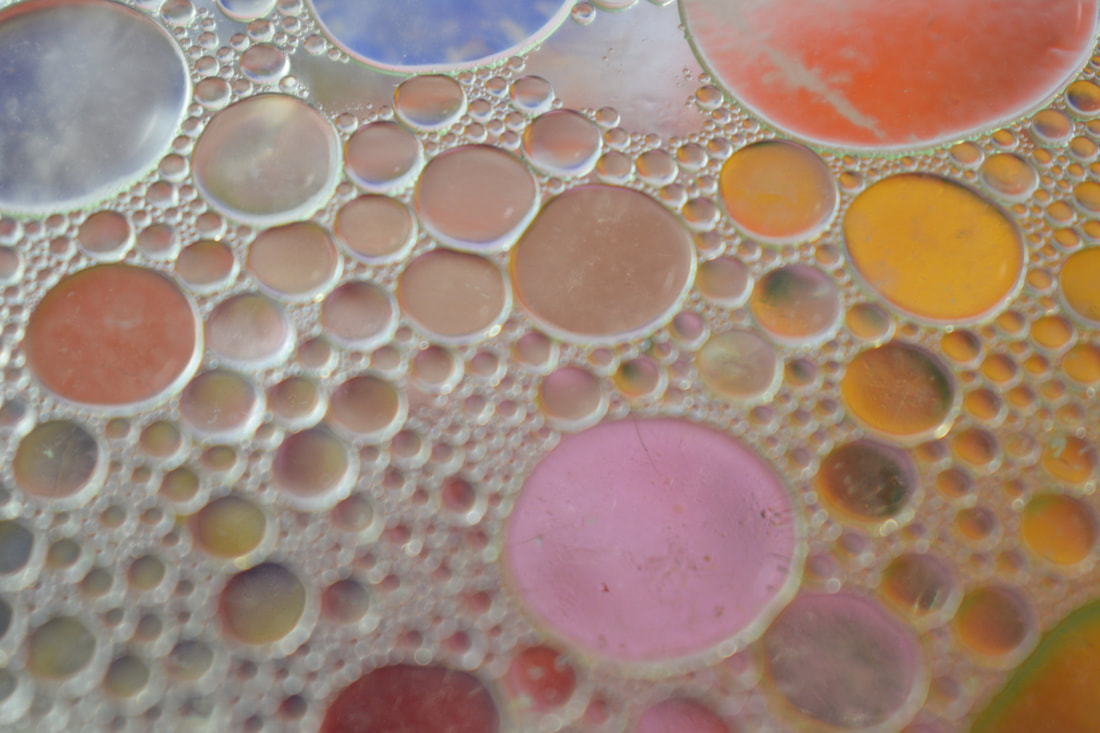
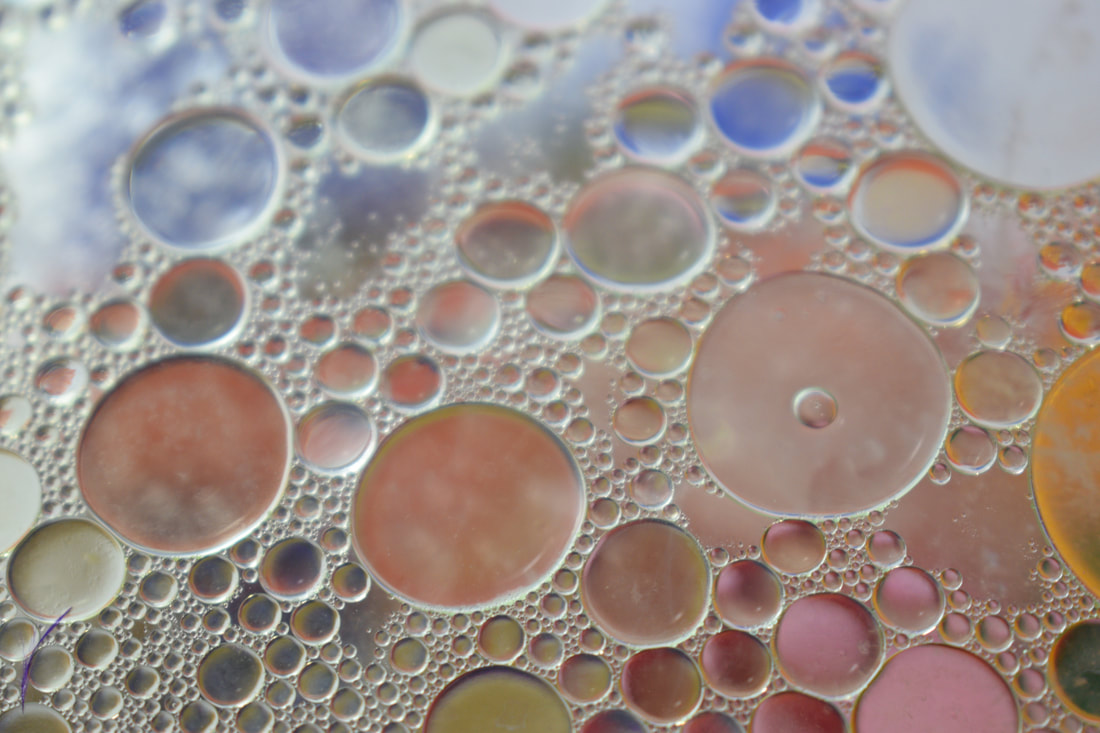
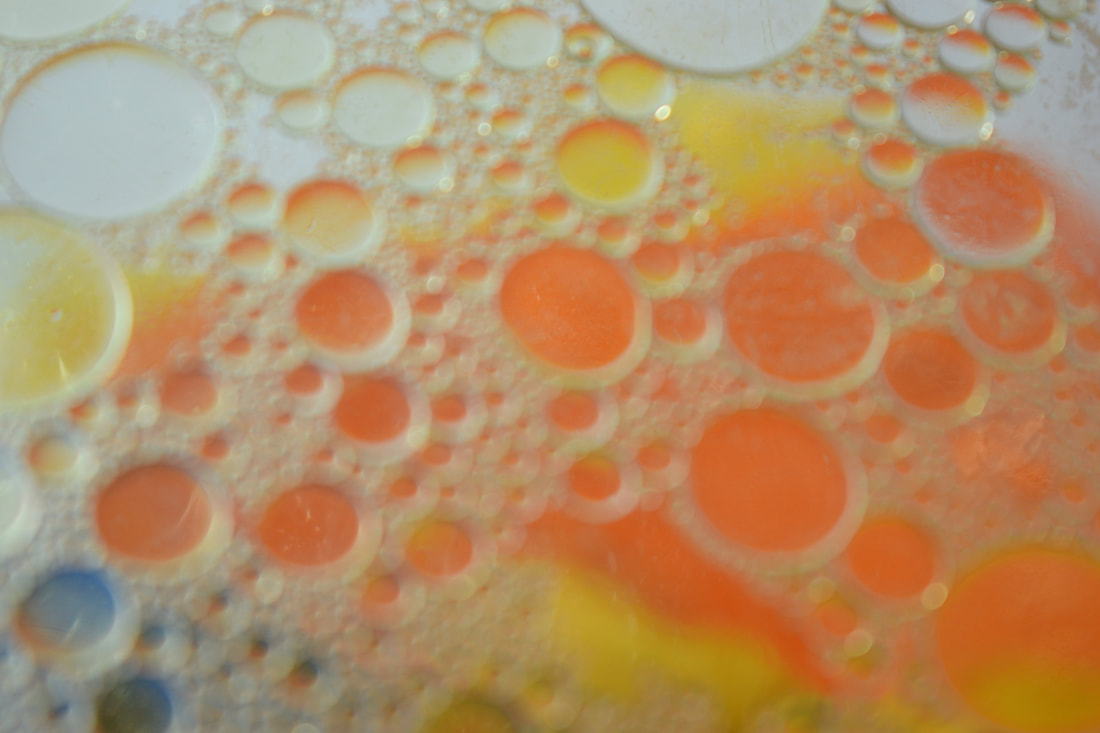
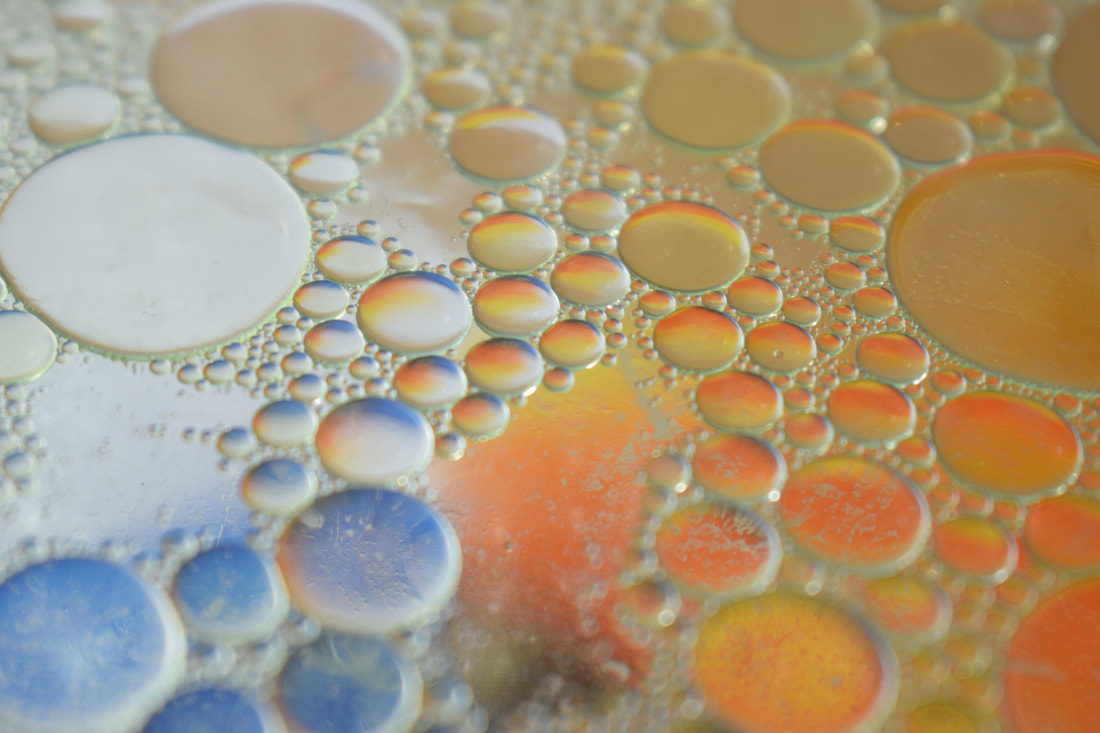
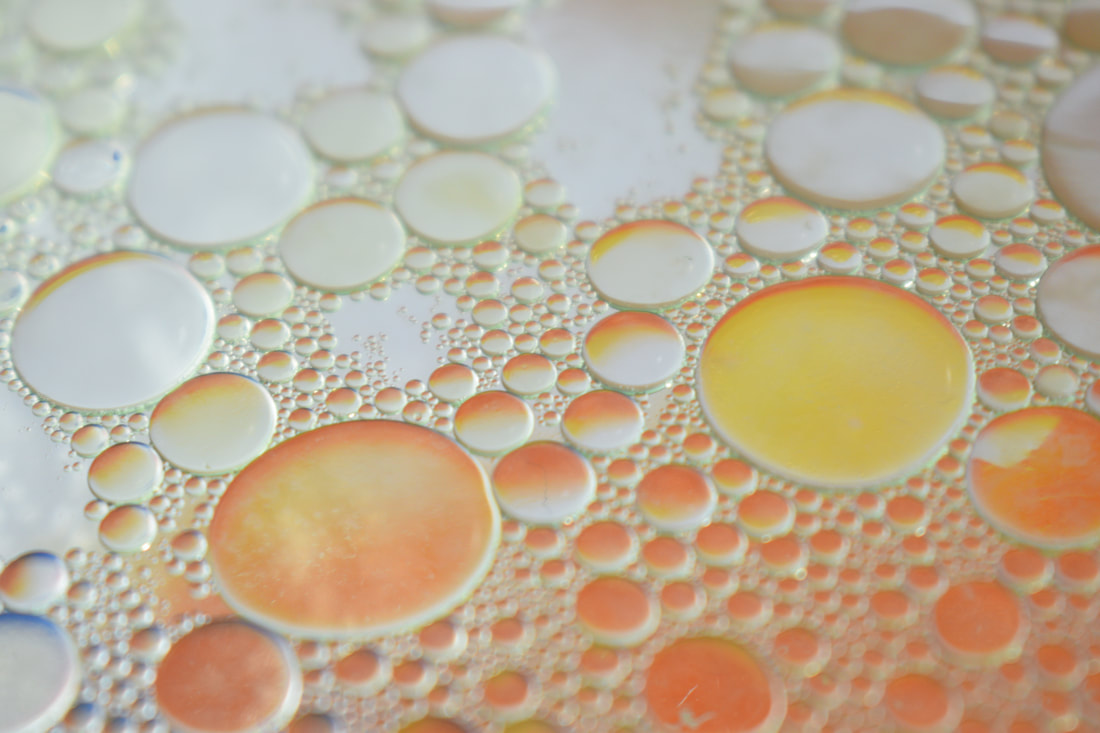
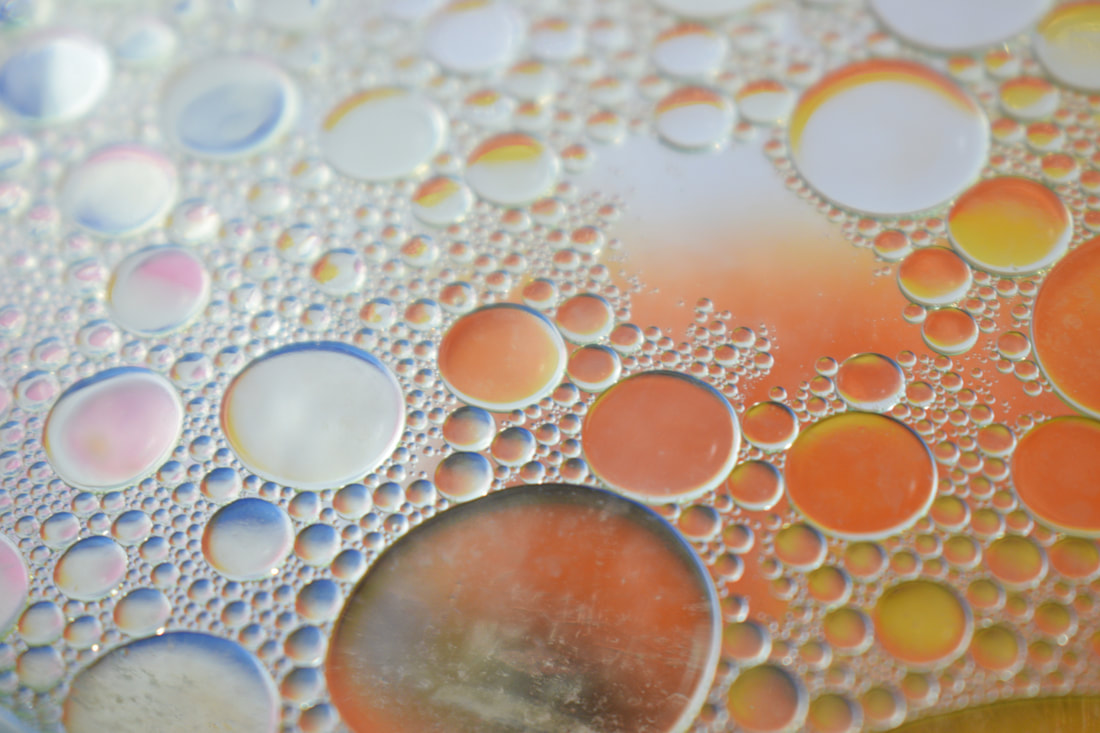
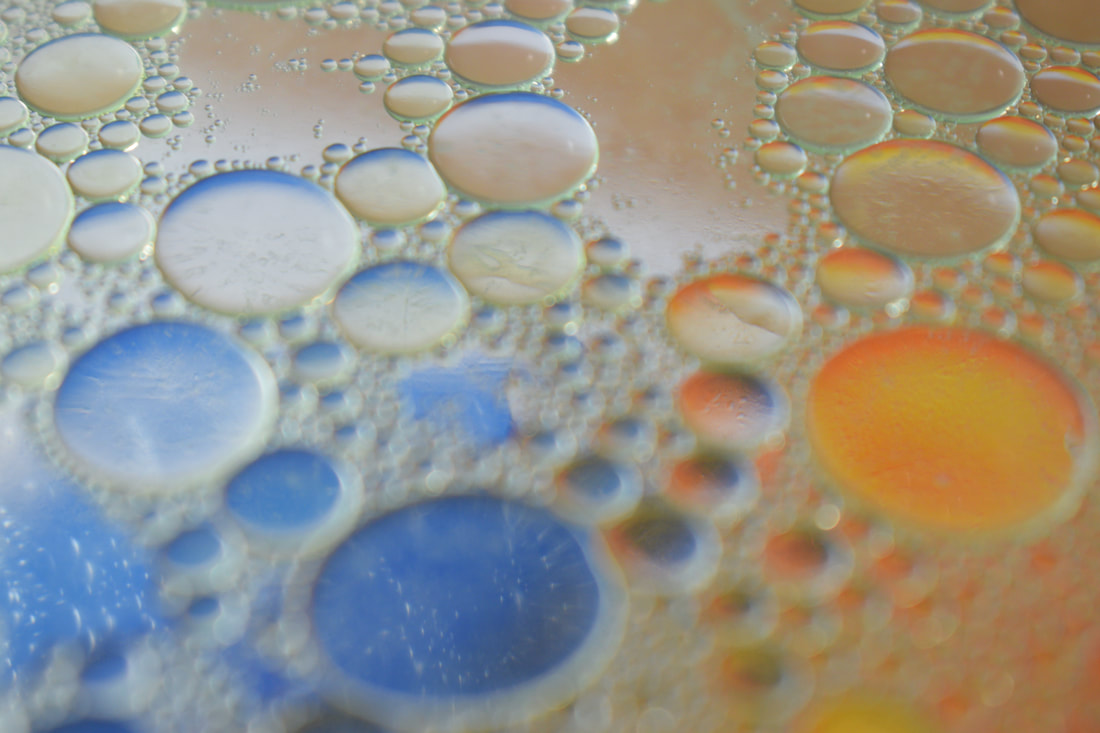
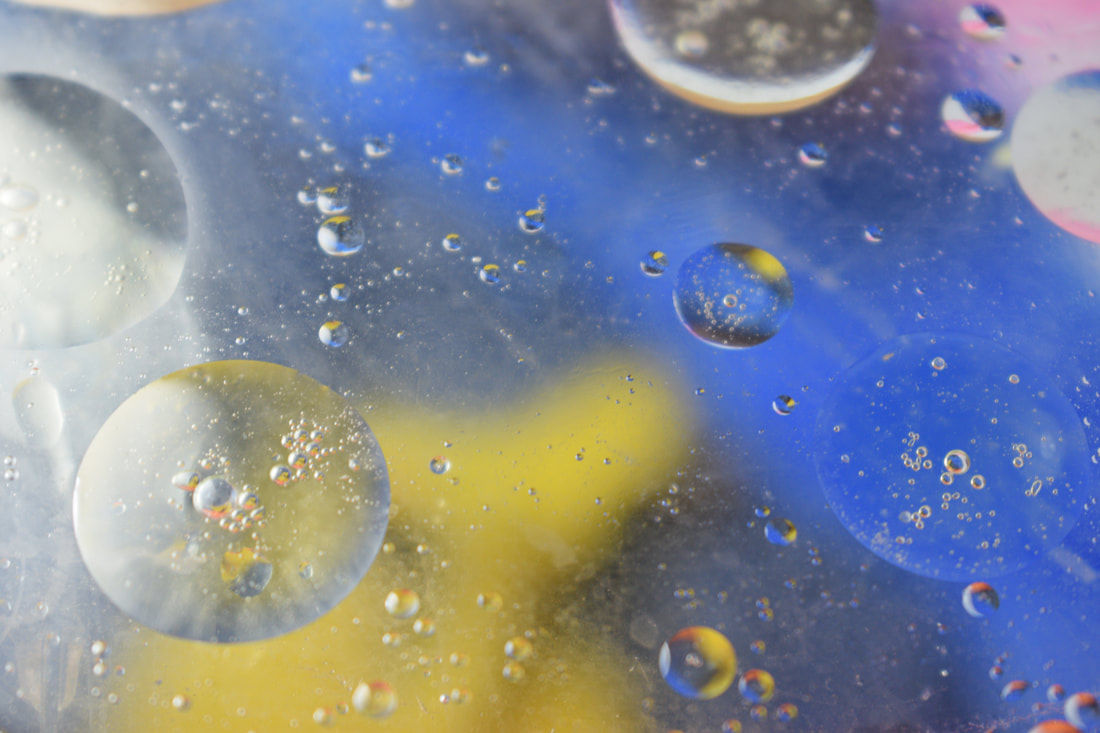
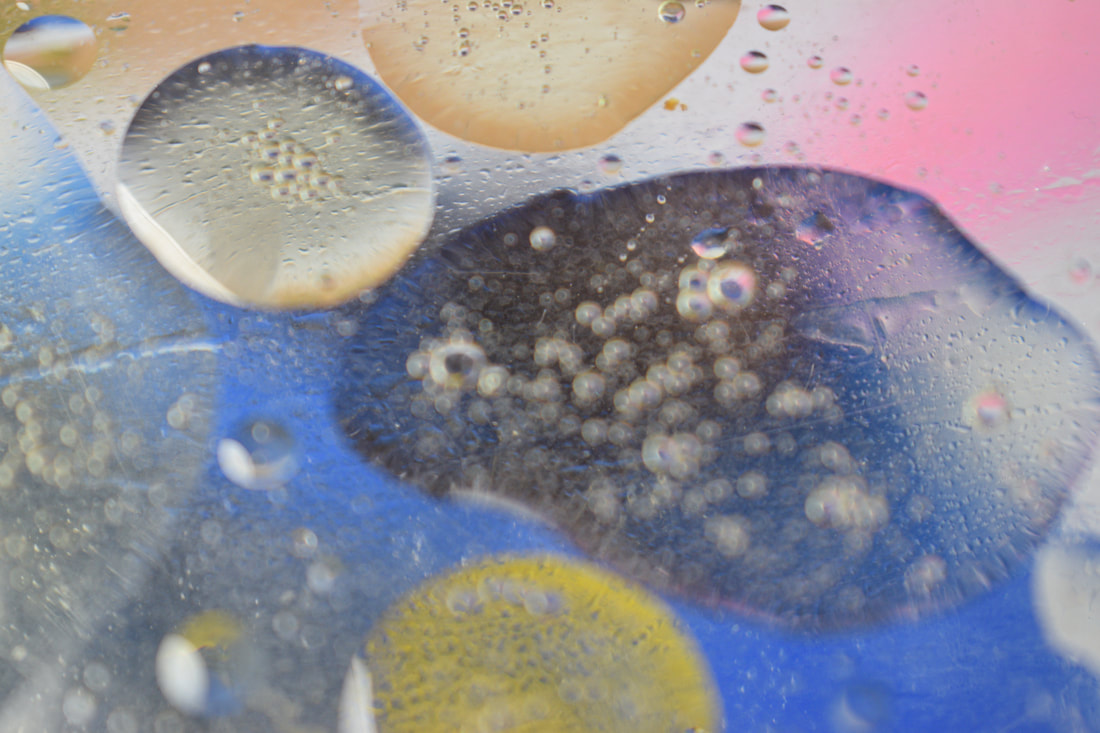
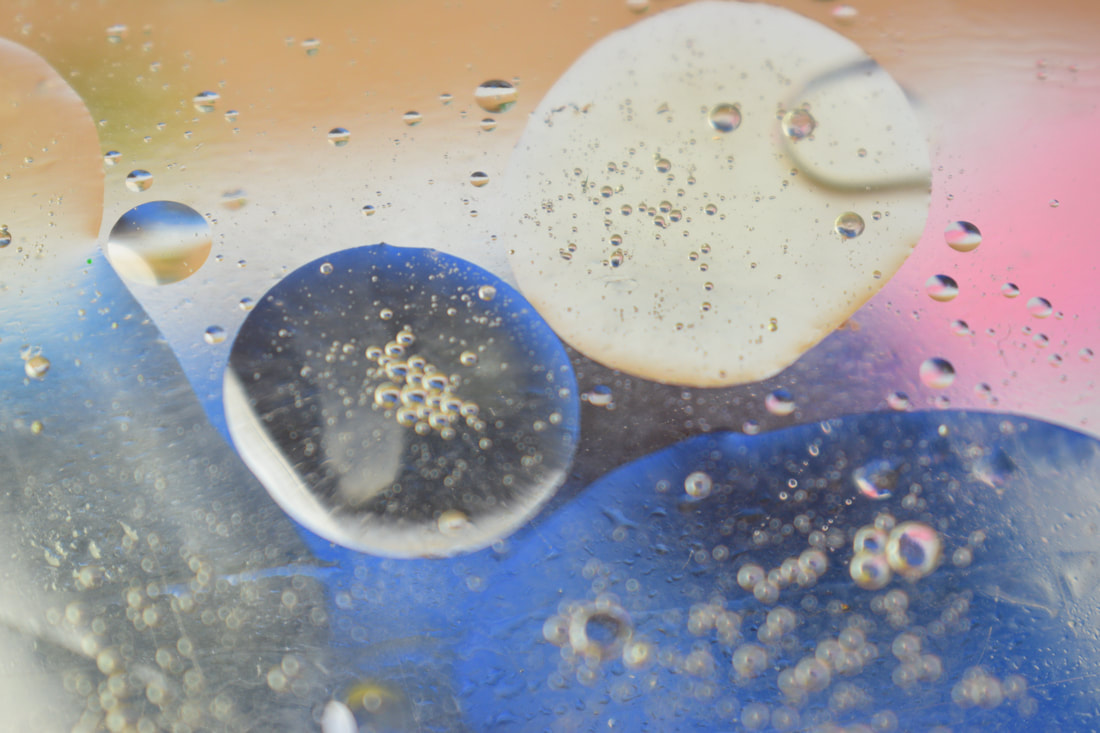
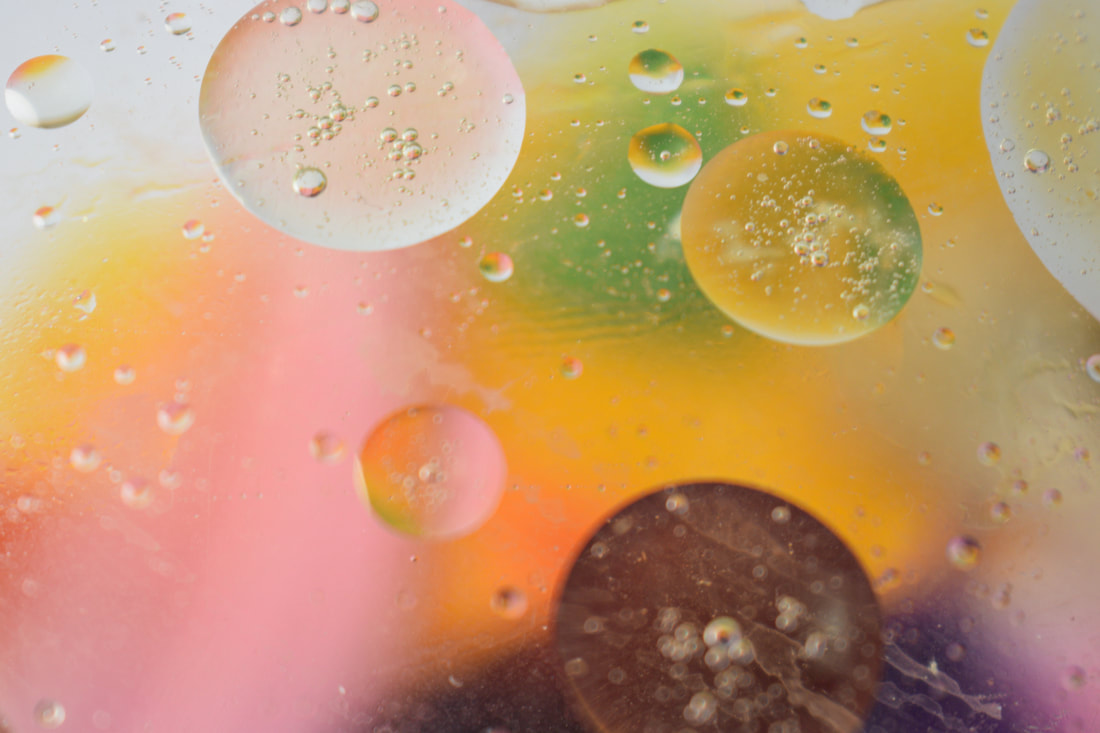
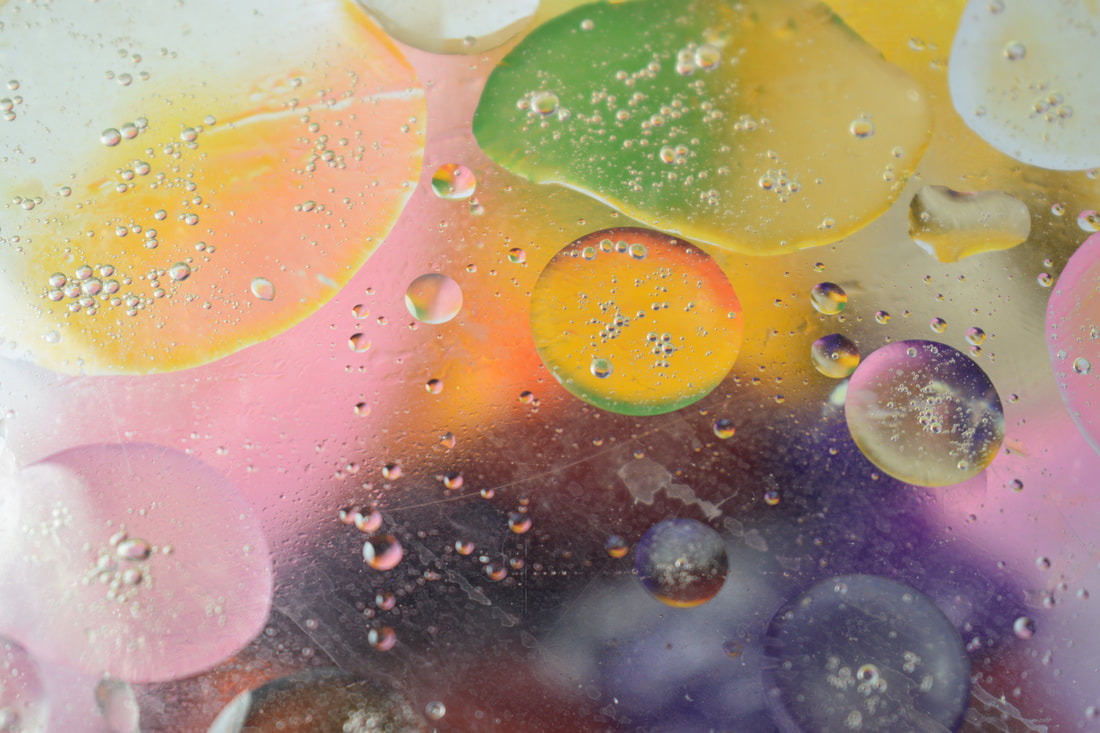
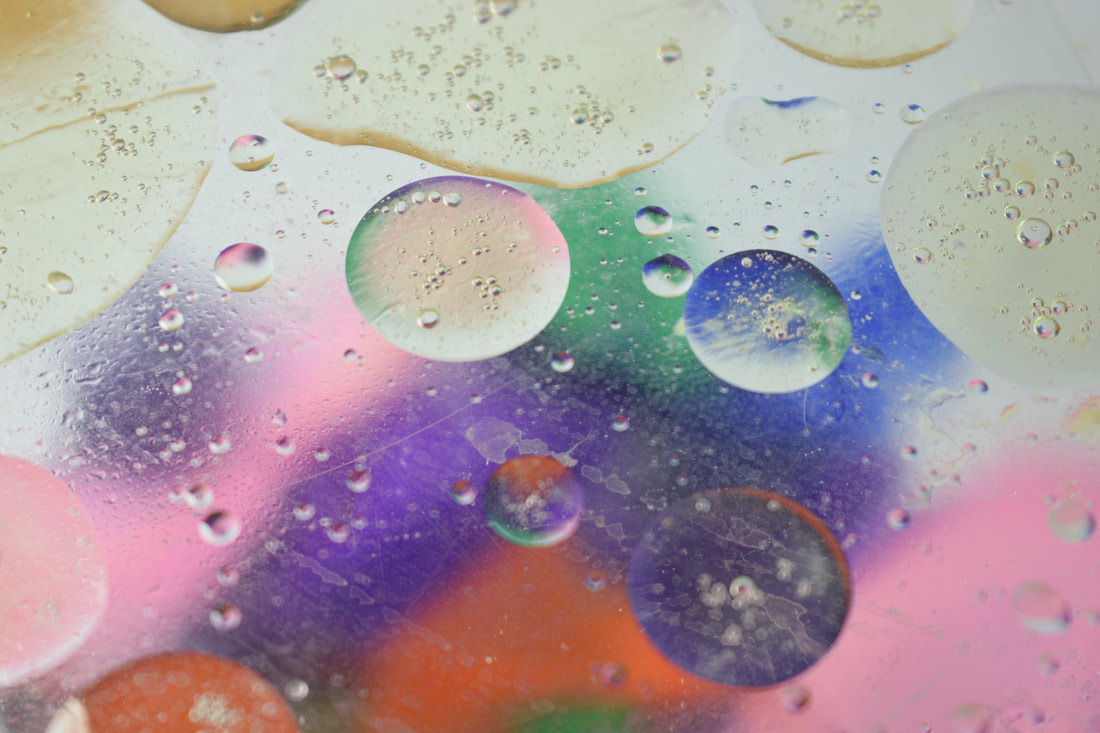
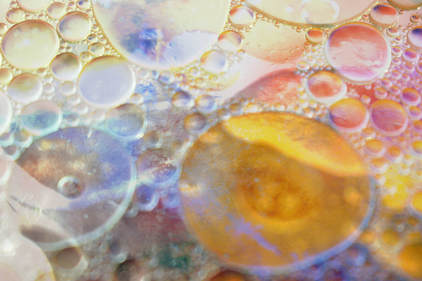
photo-shoot one:WWW: I think this photo shoot went really well I think that I was able to clear show the idea of abstraction with the image from the photo shoot, as the images are so close up and not something you would see a lot, that people would have look more than ones to get what the images are of and how you would take a image like that.
EBI: some of the images came out really light and the out lines of the bubbles due to that was not all very clear. if I was to do it again I would mix up the coloured background more to see how it would chance the image. photo-shoot two:
|
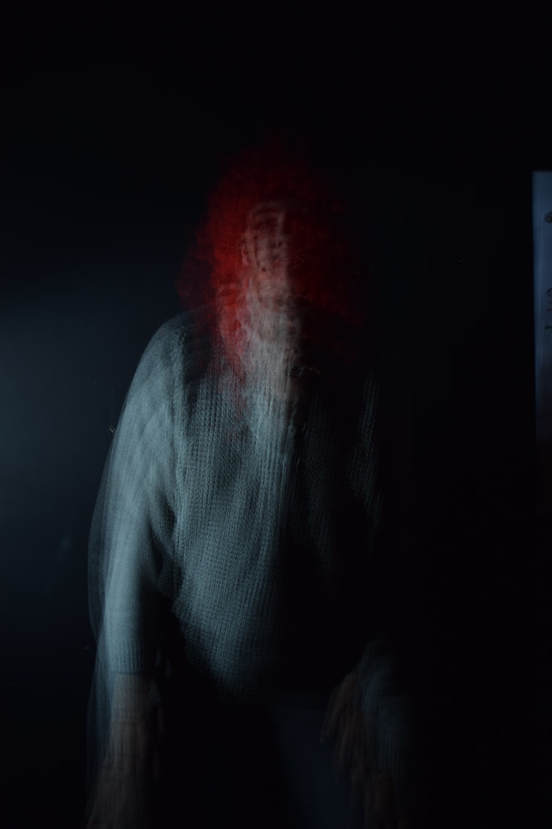
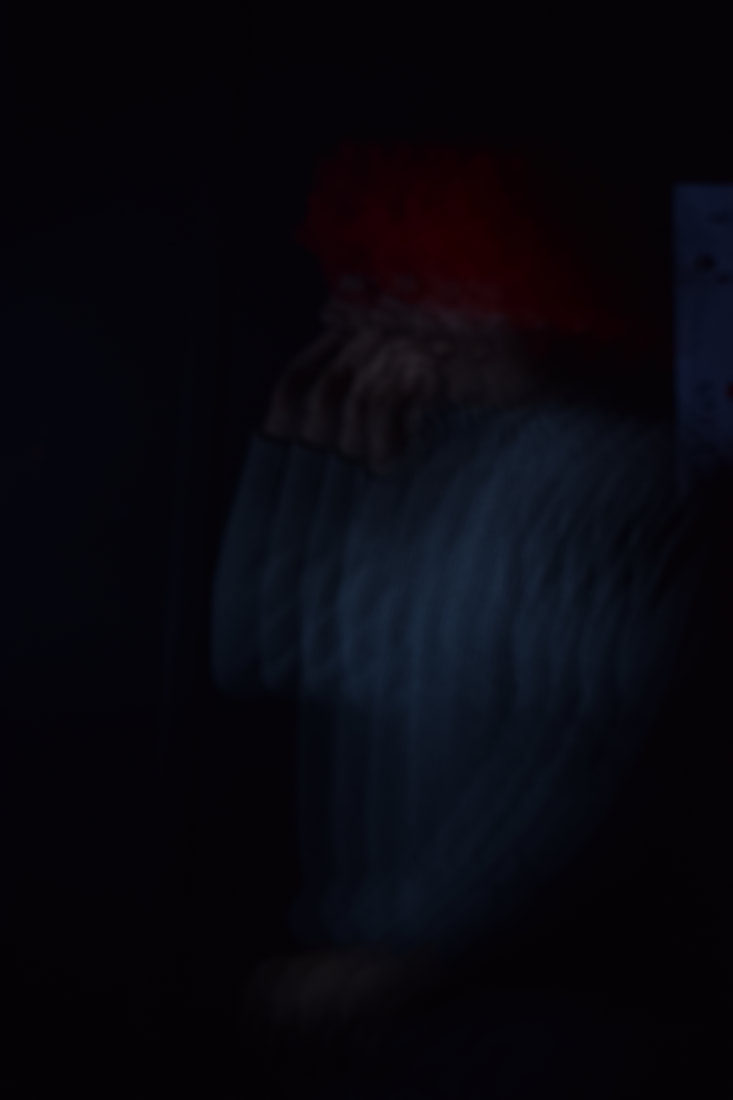
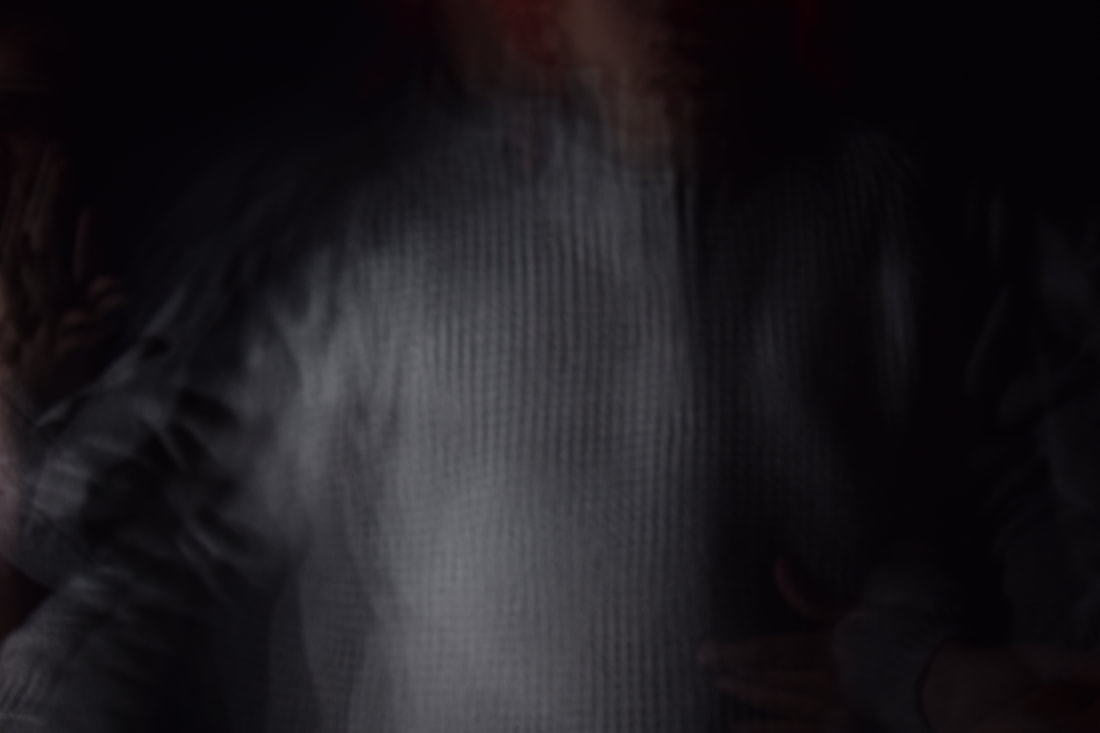
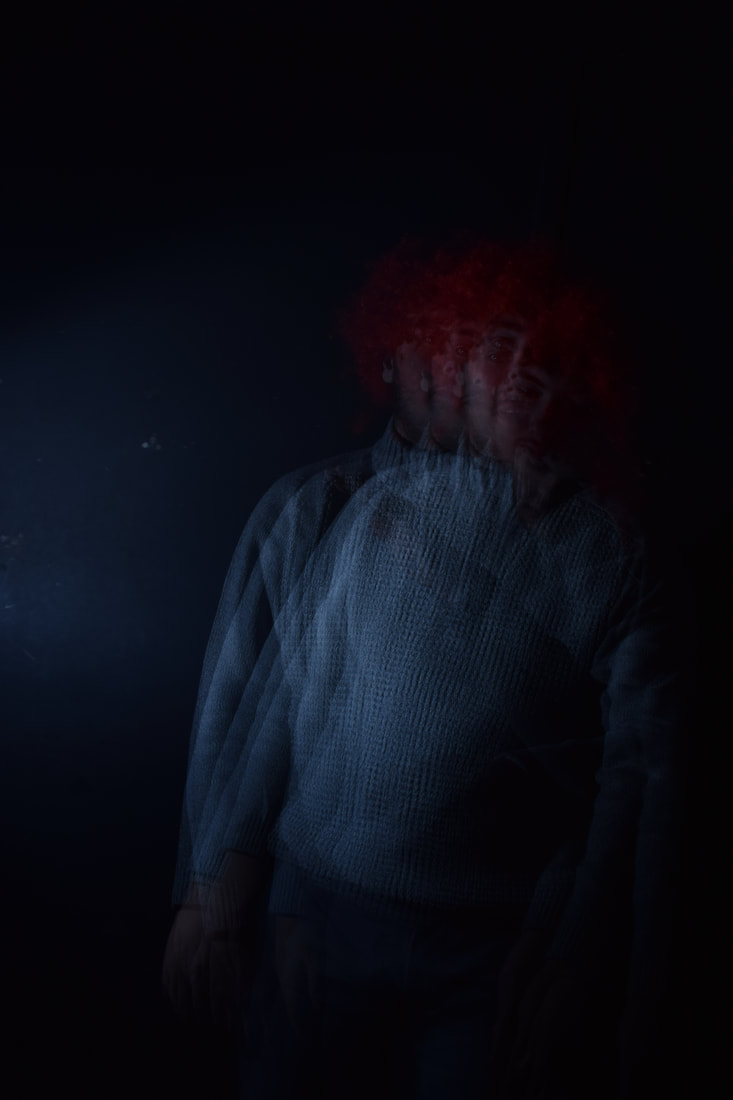
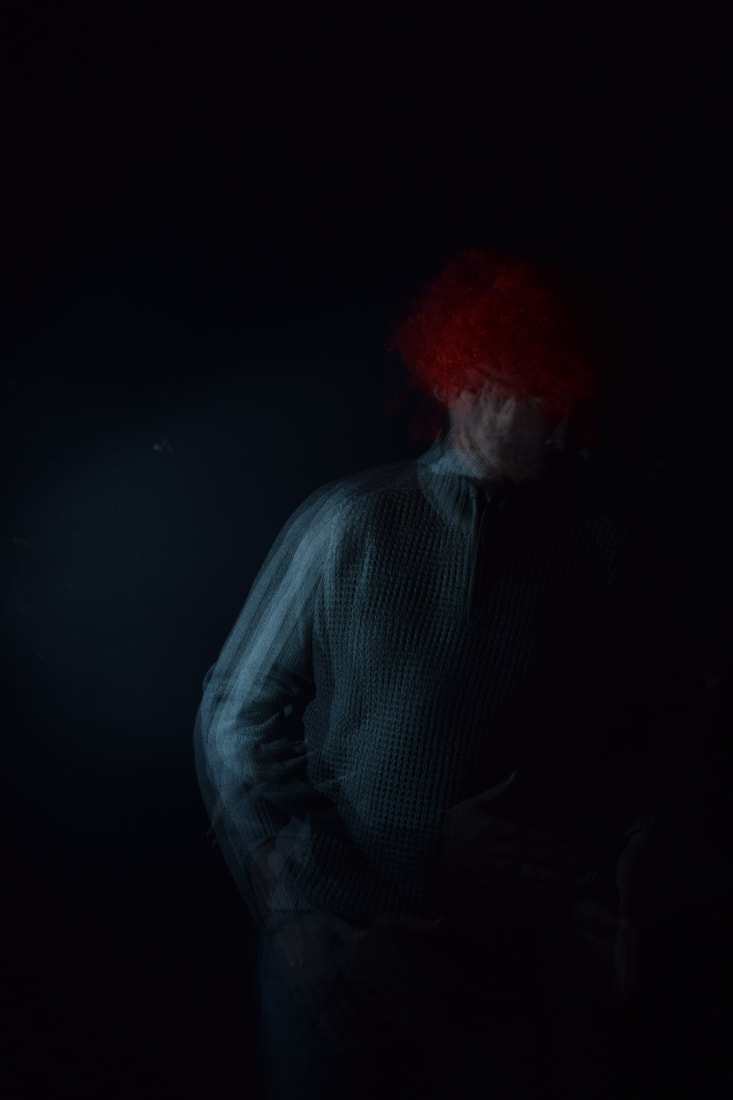
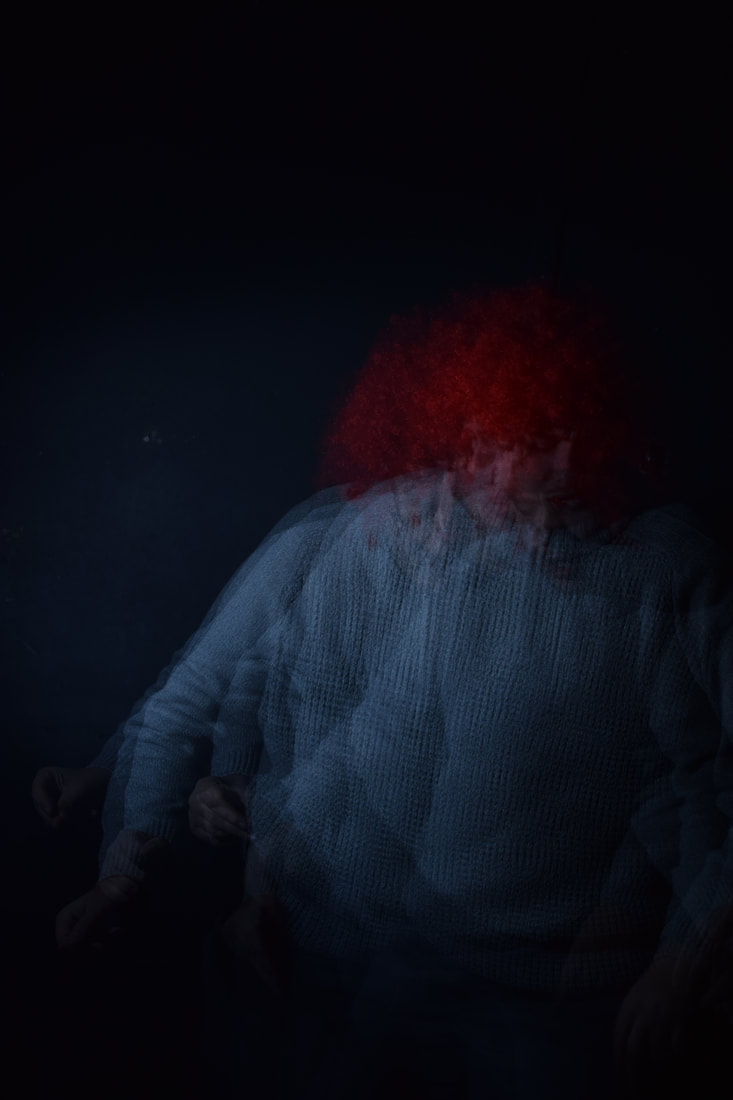
In this image from my flash photo shoot I got my model Sam to move up and down able four to six times not fast but not to low and this is how the image came out with hem looking as if he has more than one body linked together still all within one over all body out line.

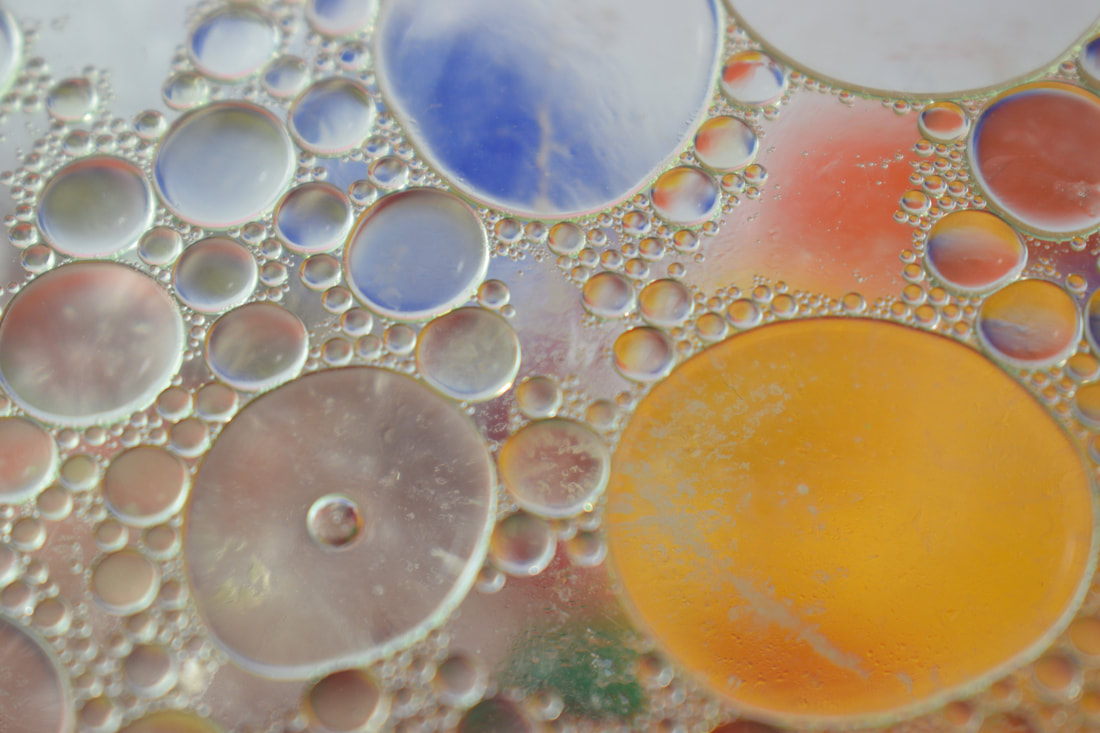
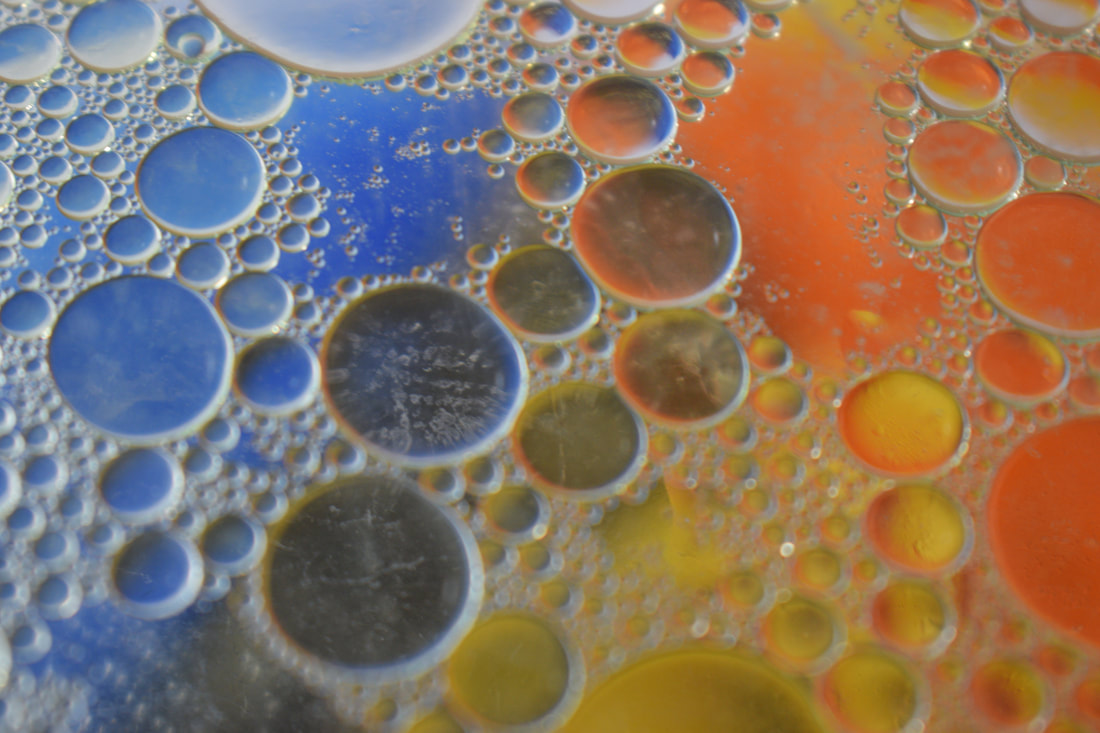
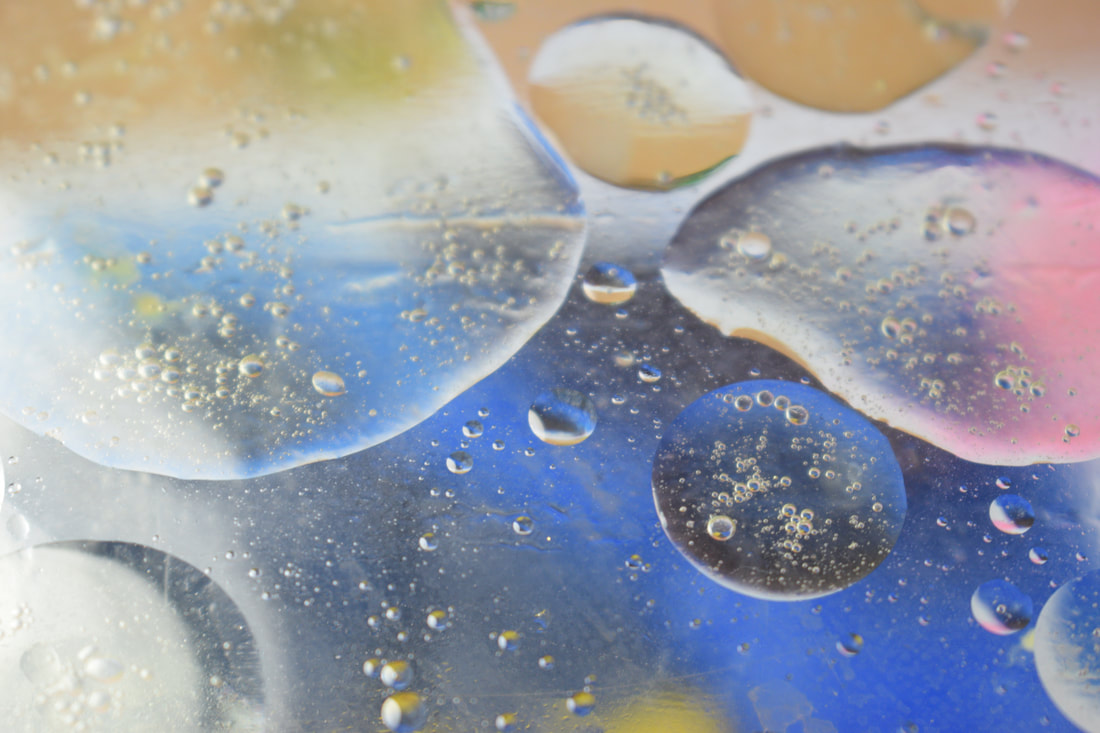
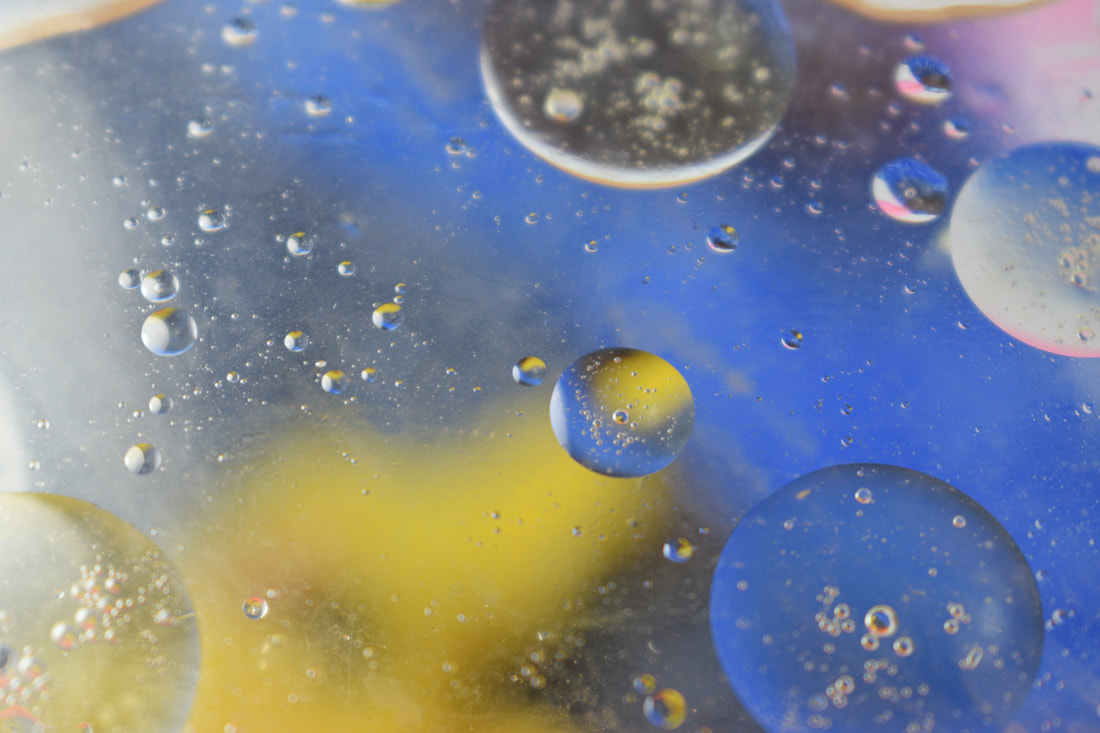
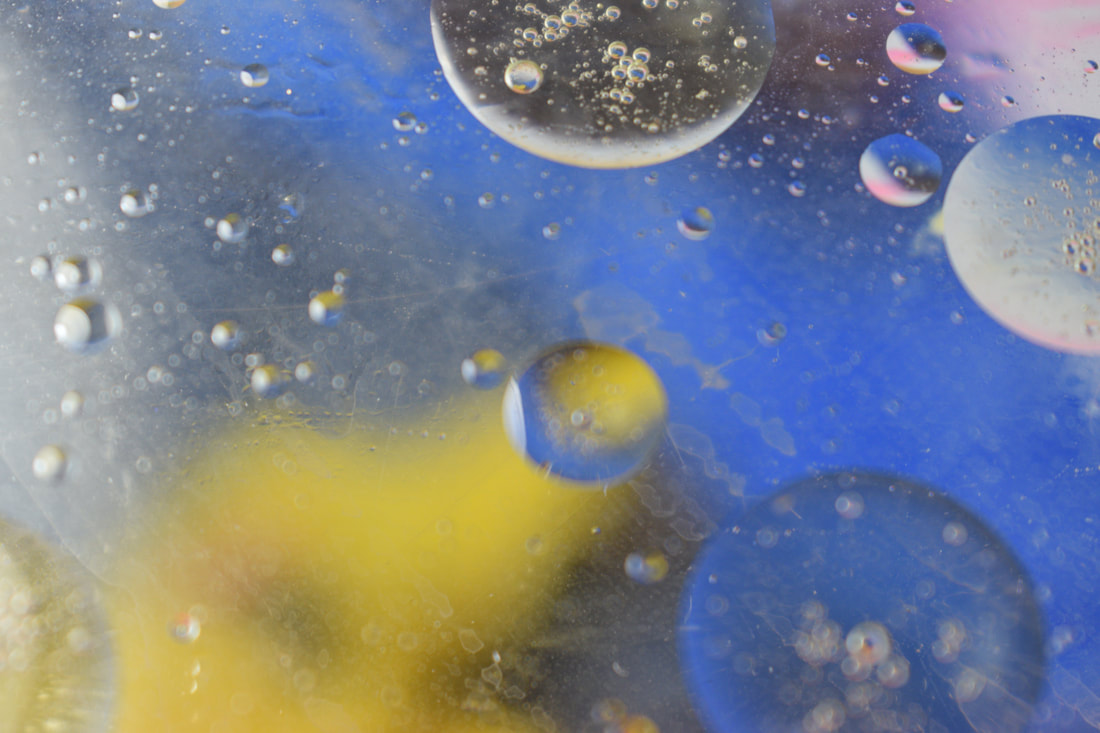
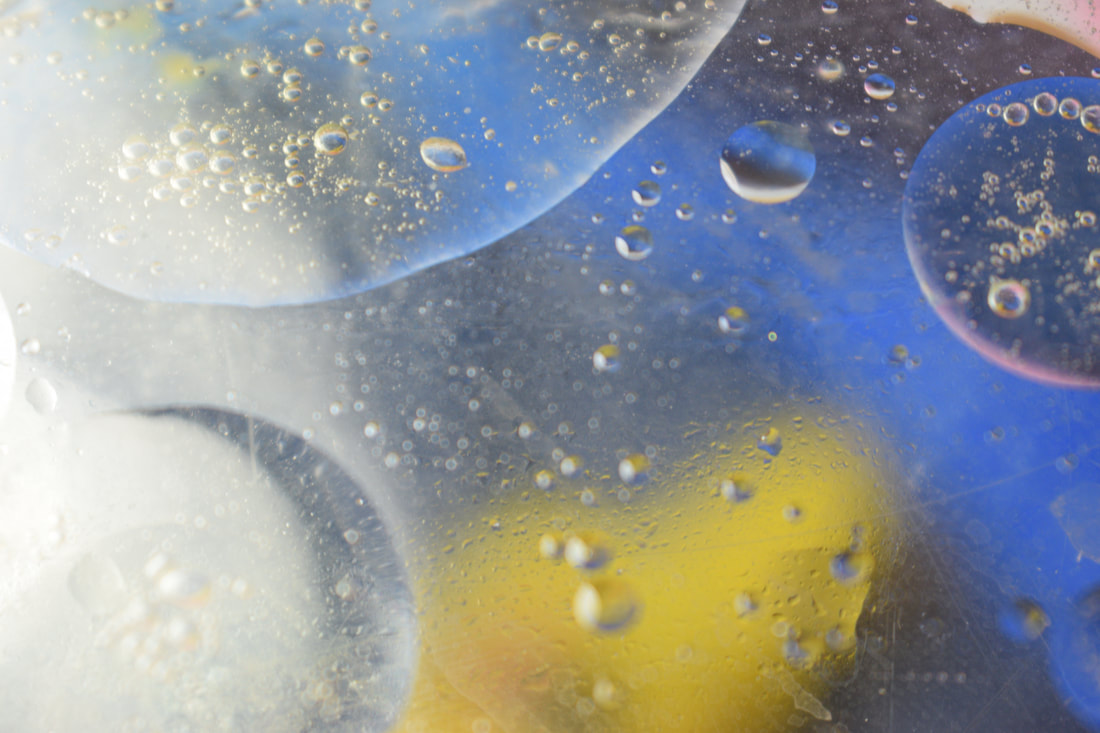
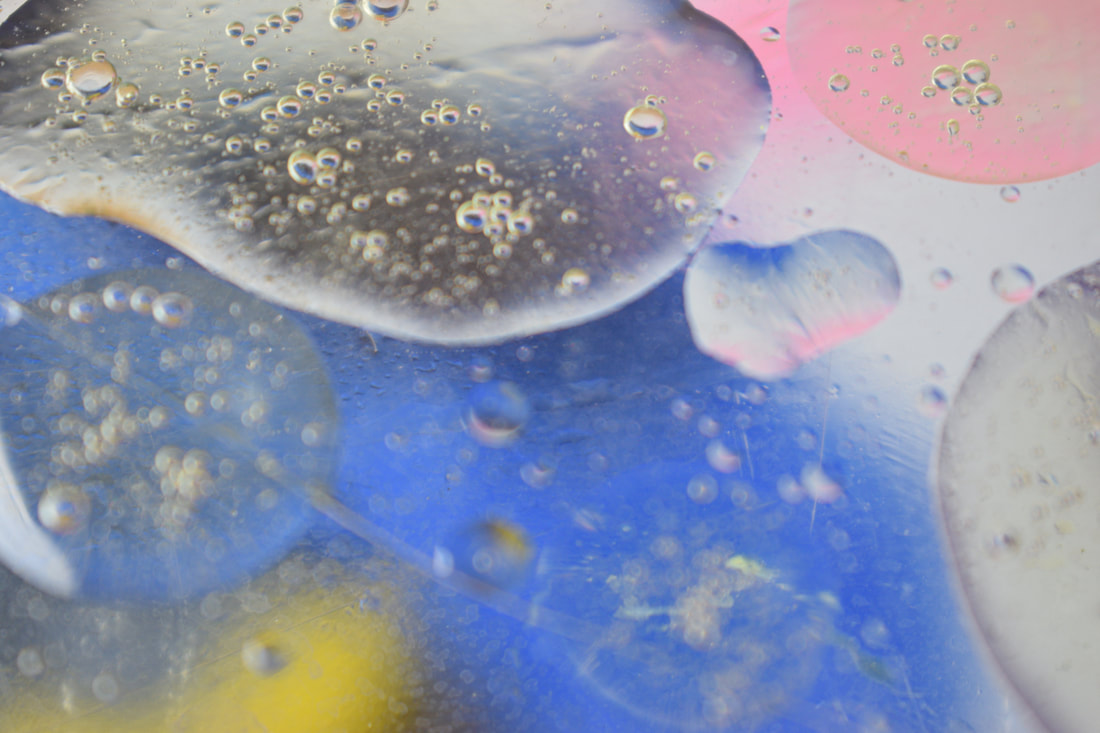
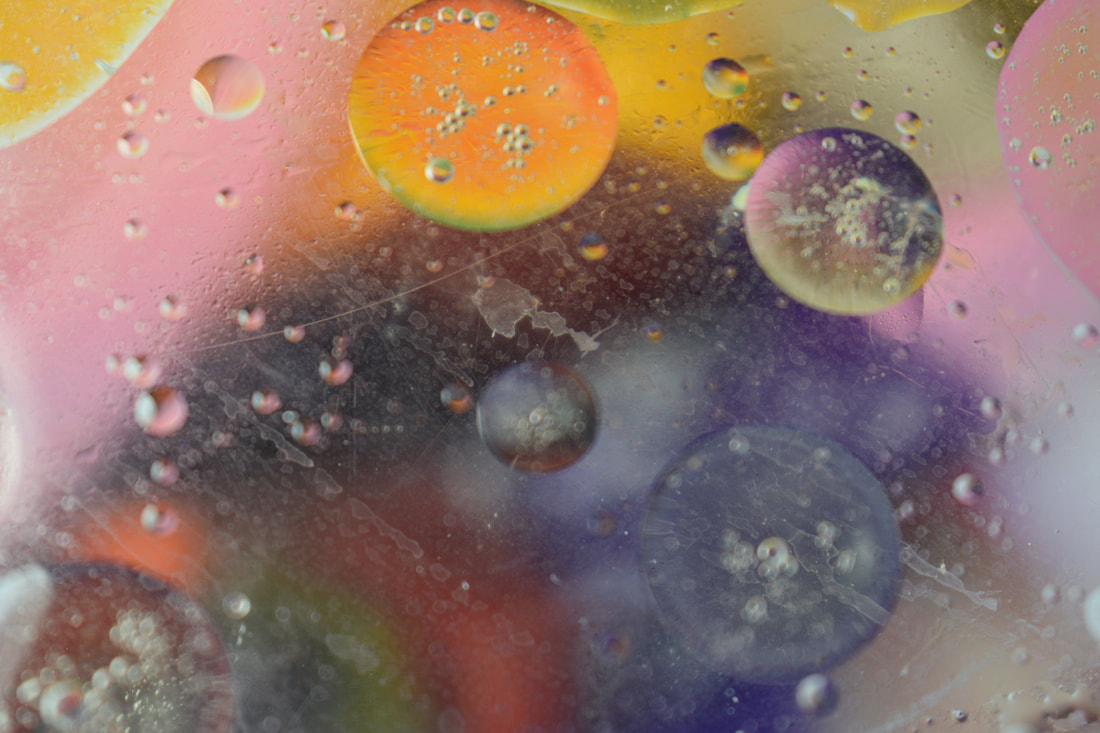
In this photo shoot I used oil, washing up liquid and water to be the bubbles in the glass blow I than added a coloured background to the image so that they looked like this. I used most light coloured and mix coloured in the back ground.

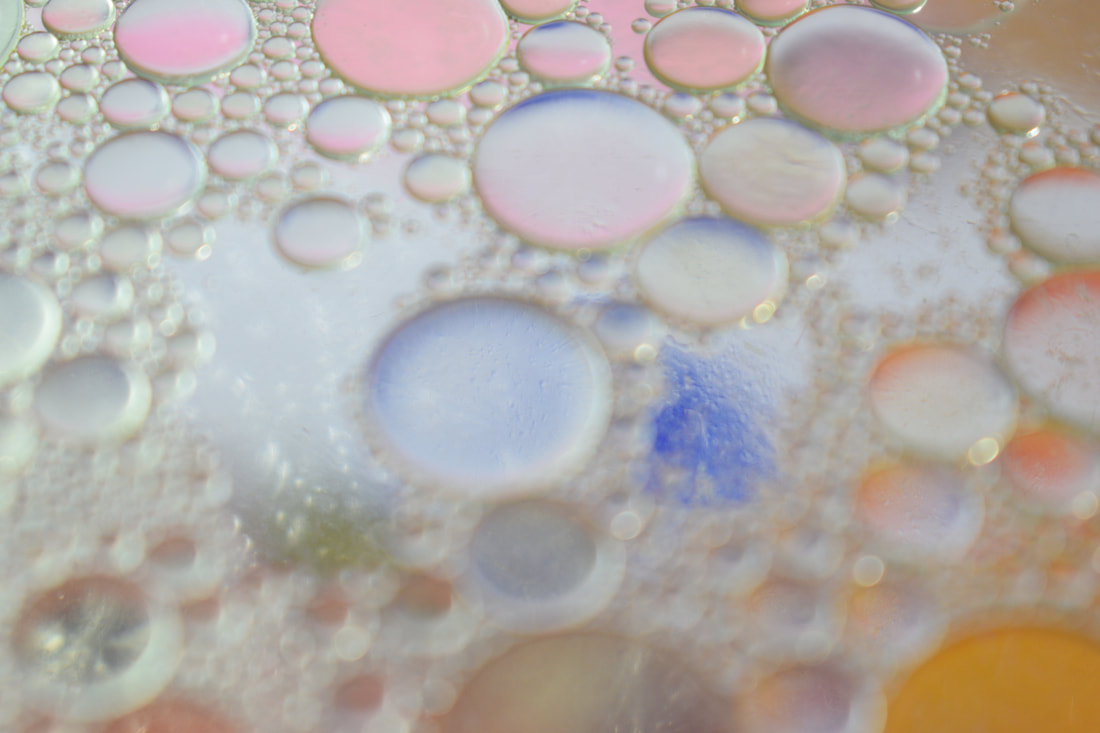
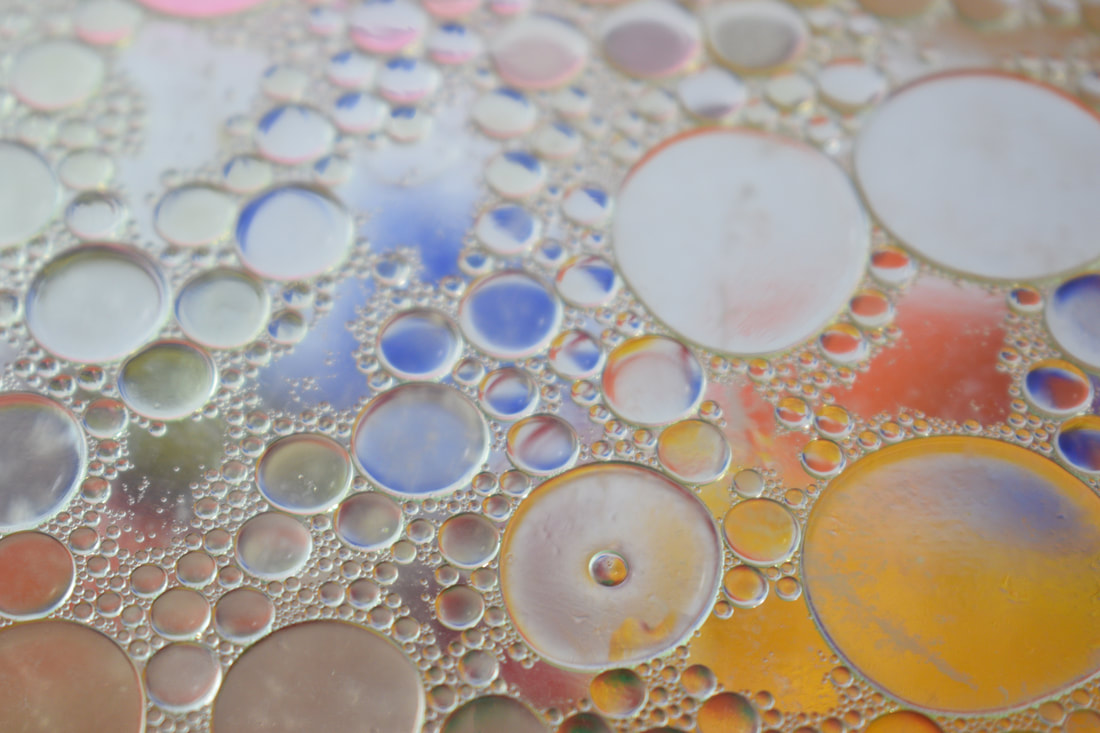
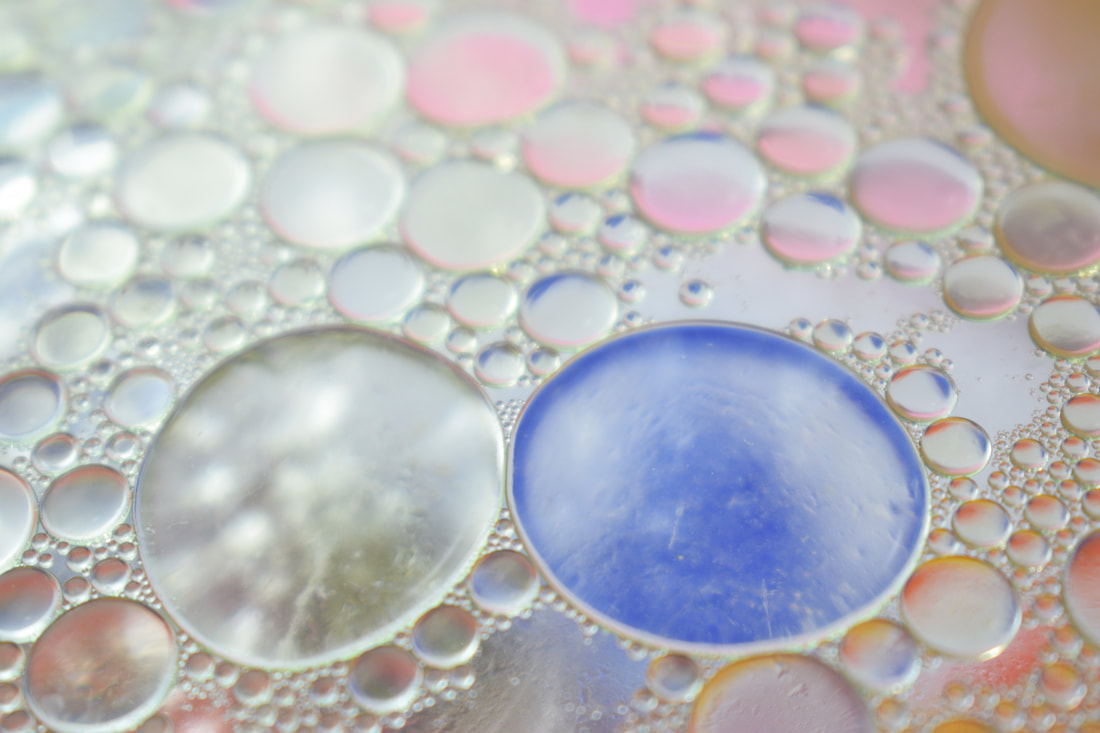
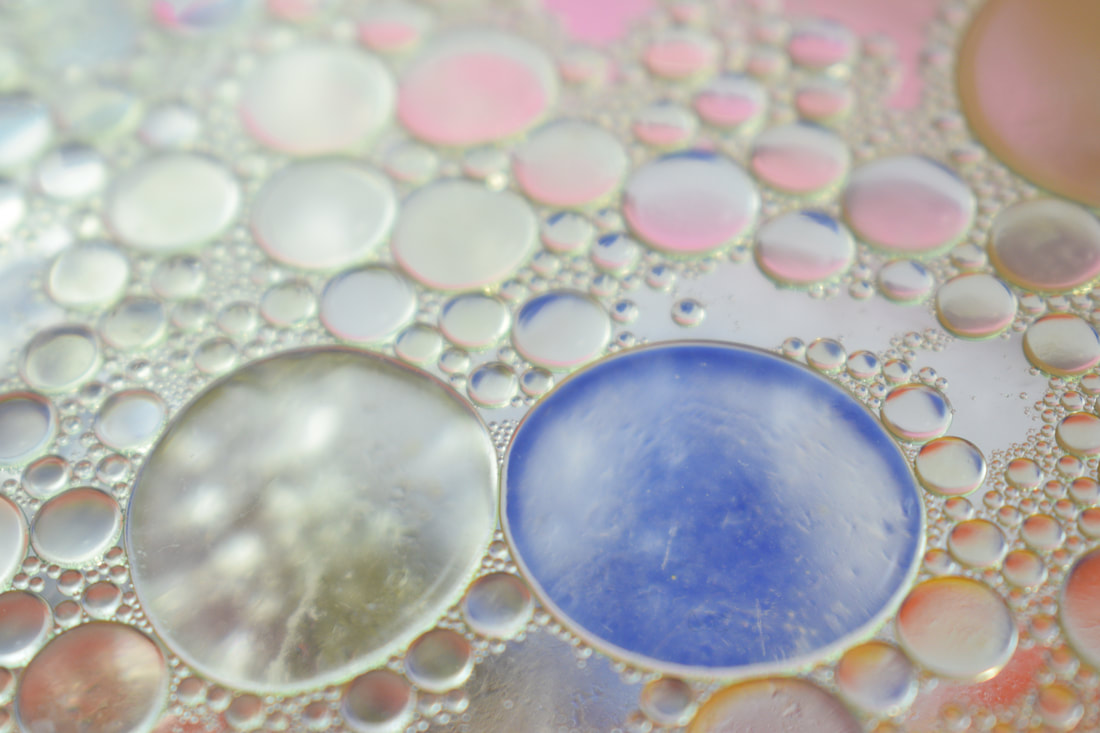
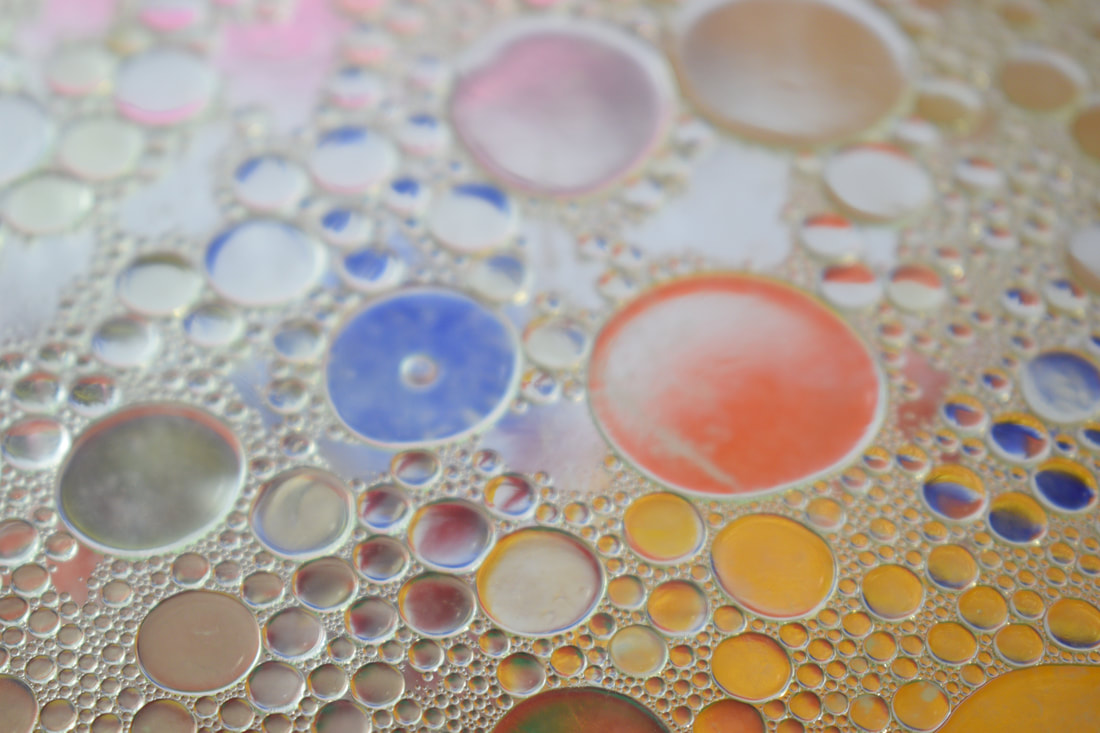
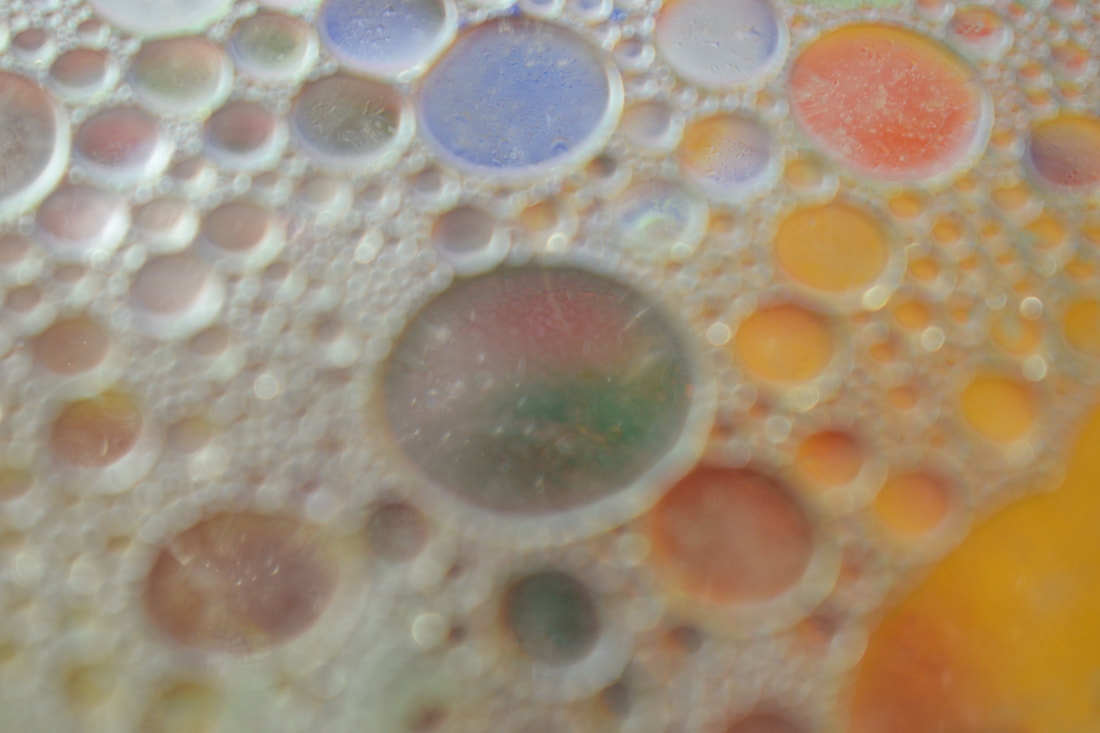
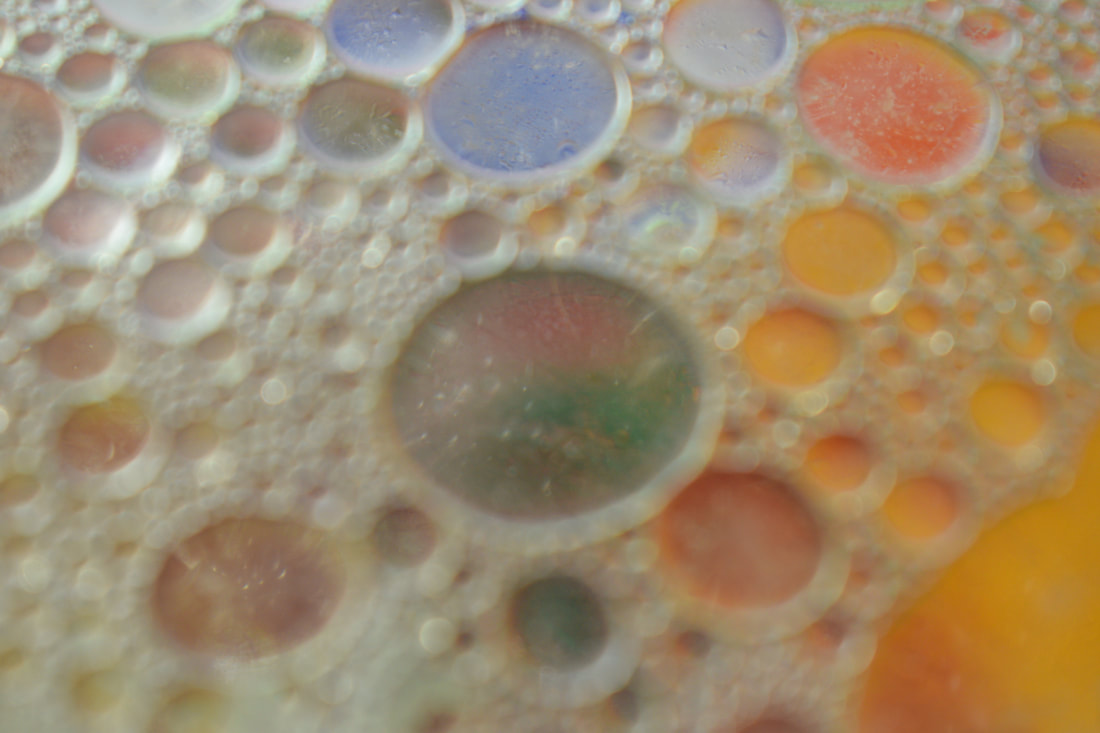
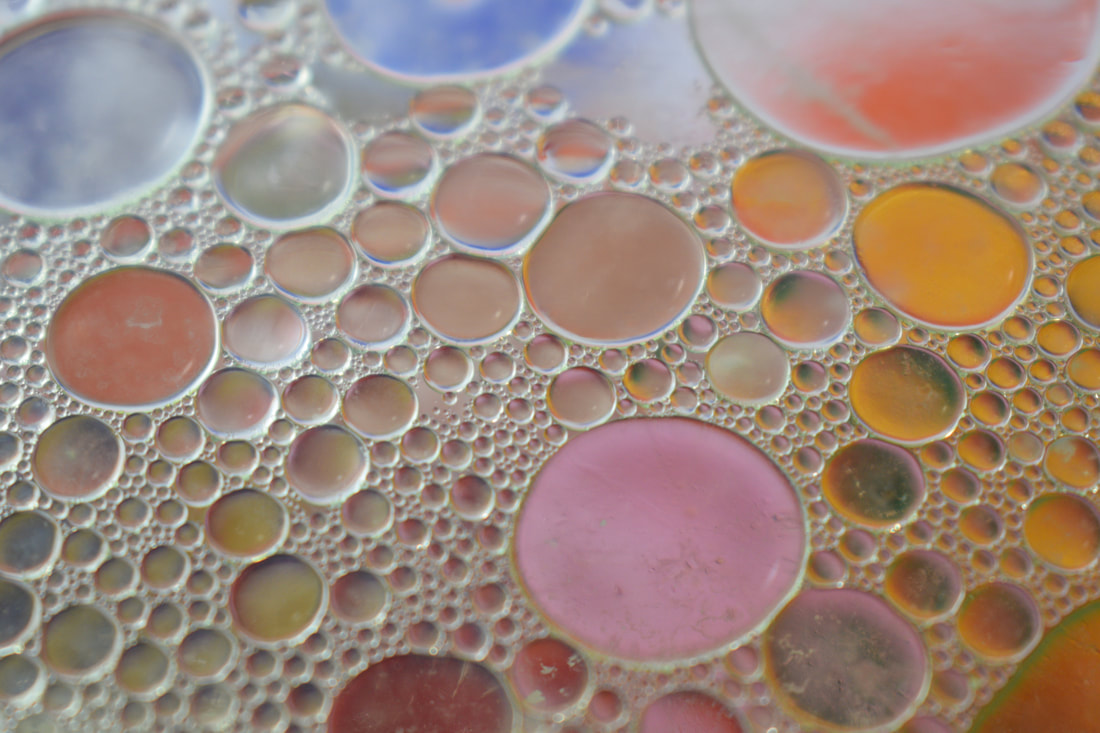
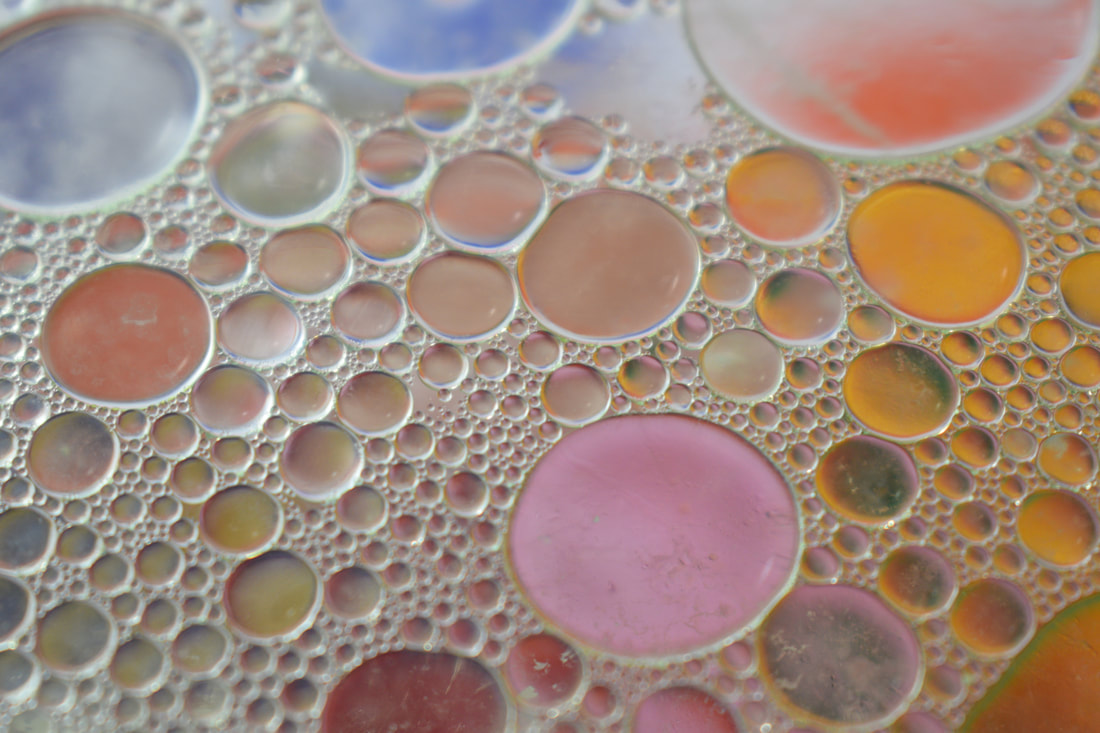
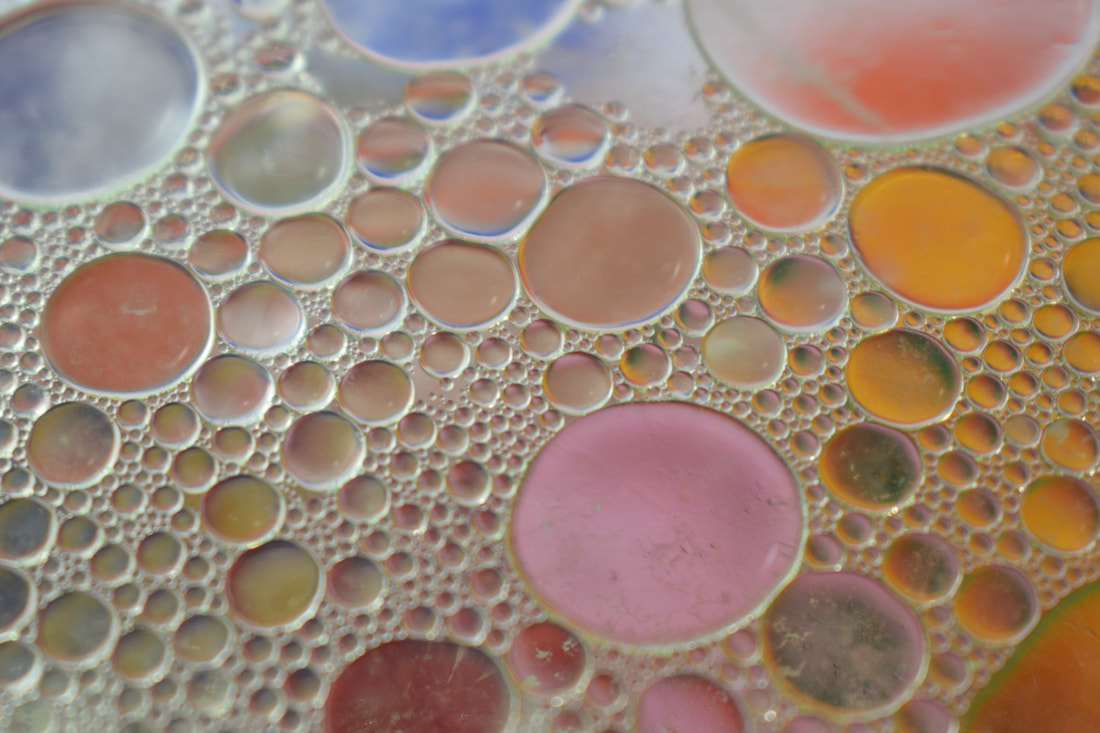
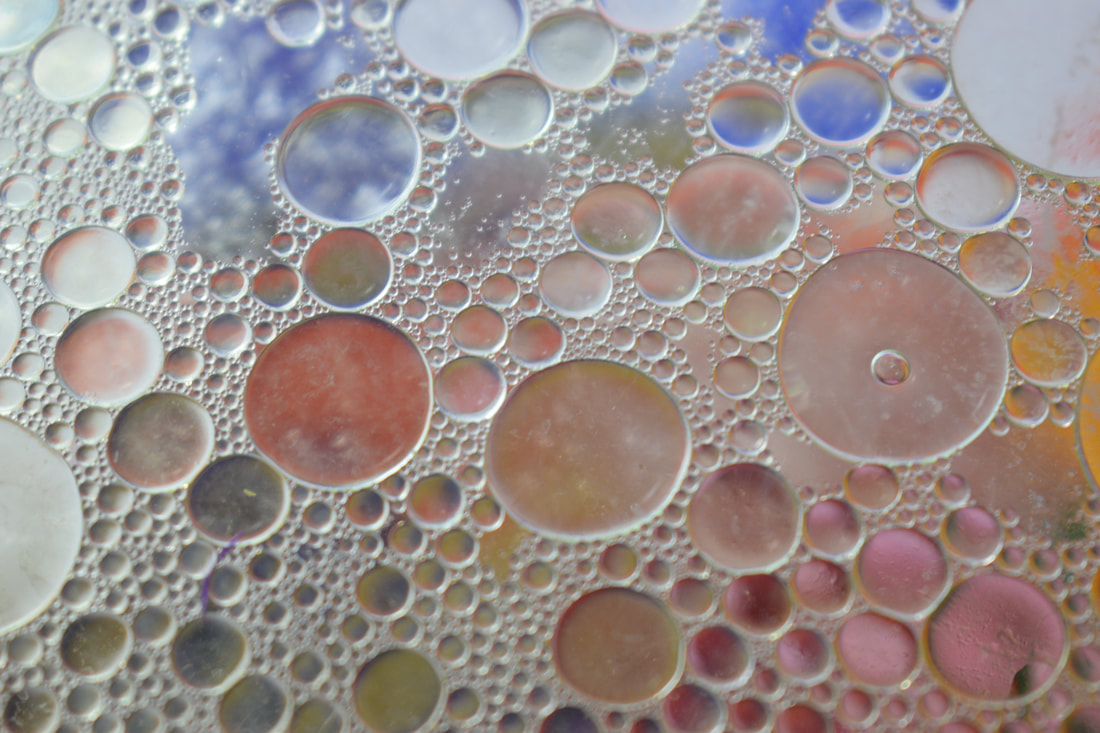
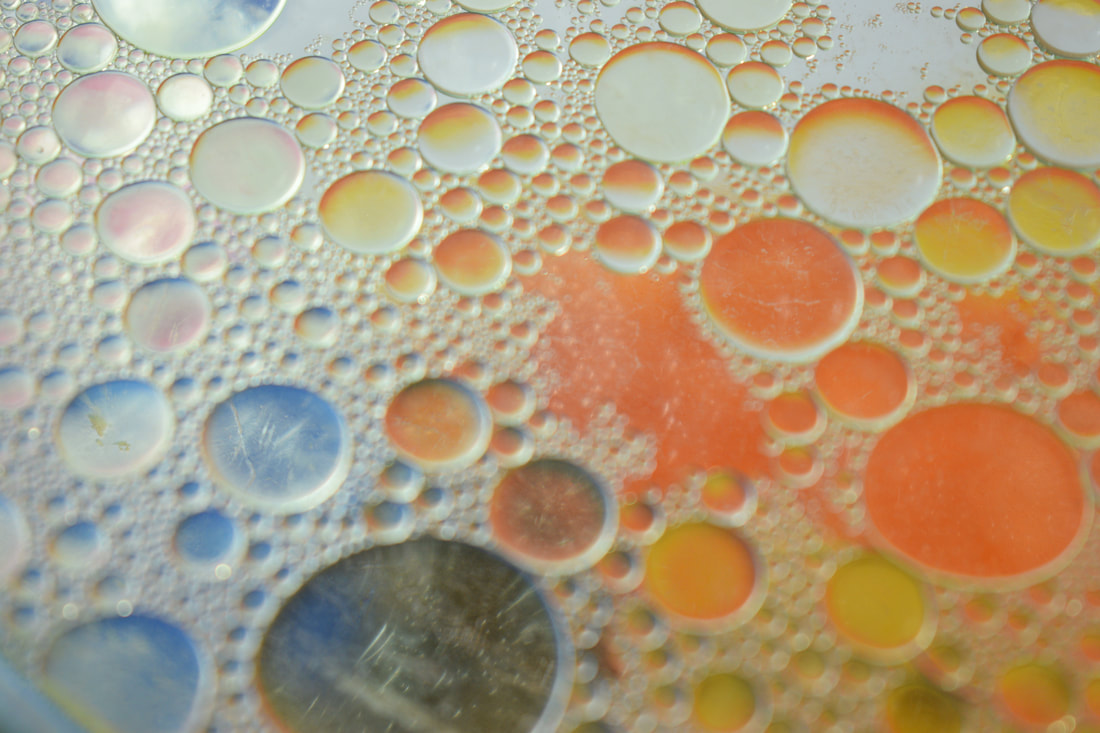
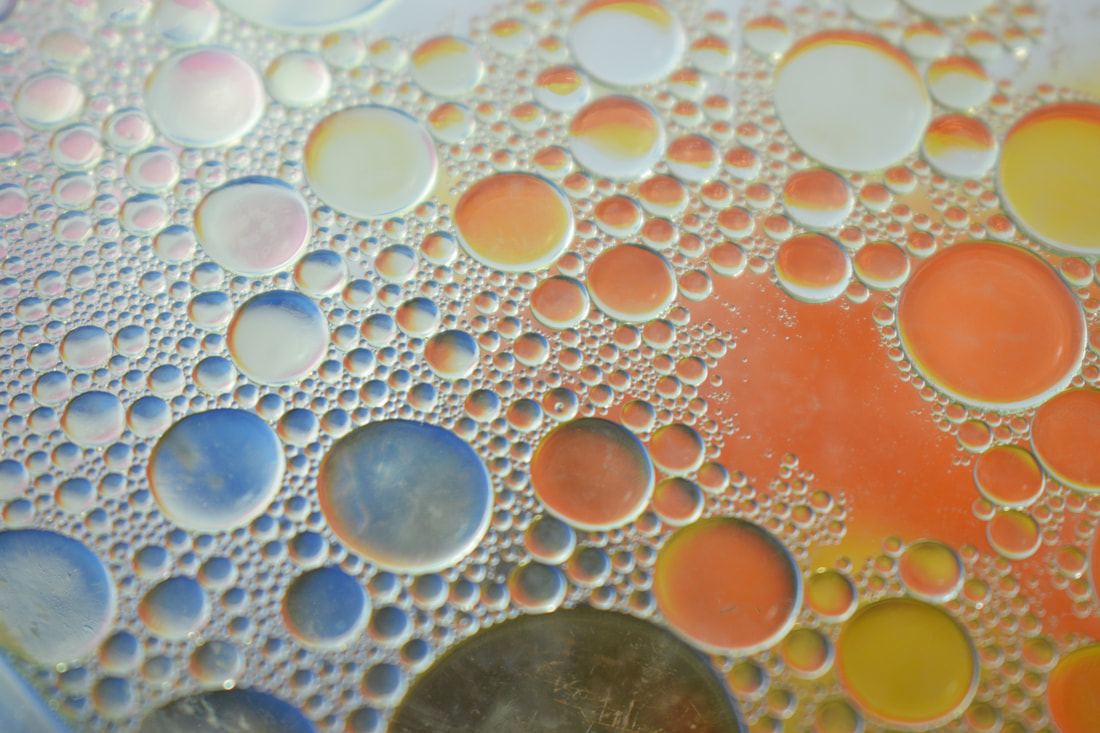
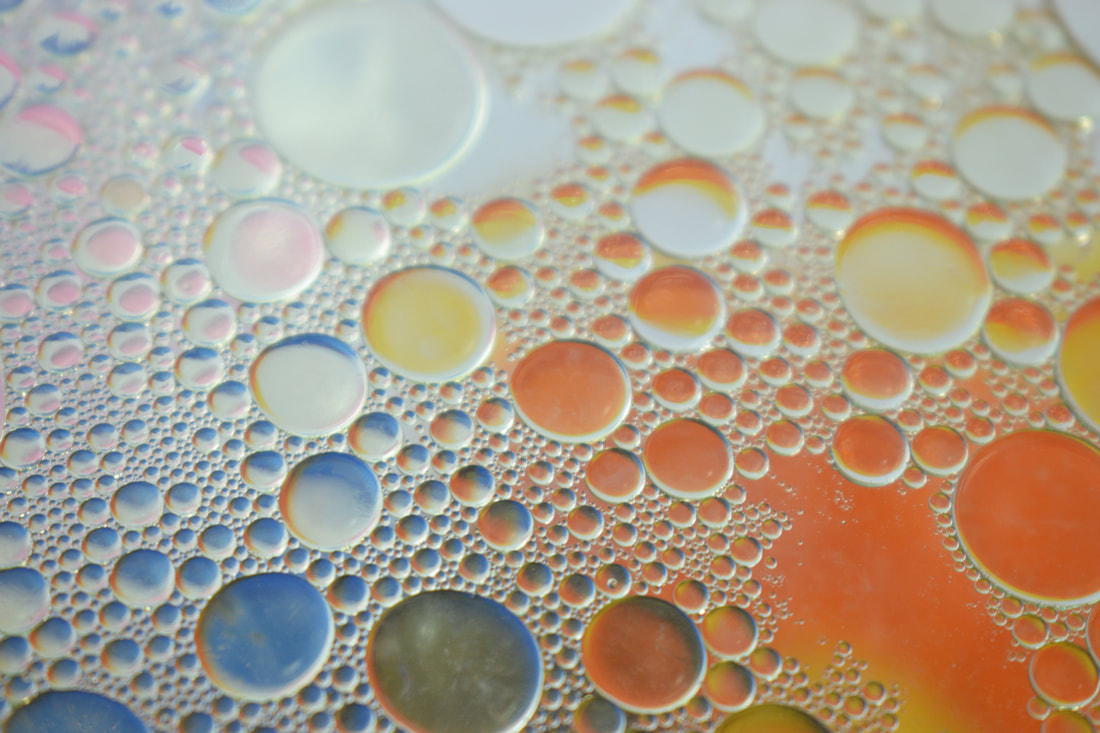
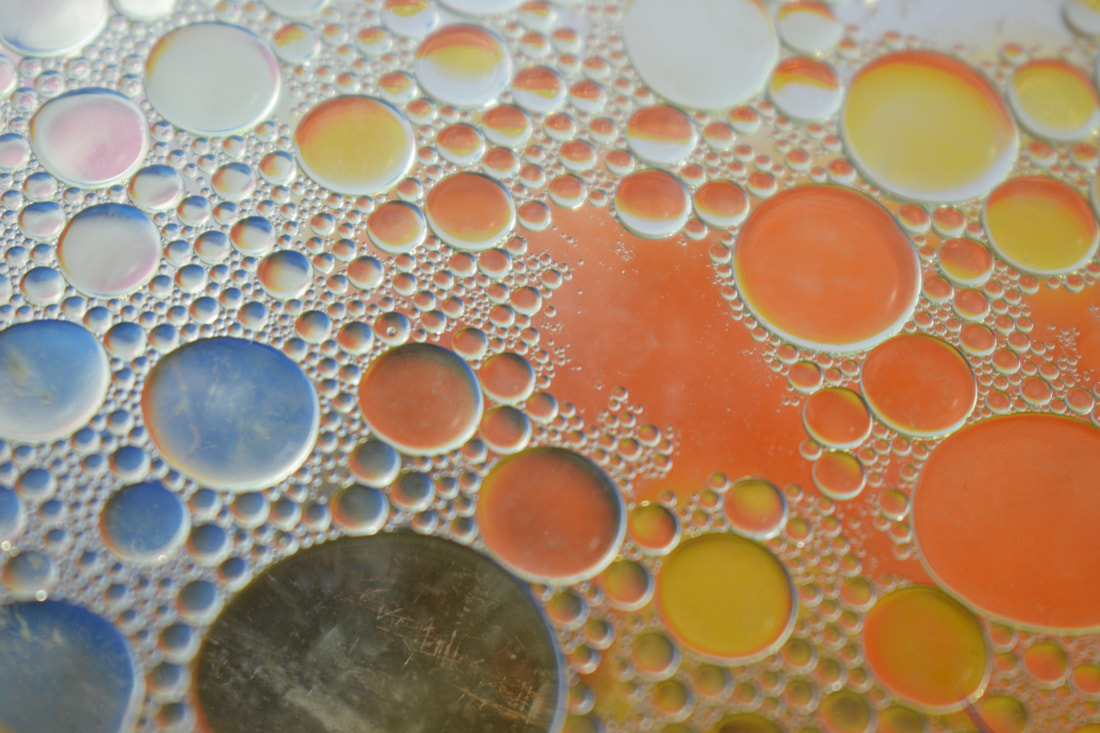
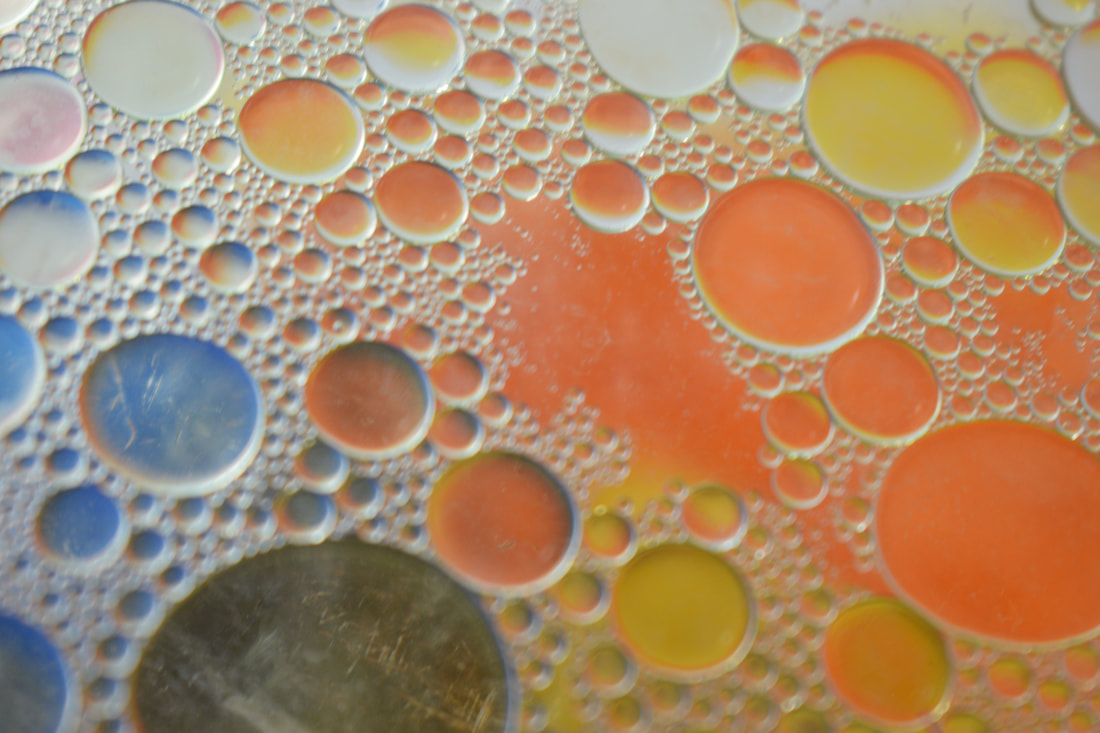
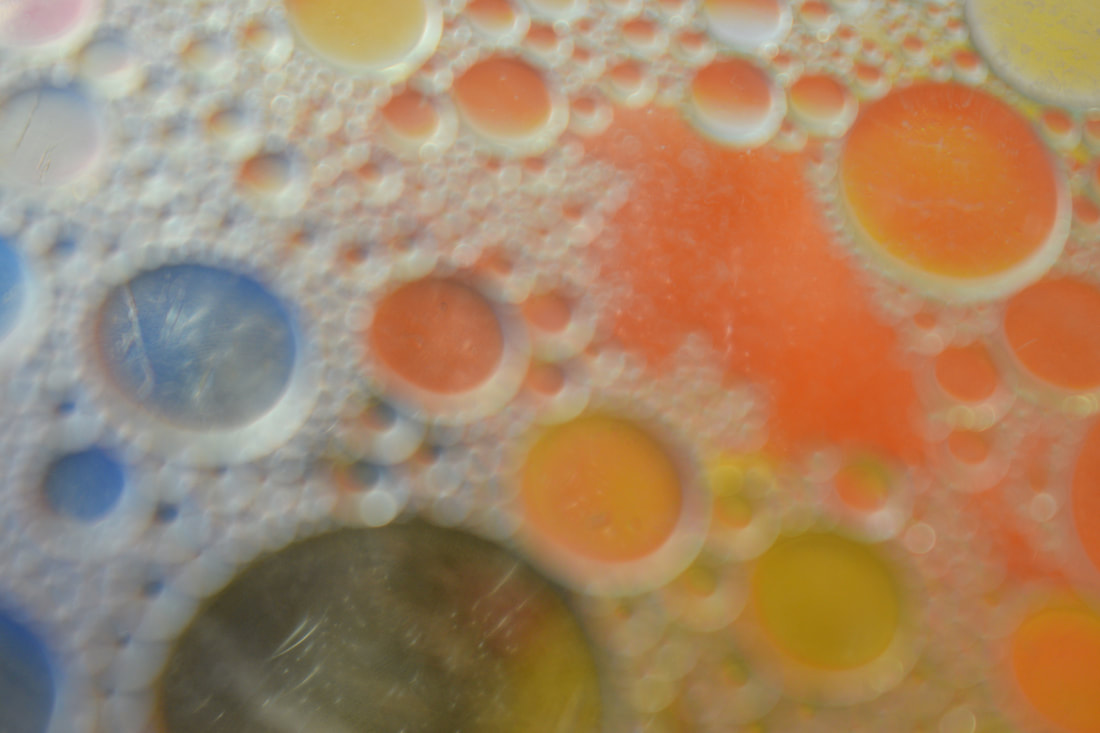
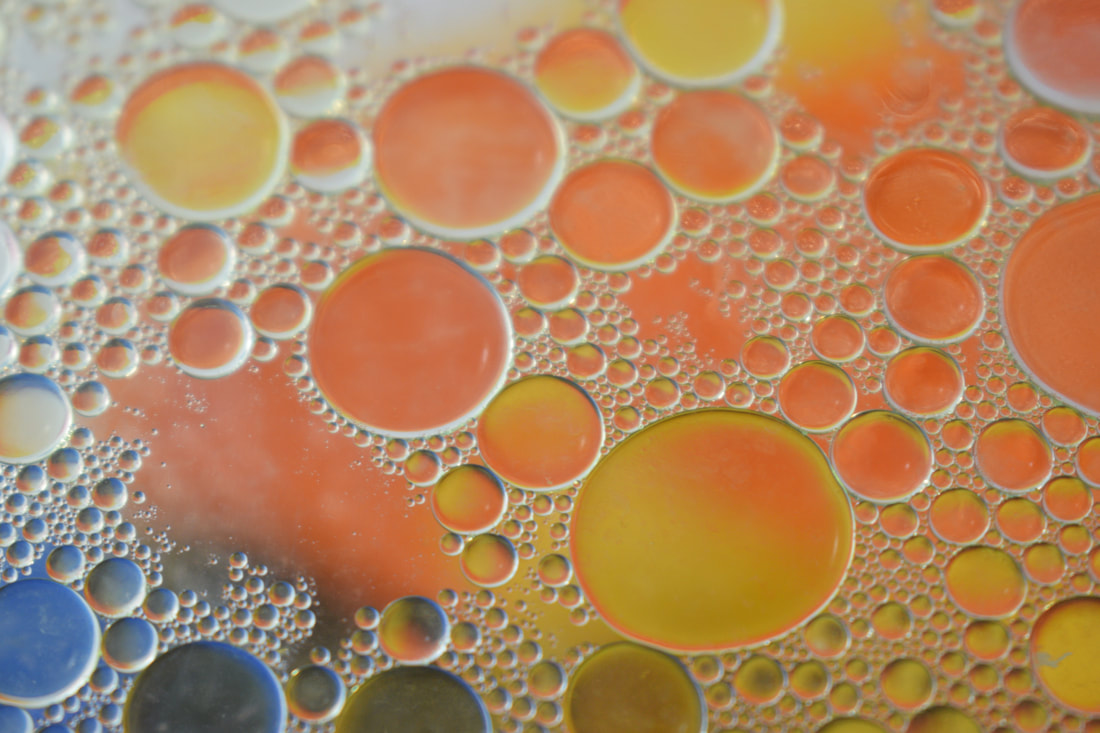
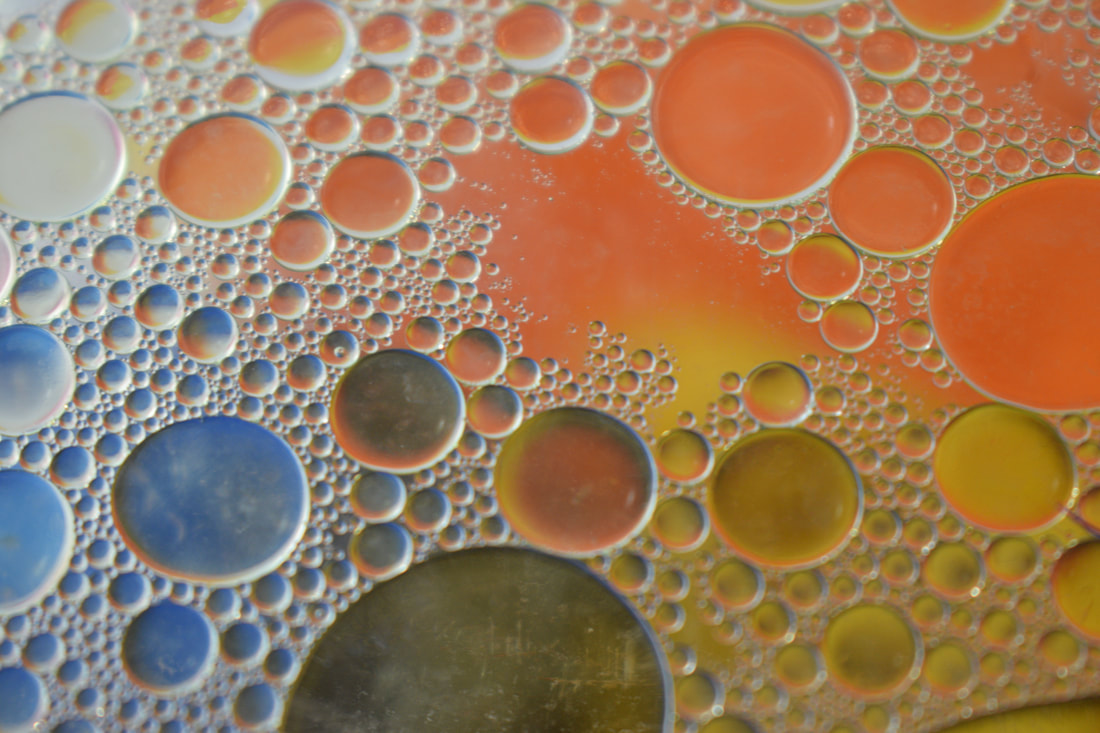
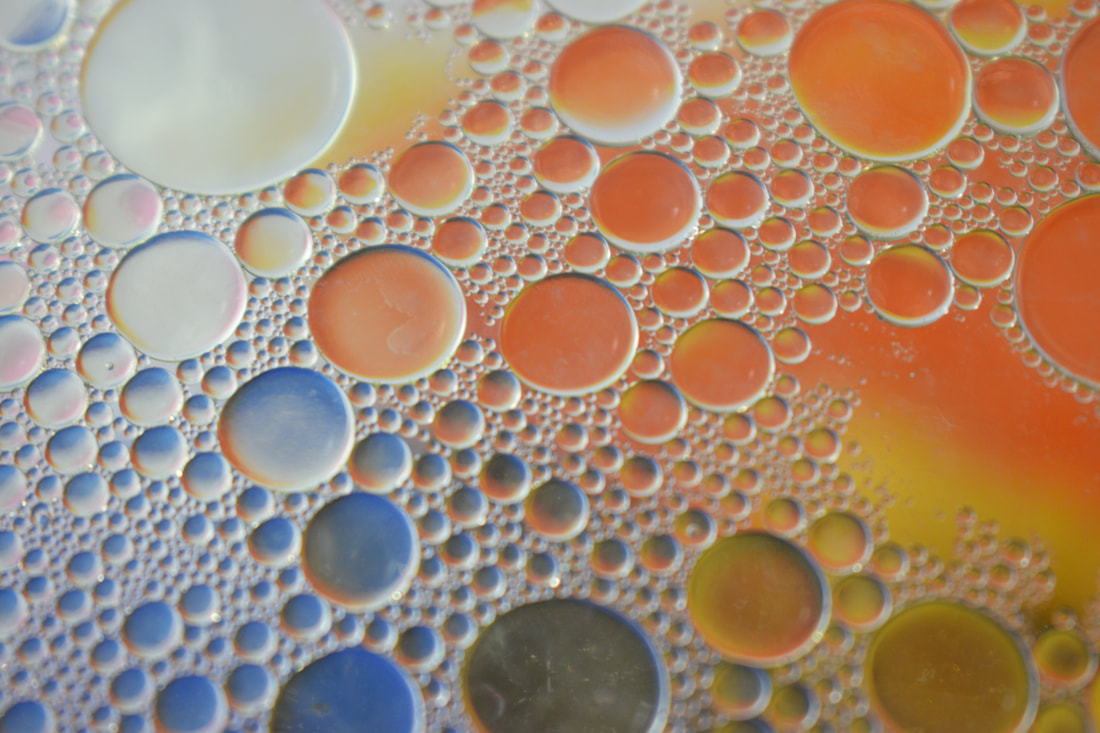
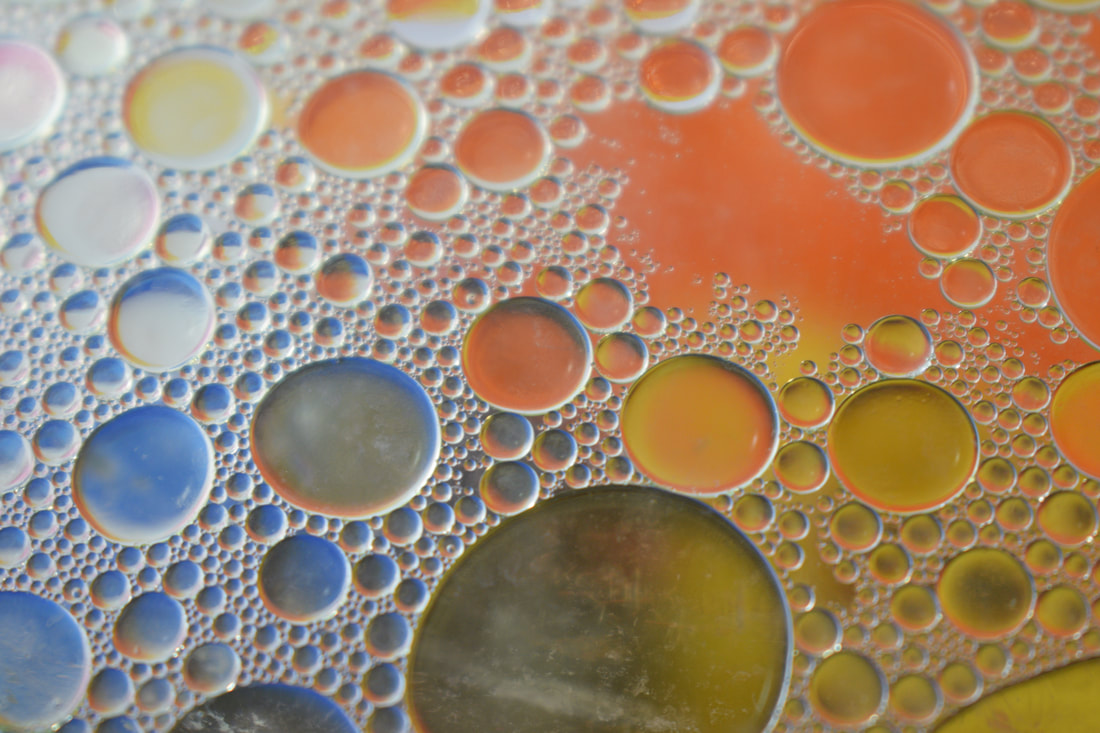
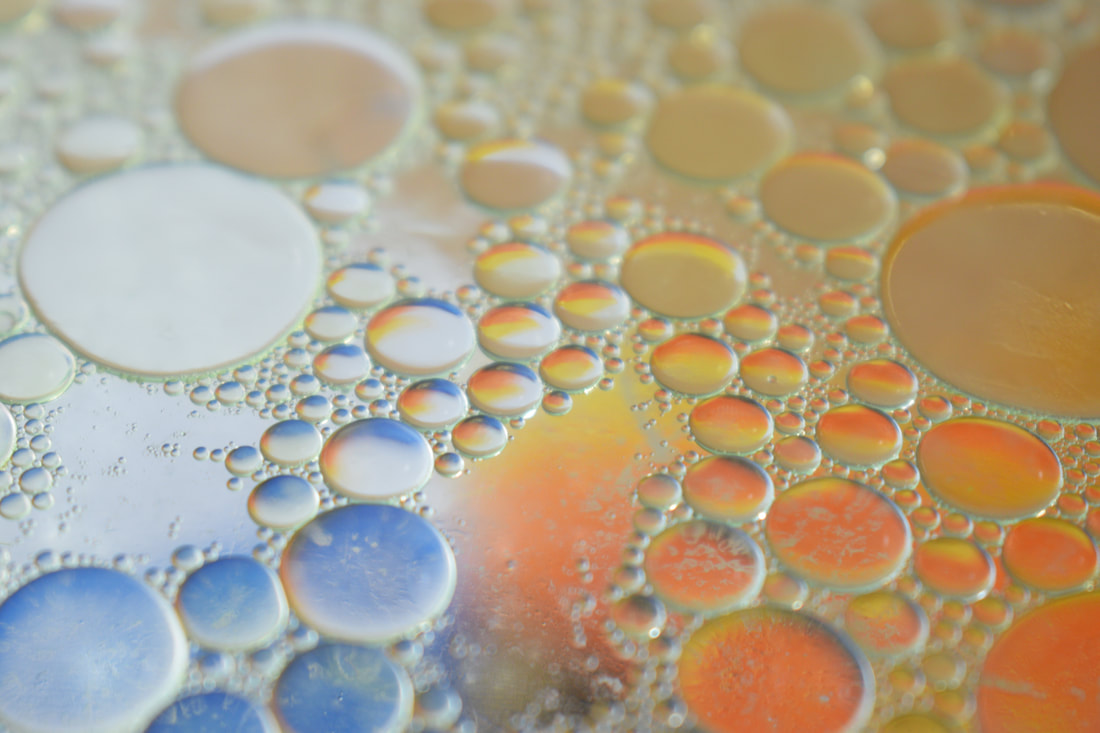
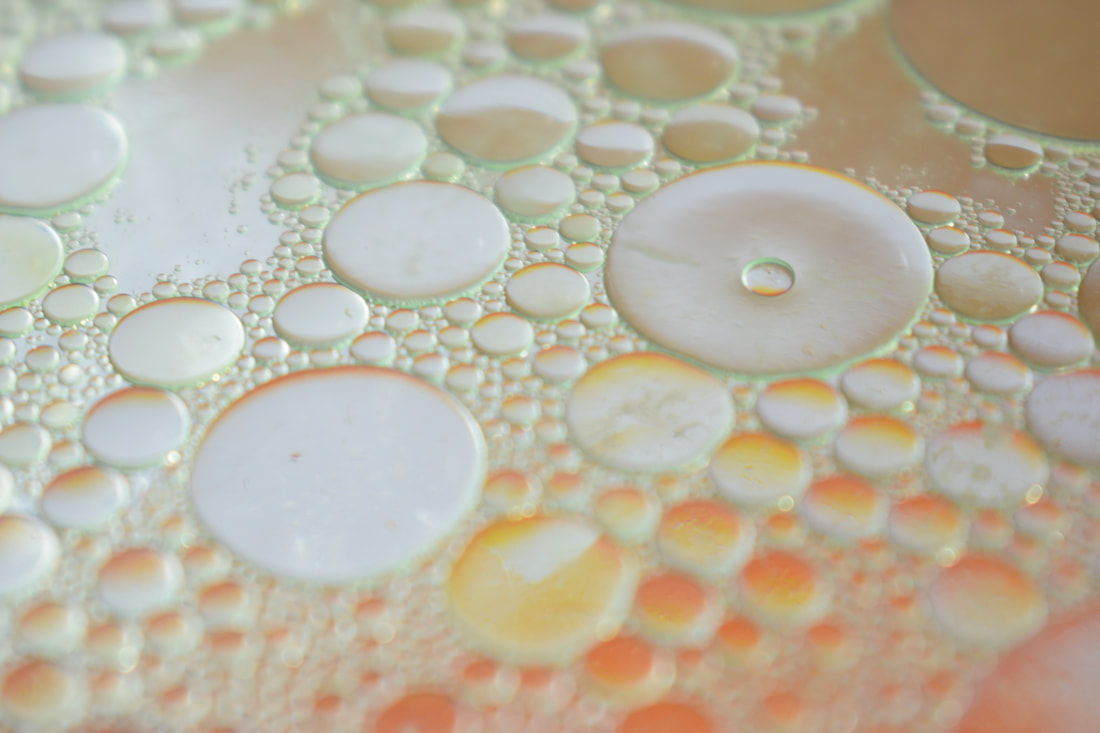
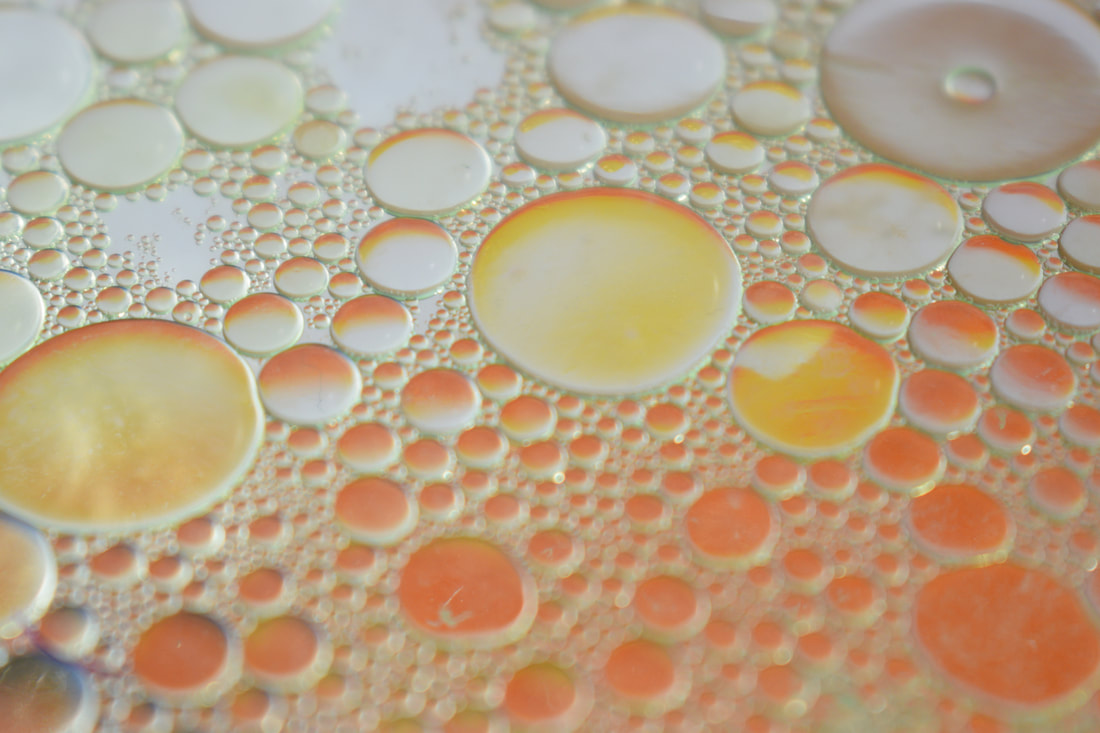
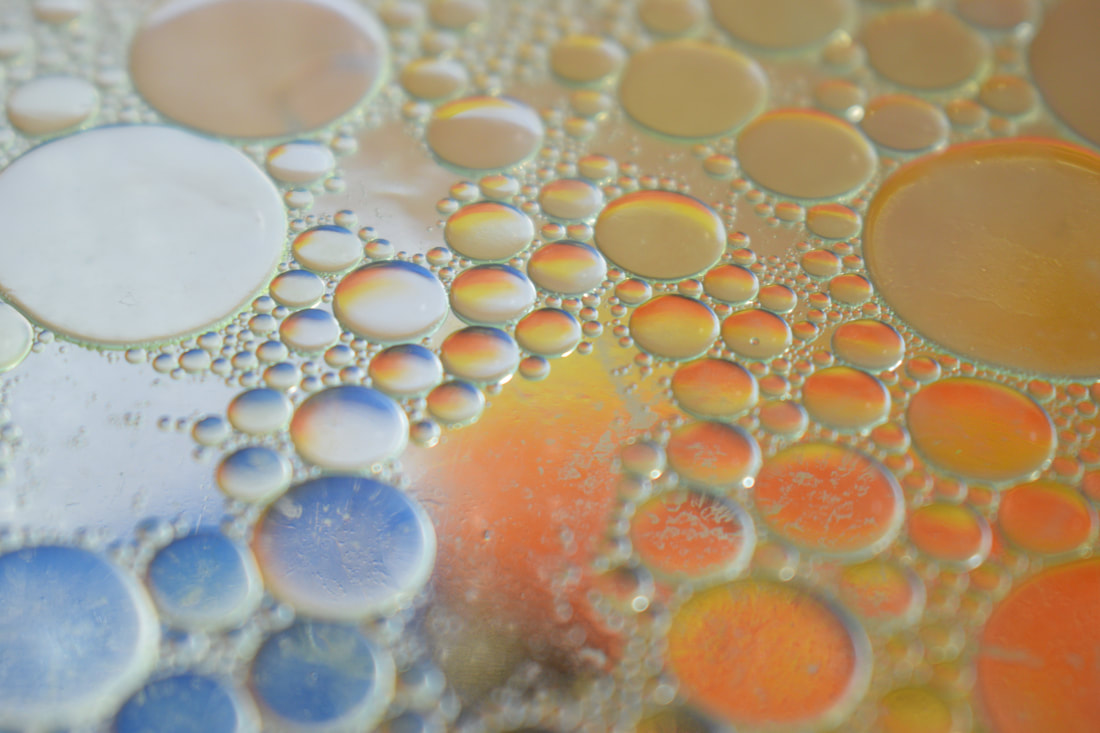
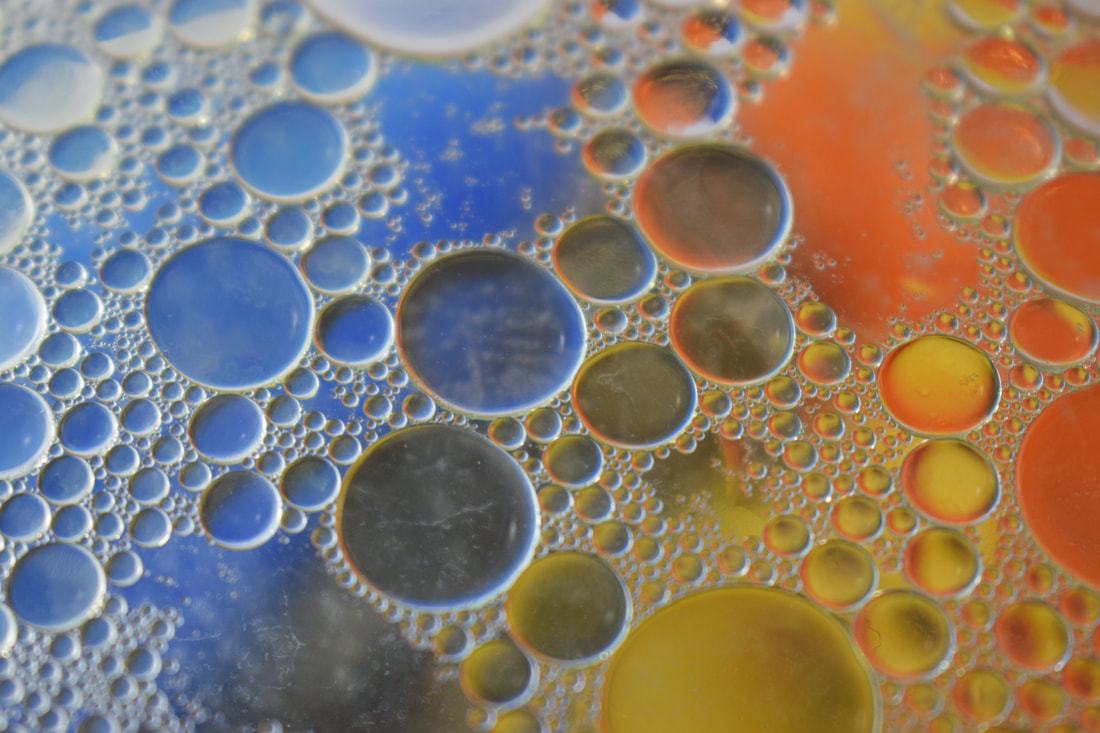
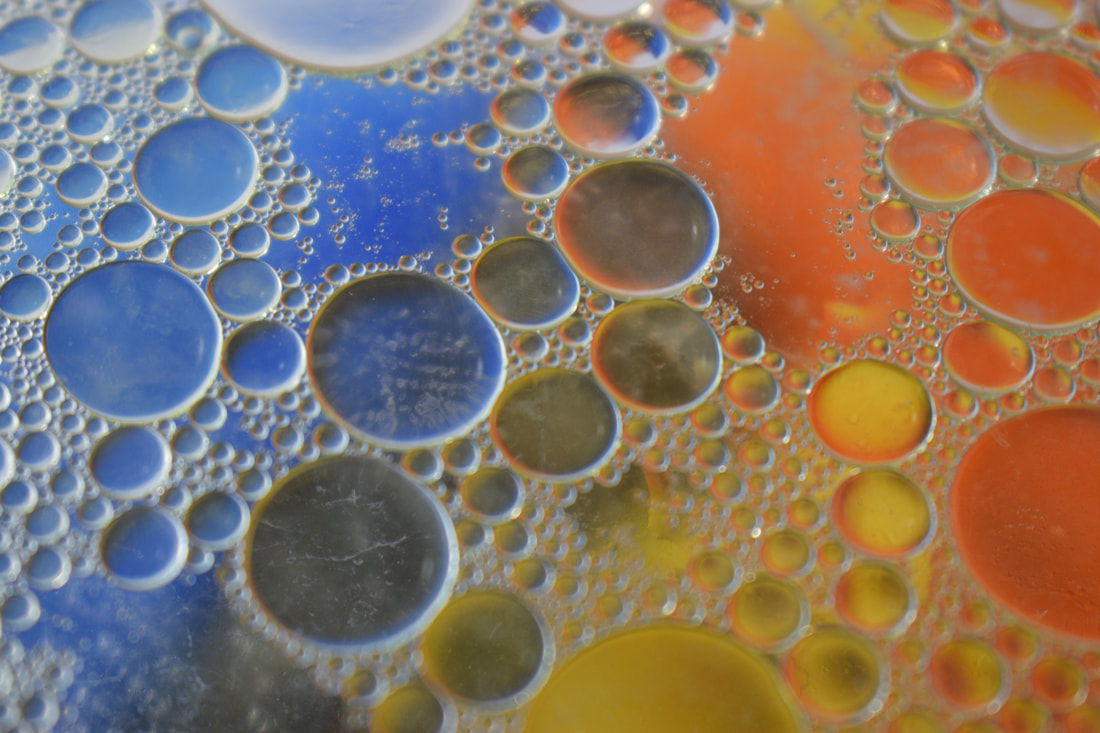
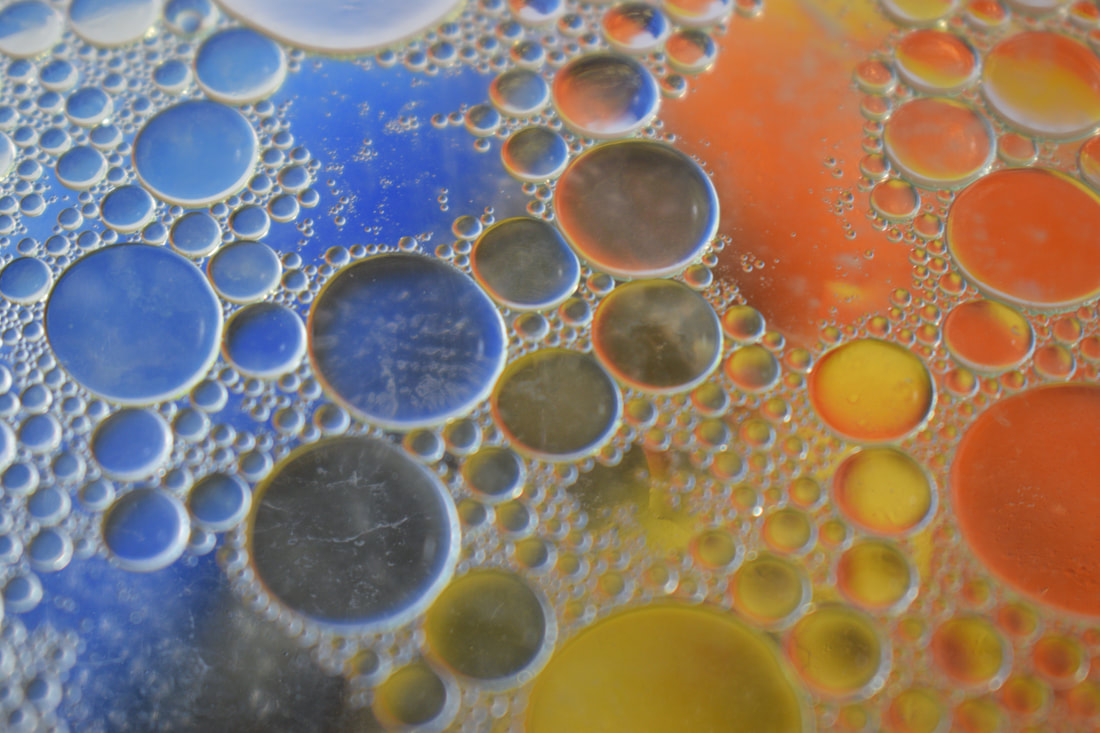
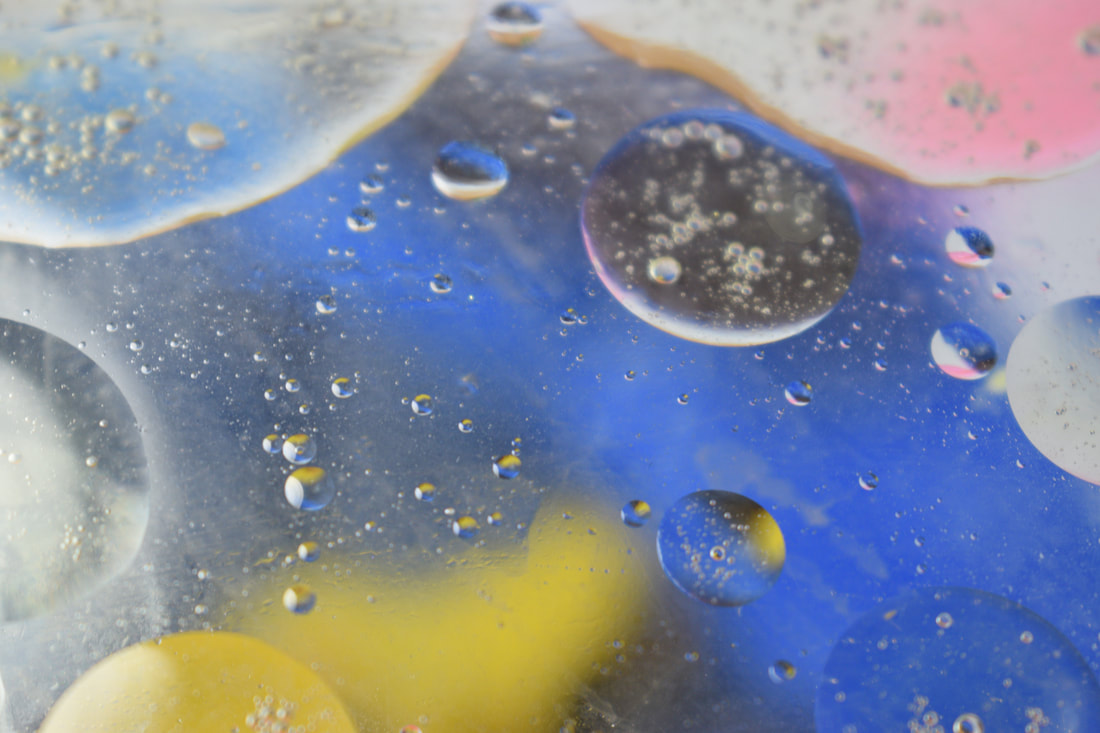
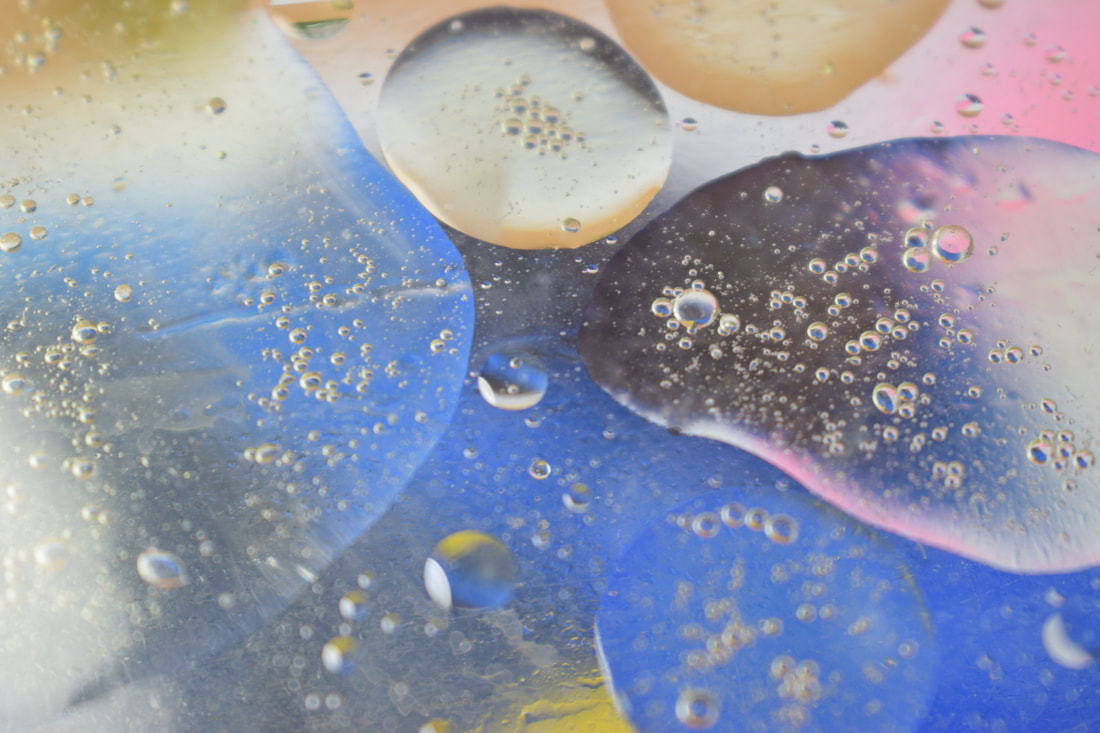
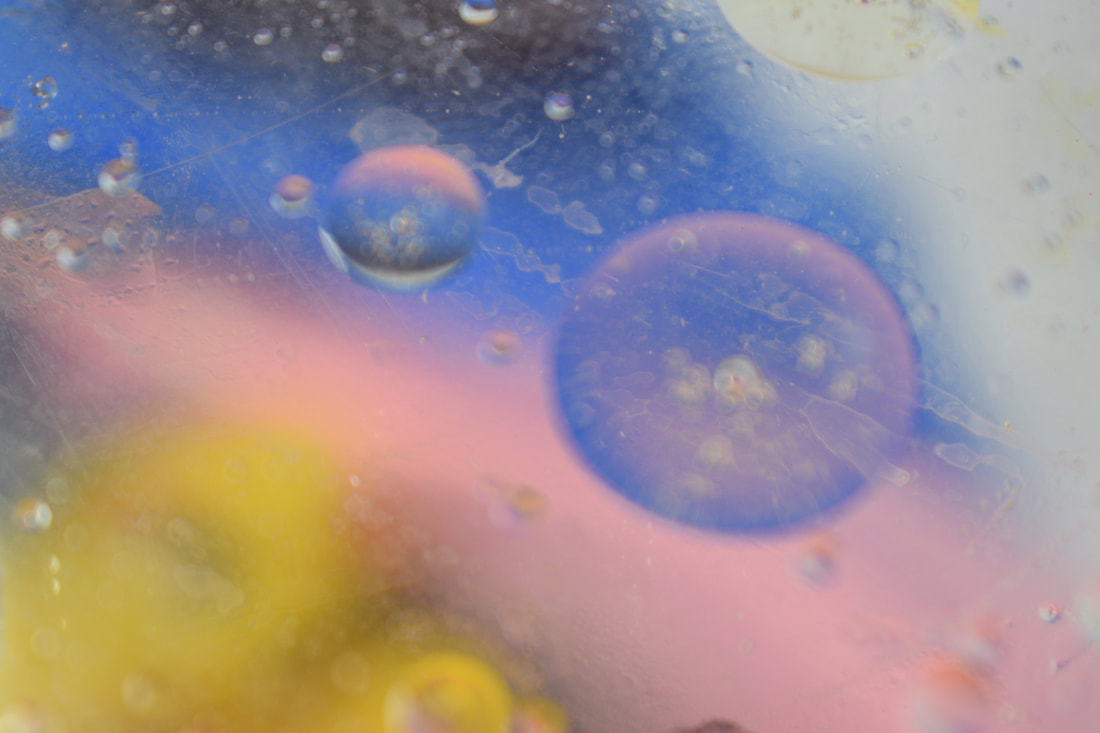
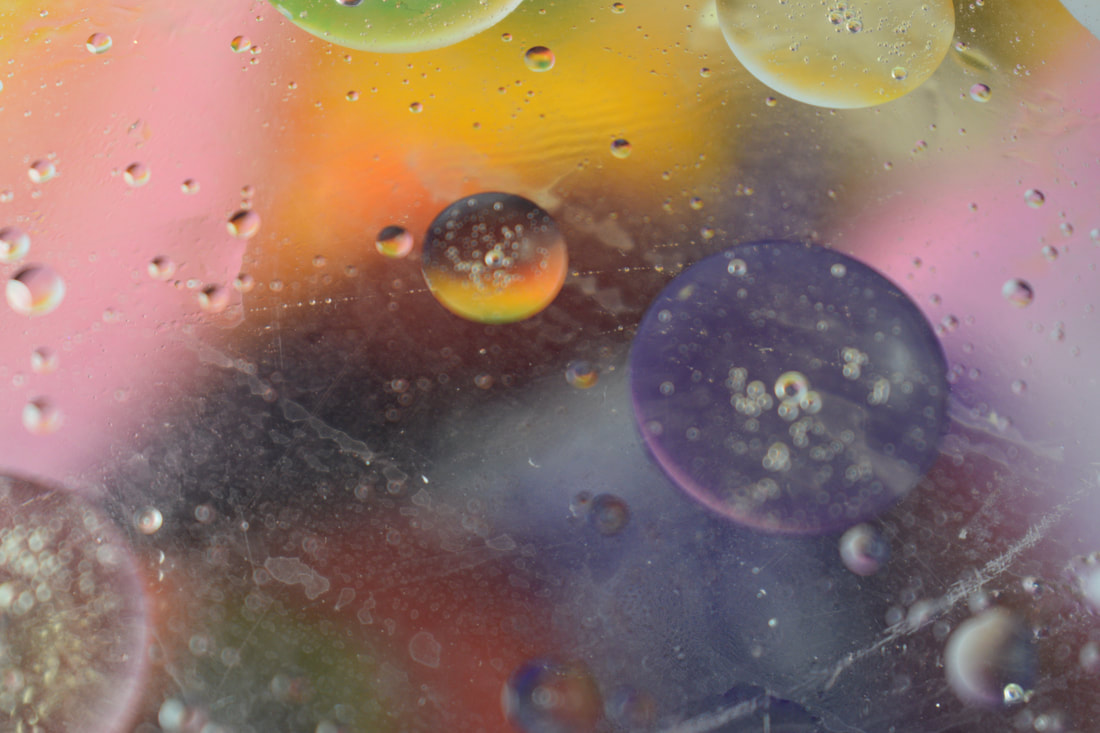
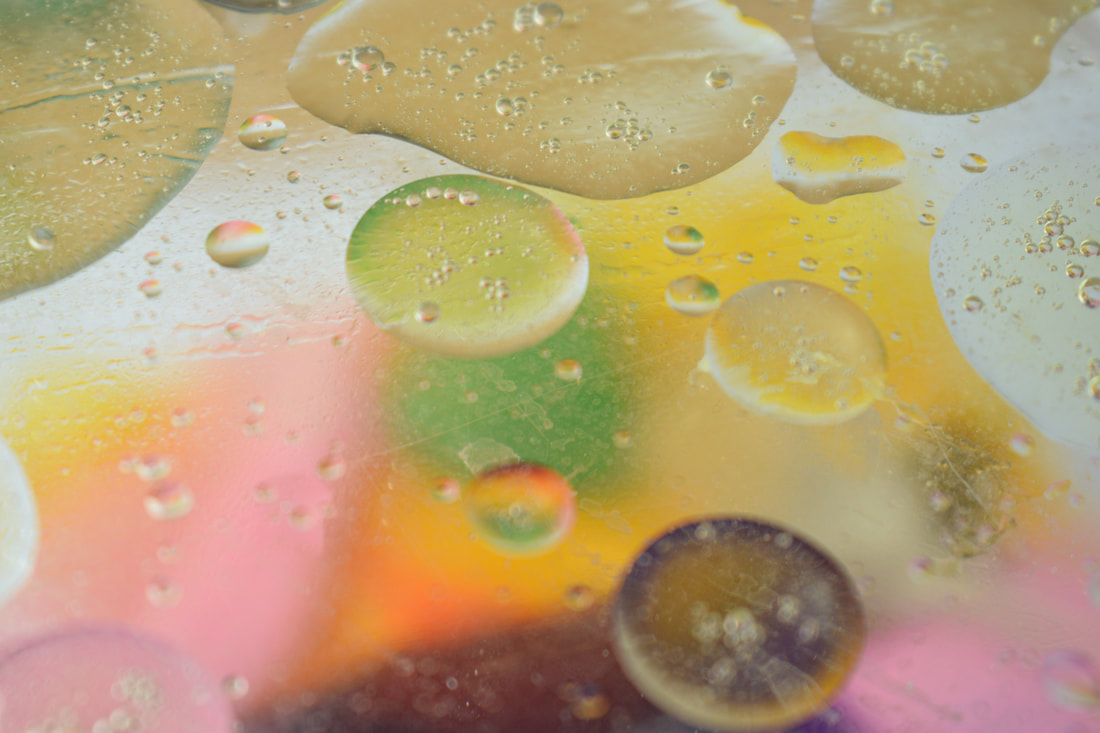
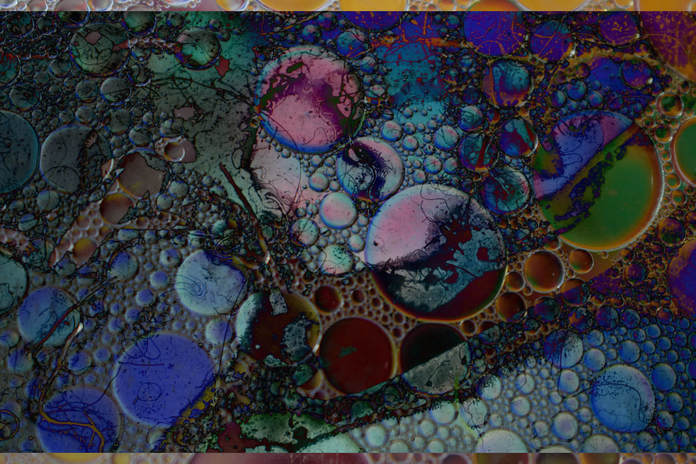
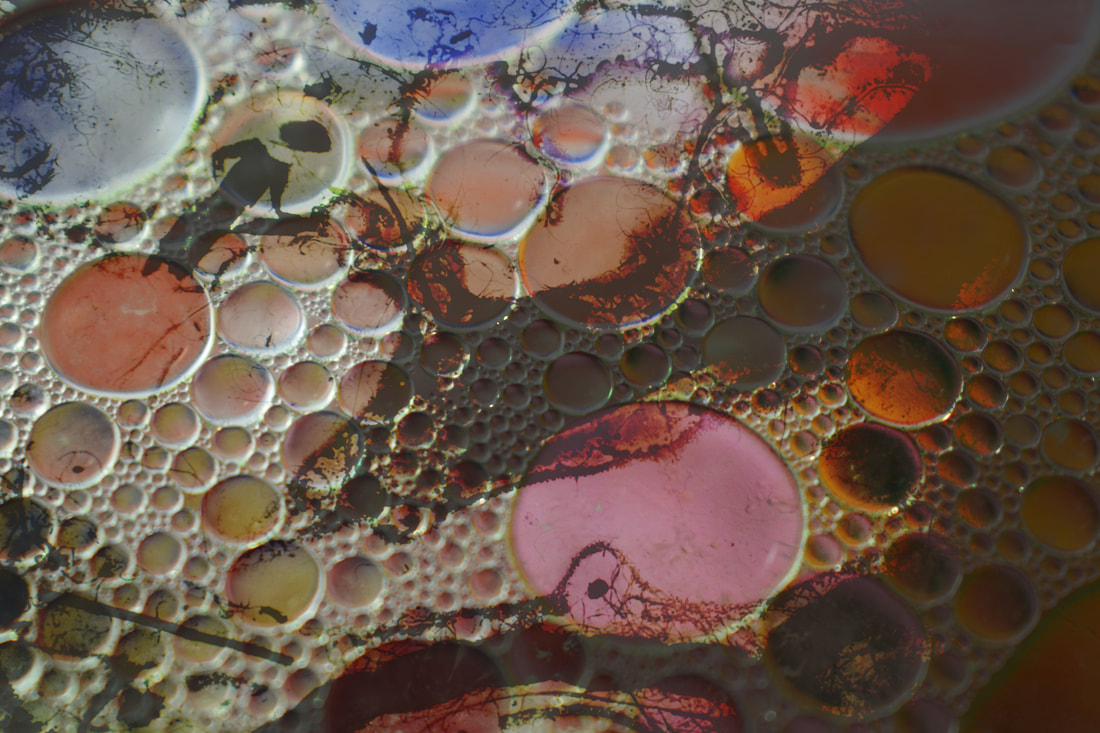
In this photo-shoot I did the same idea as the first one but I just chanced the colour of the background of the images , so that it chance the size and look to the bubbles in the image. you can see that they are a lot darker and smaller than the first photo shoot.
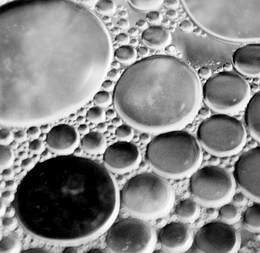
WWW: I have build on the first photo shoot and changed the colours in the background and it has chanced the mood of the images to the first shoot having only the 3 different colours also adds a lot to the photos. the colours also made the lines of the bubble look more clear.
EBI: again like the first photo shoot some of the images came out with a bit to much light in them which I found really hard to move within the photo shoot its self so will have to do it when editing in Photoshop. |


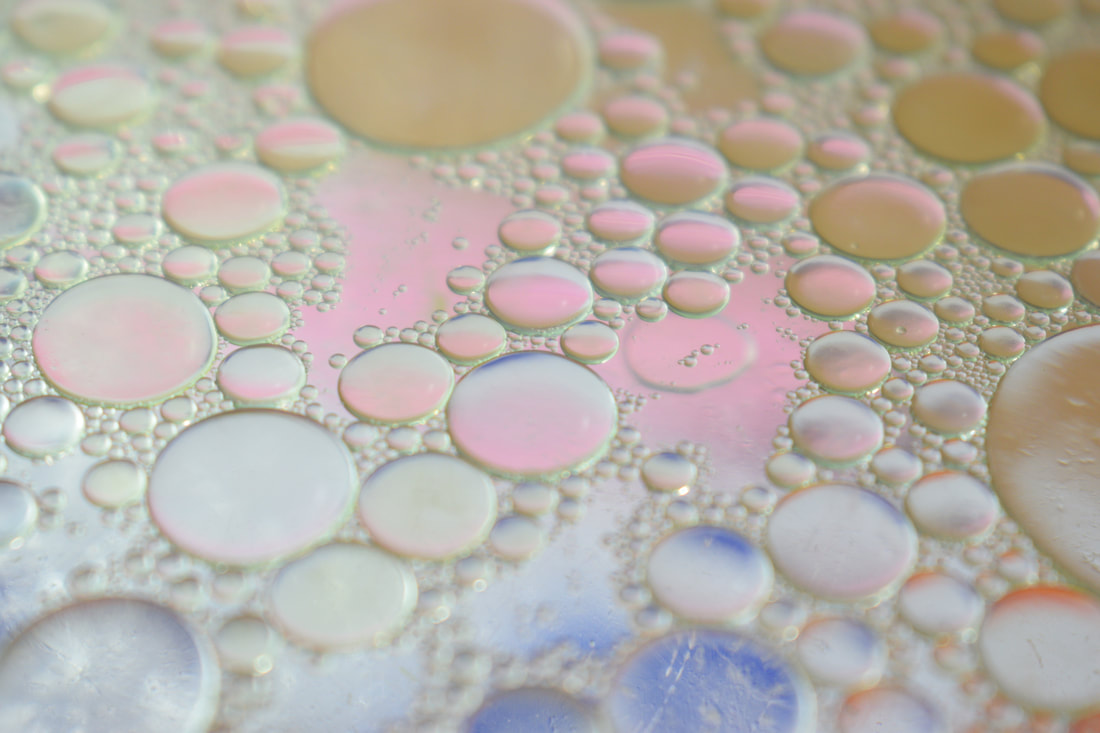
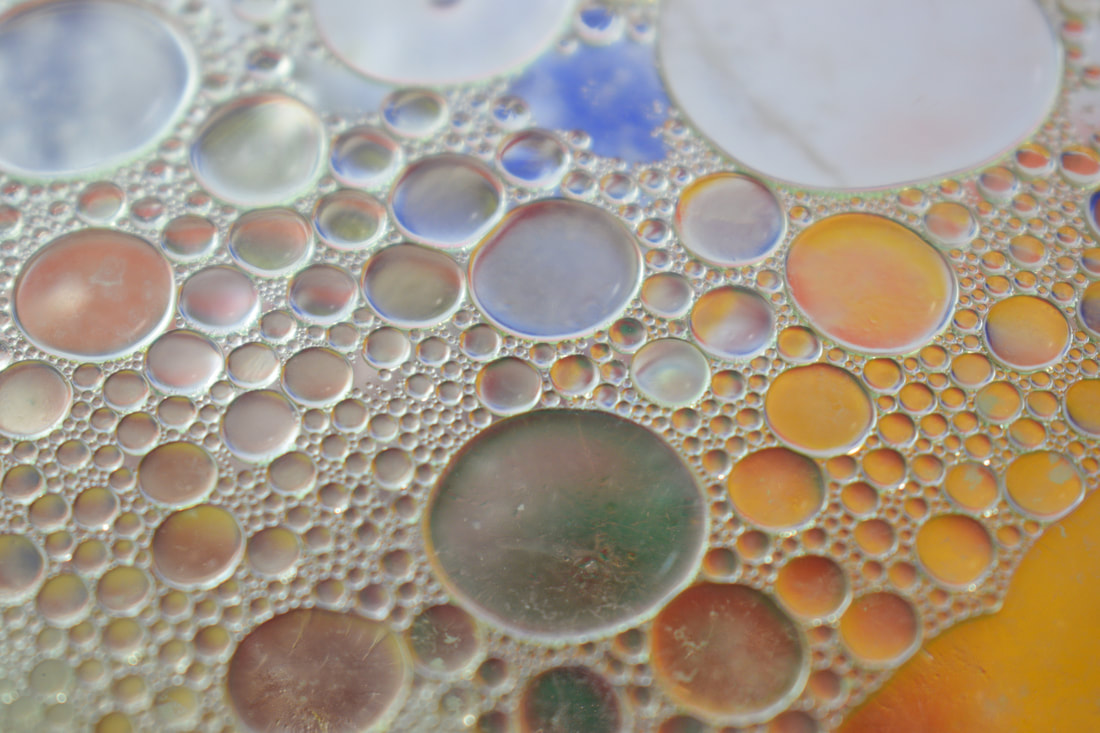

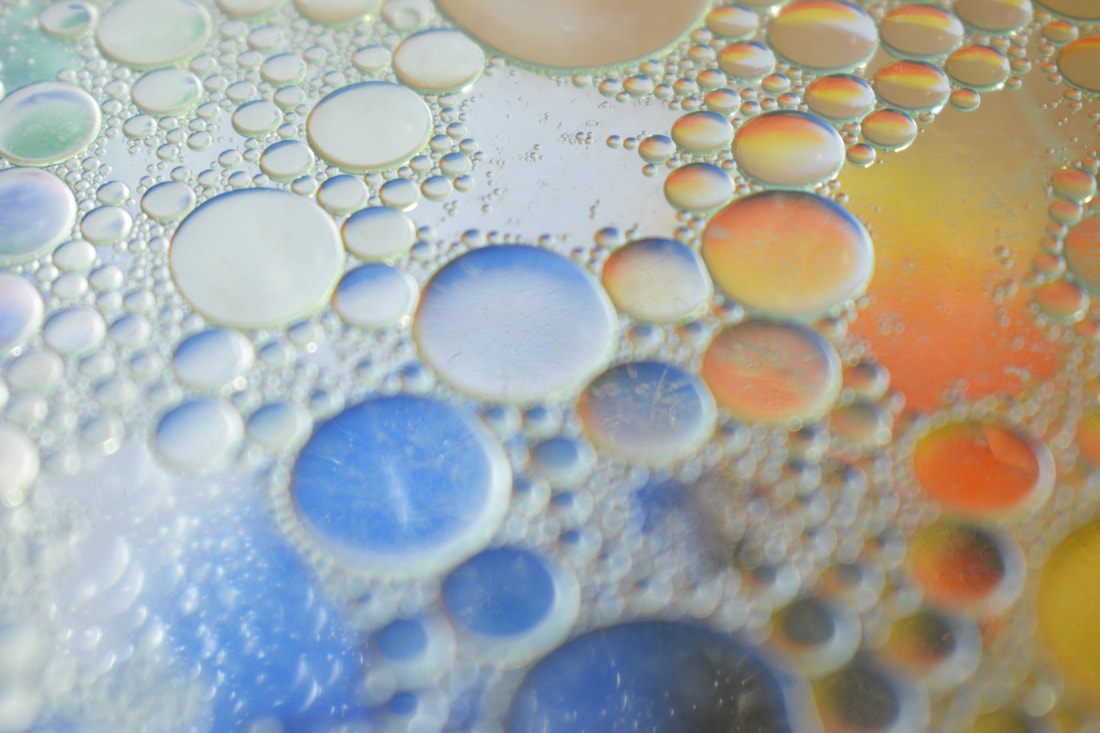
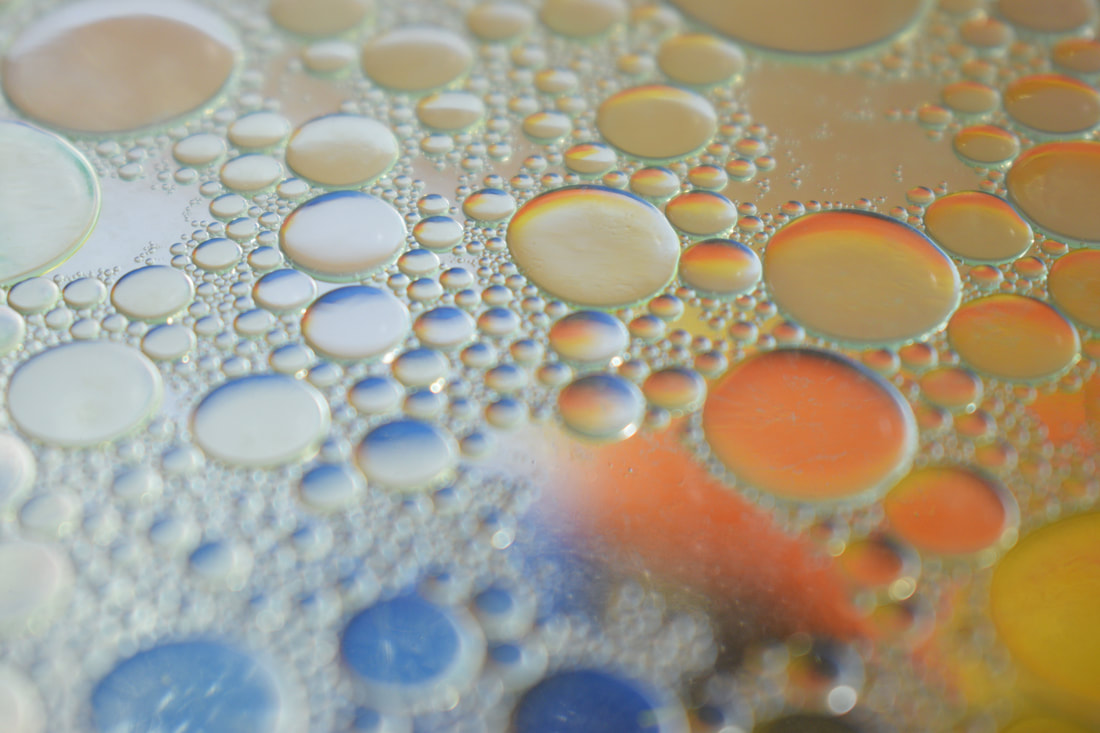
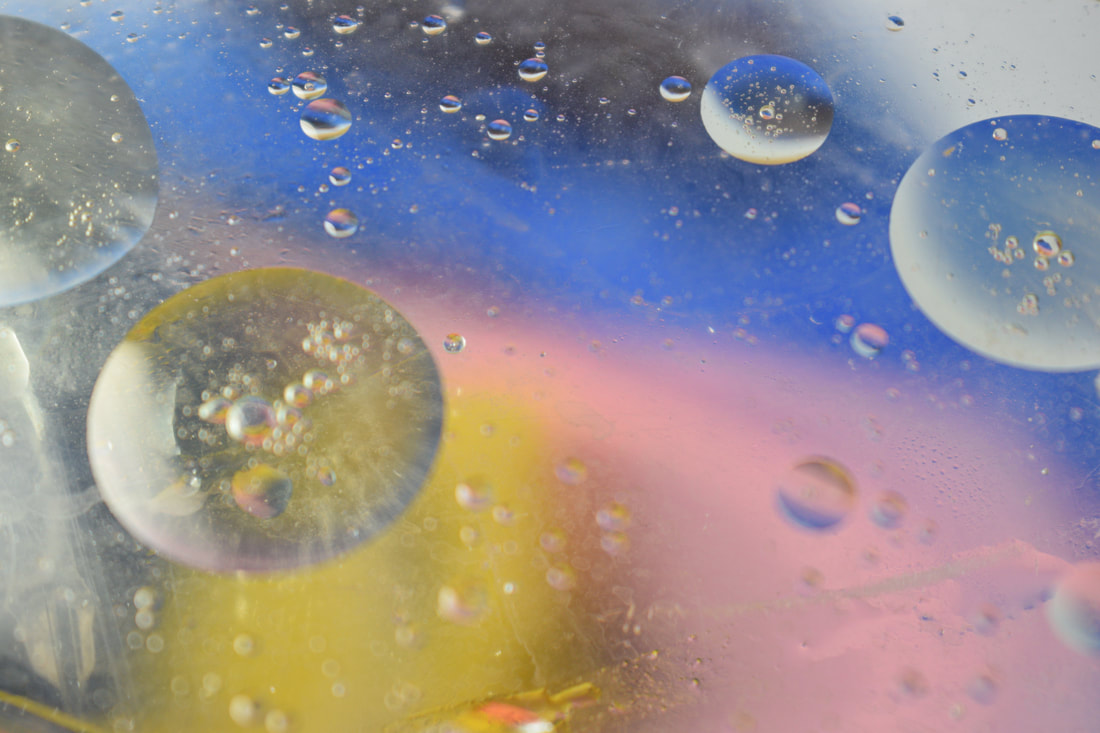
Oil and water photography set up:
photo-shoot one:
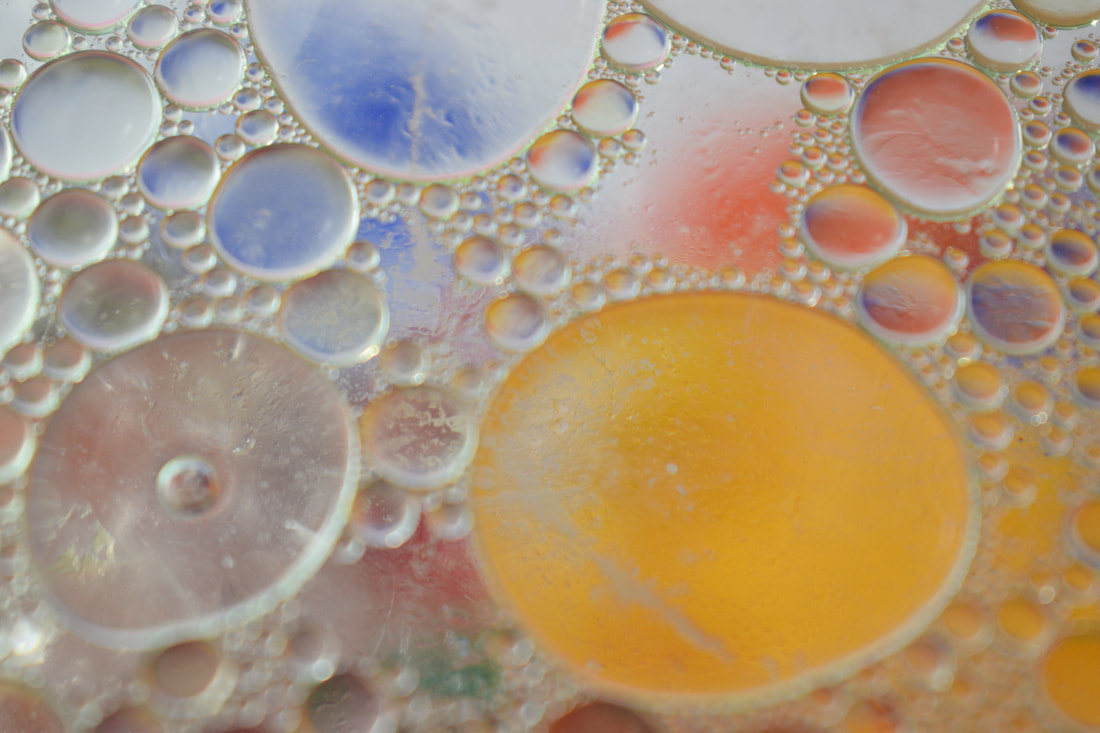
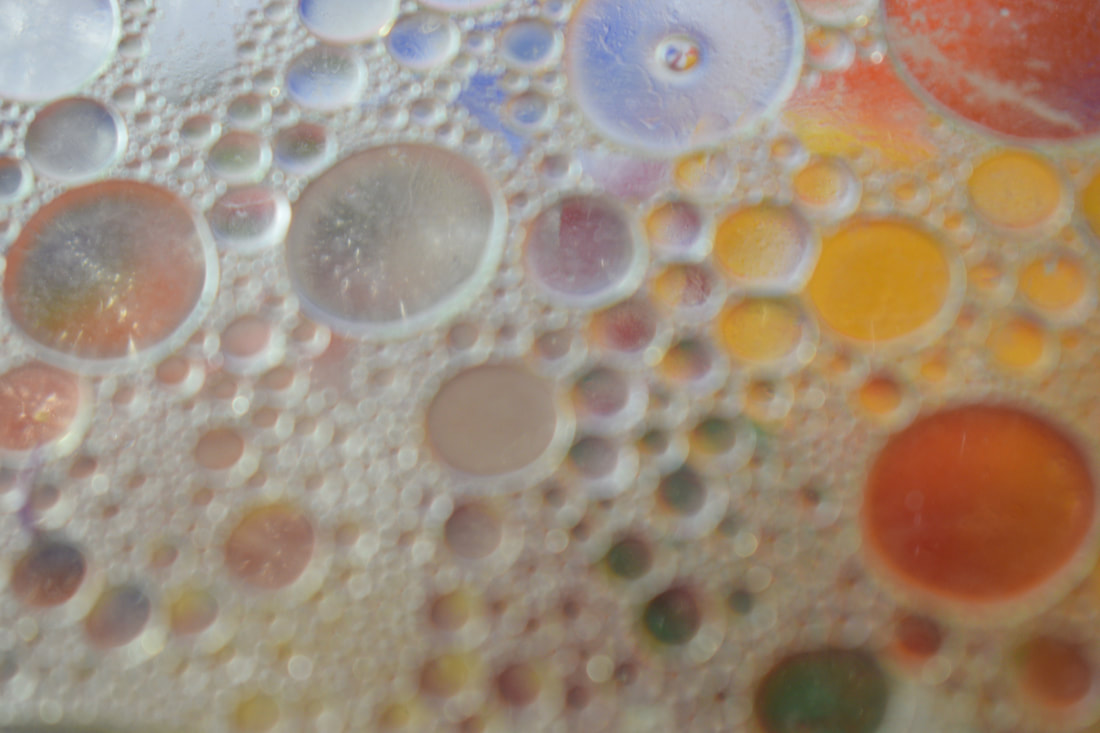
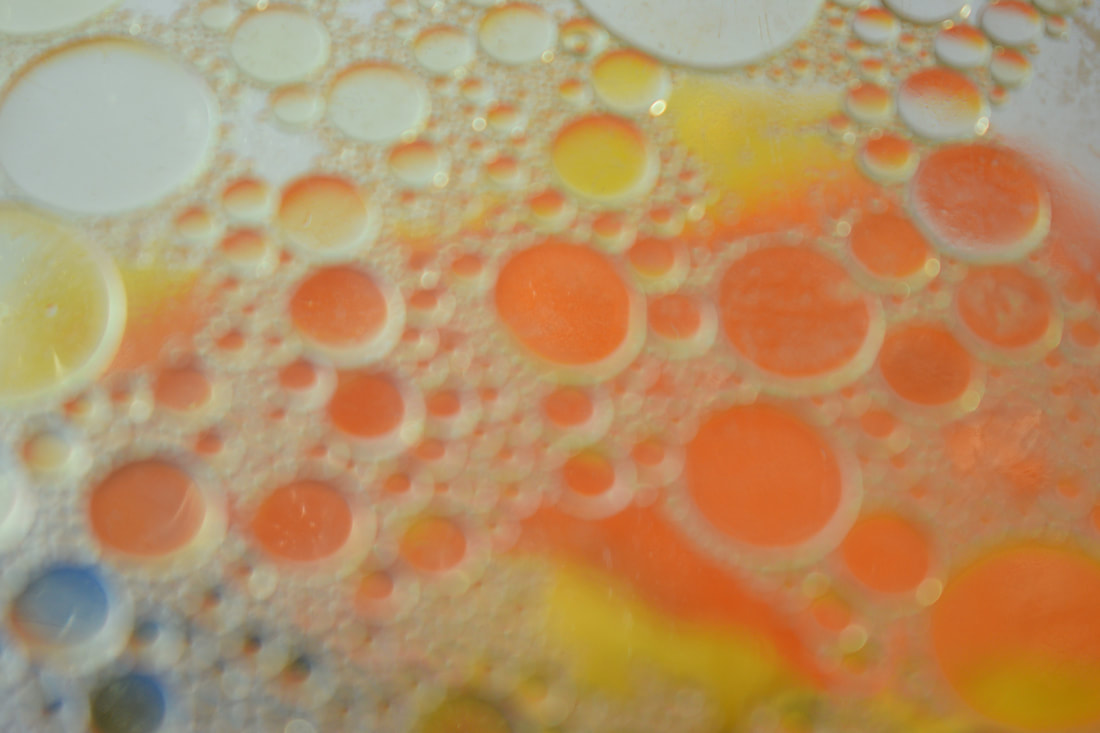
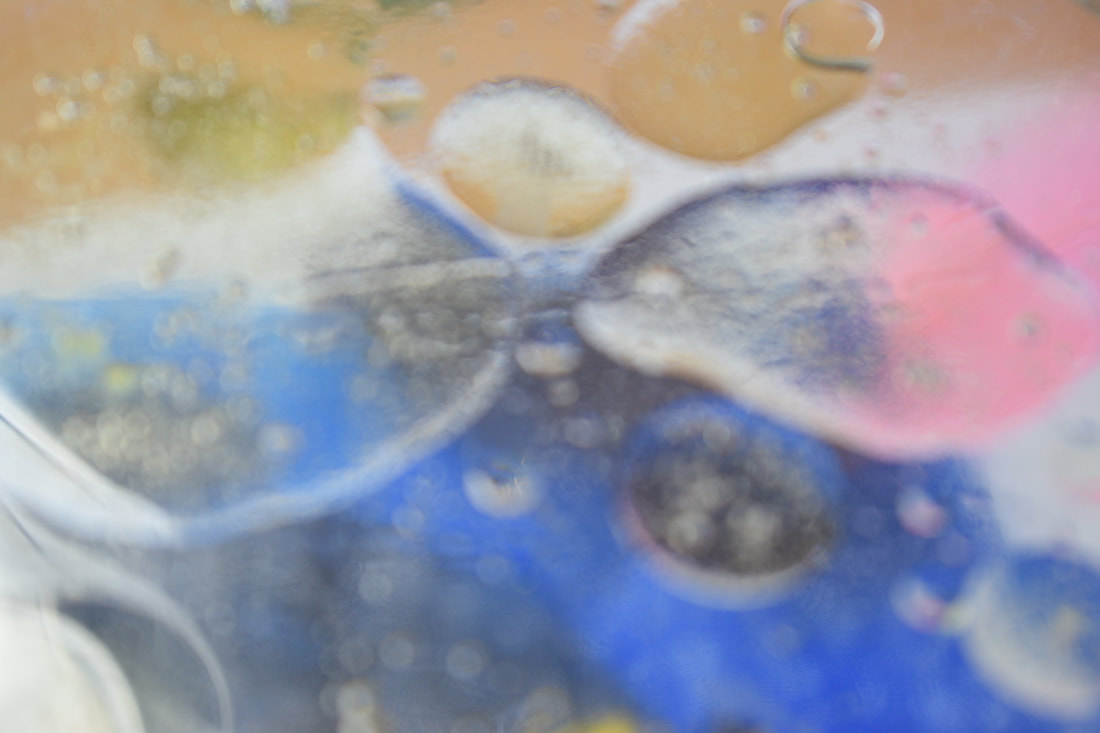
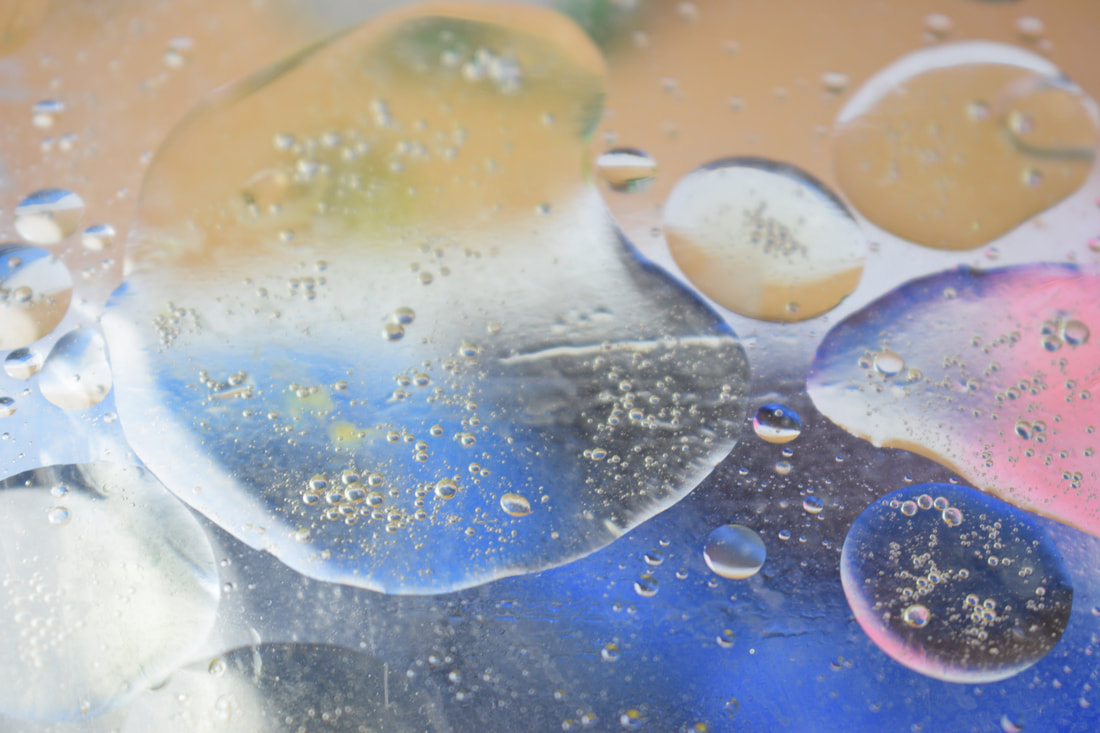
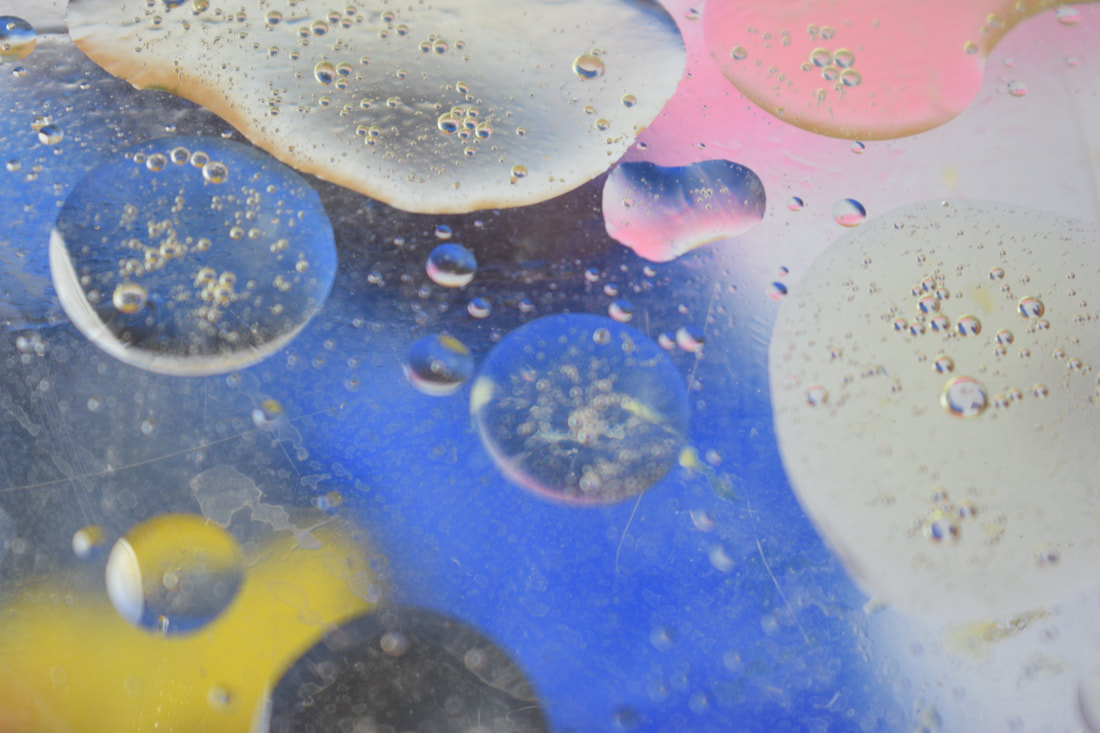
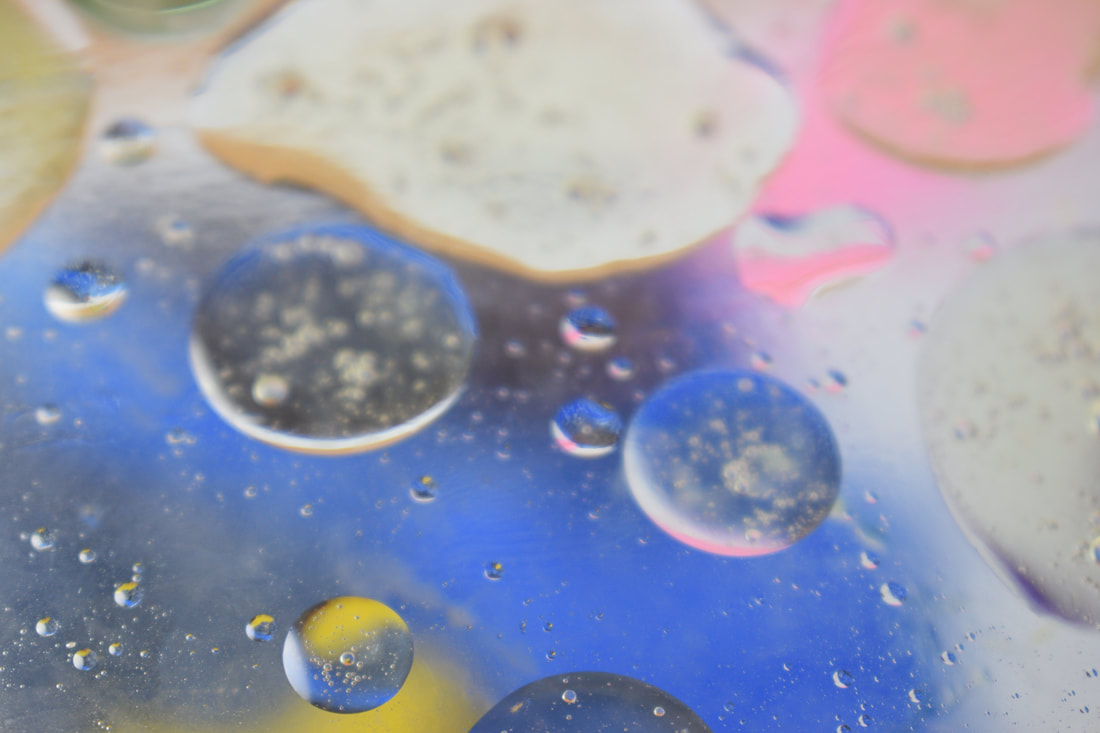
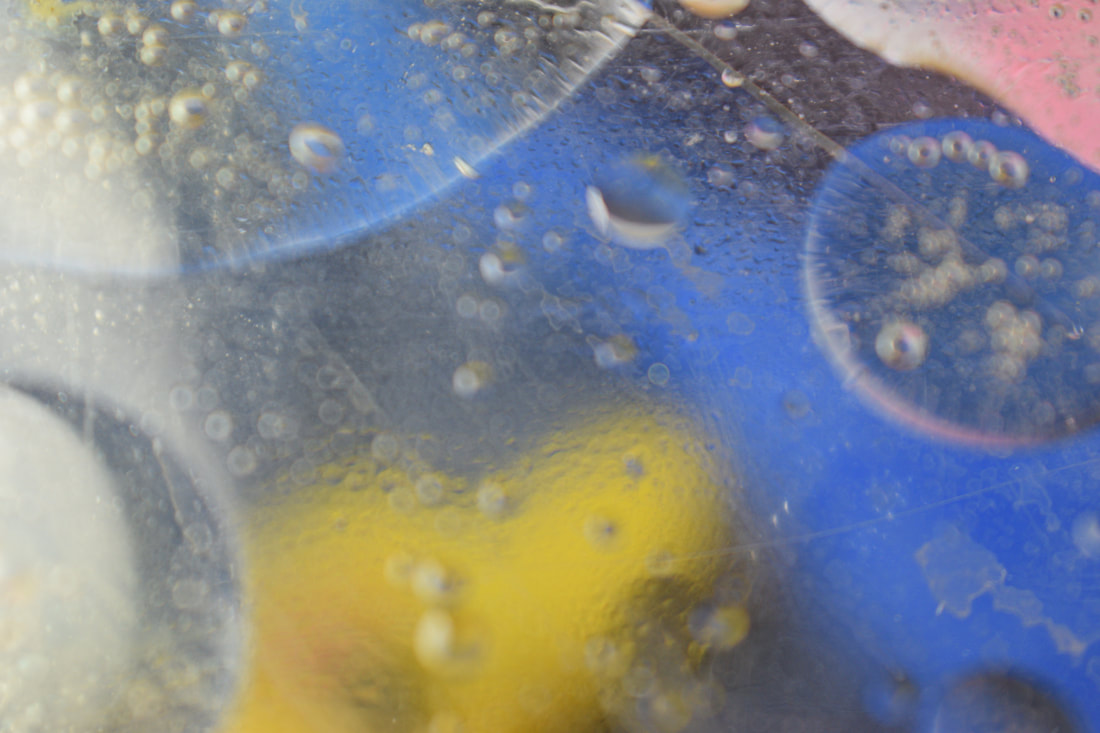
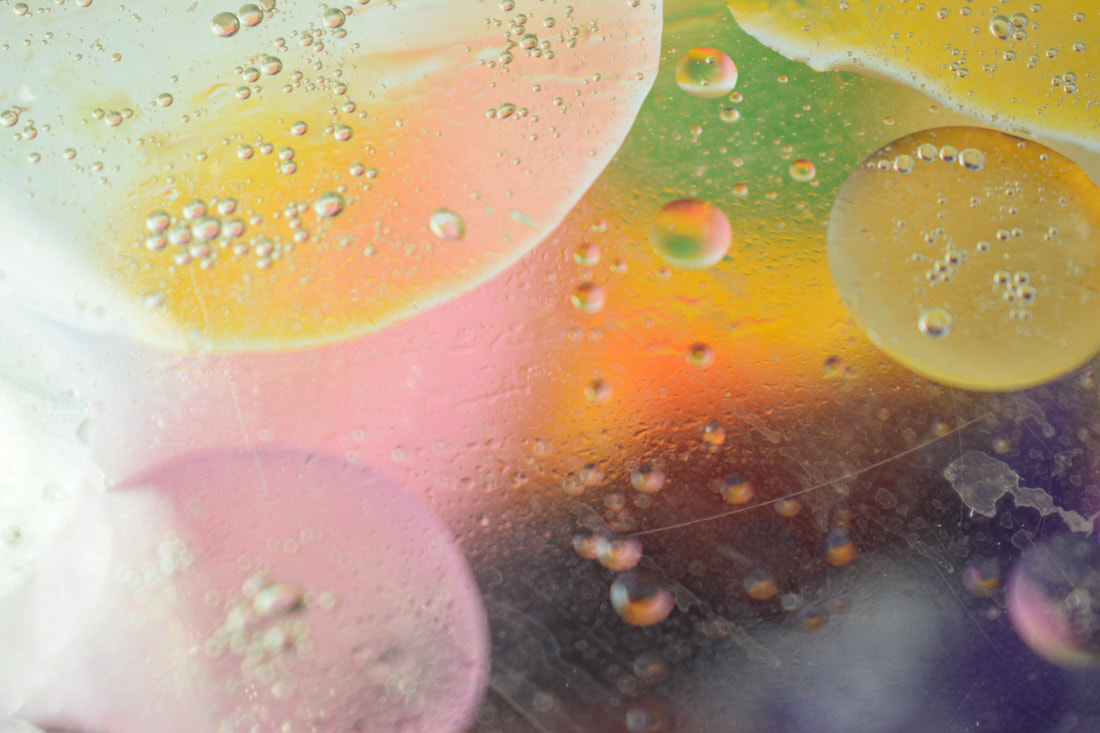
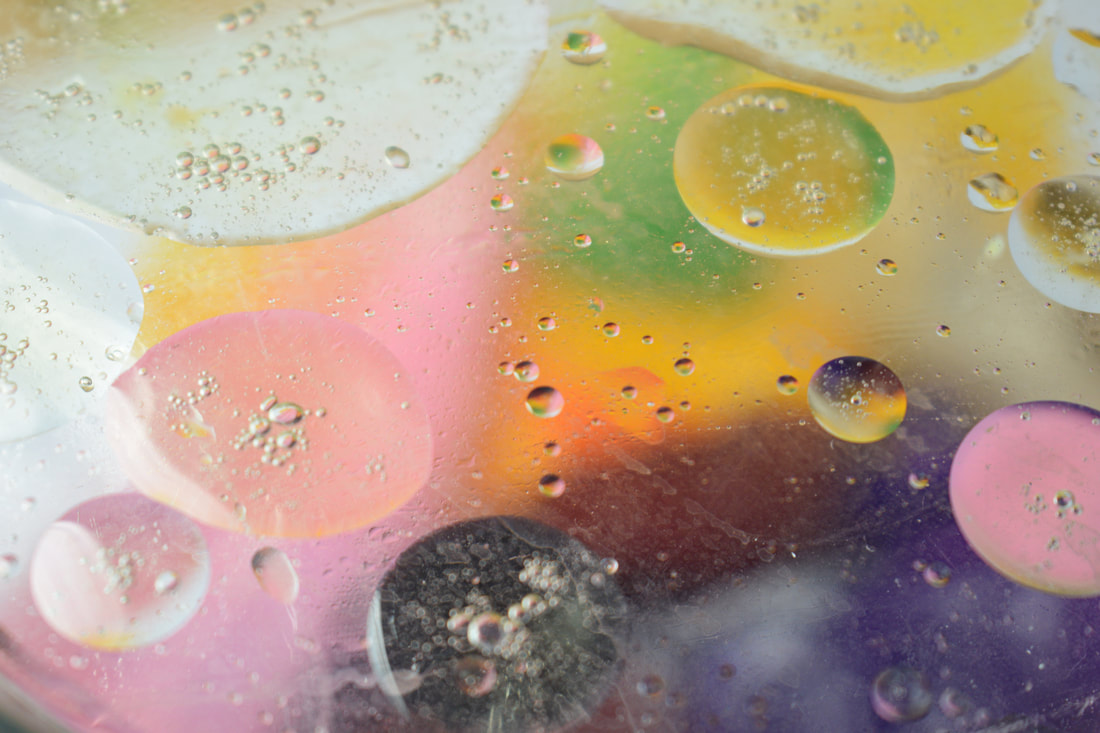
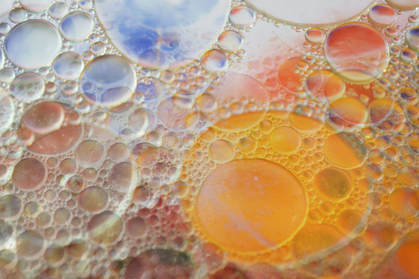
In this photo shoot I used just water and oil to make the bigger and not together bubbles shown within the images. this made them look more like rain drops than bubbles like the other photo shoots I had just done.

WWW: I think this photo shoot went really well as you can clear see the water drops and the colours in the background look really good. and they also go together really well.
EBI: it was really hard to get my settings to work due to the type of light I was using and I didn't have a lot of space to get around the set up therefore couldn't get a lot of angles. therefore most of the images look the same to one and other. More edits from the abstraction photo-shoots:
|
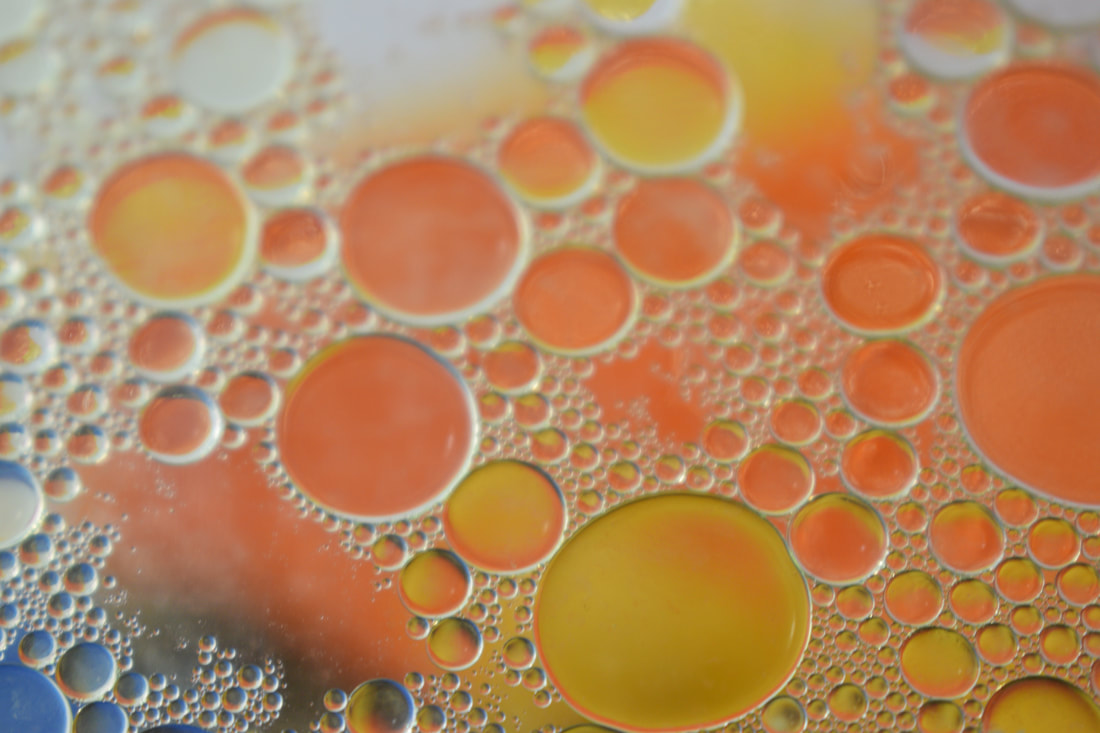
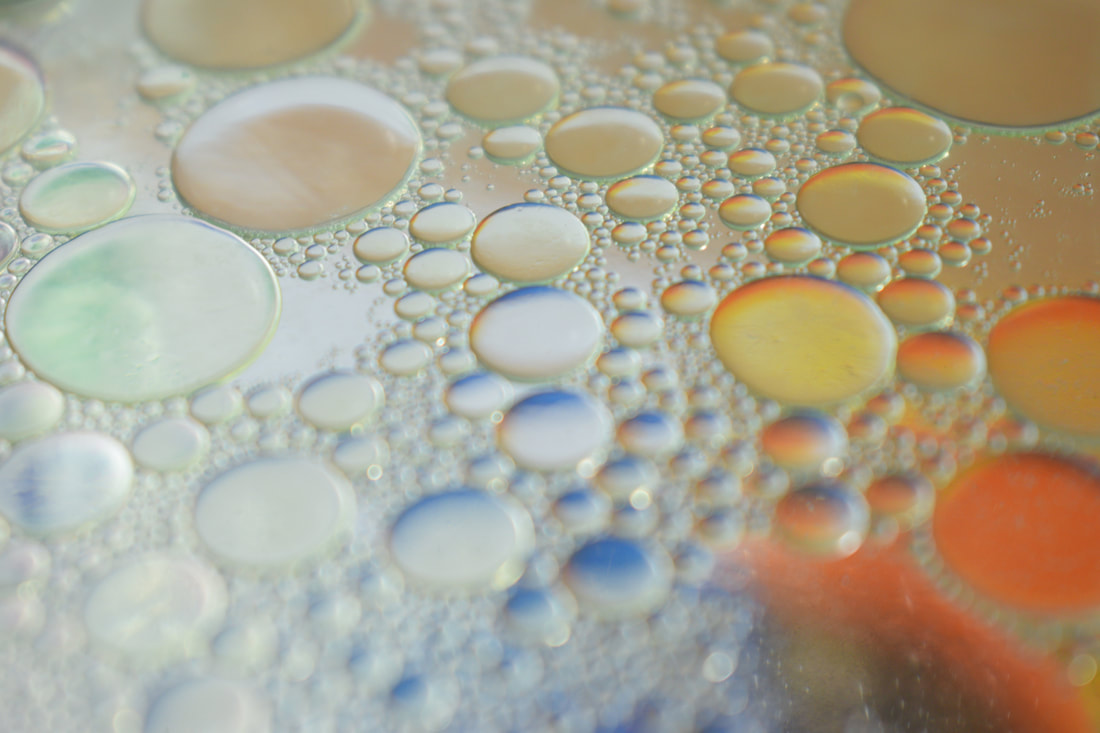
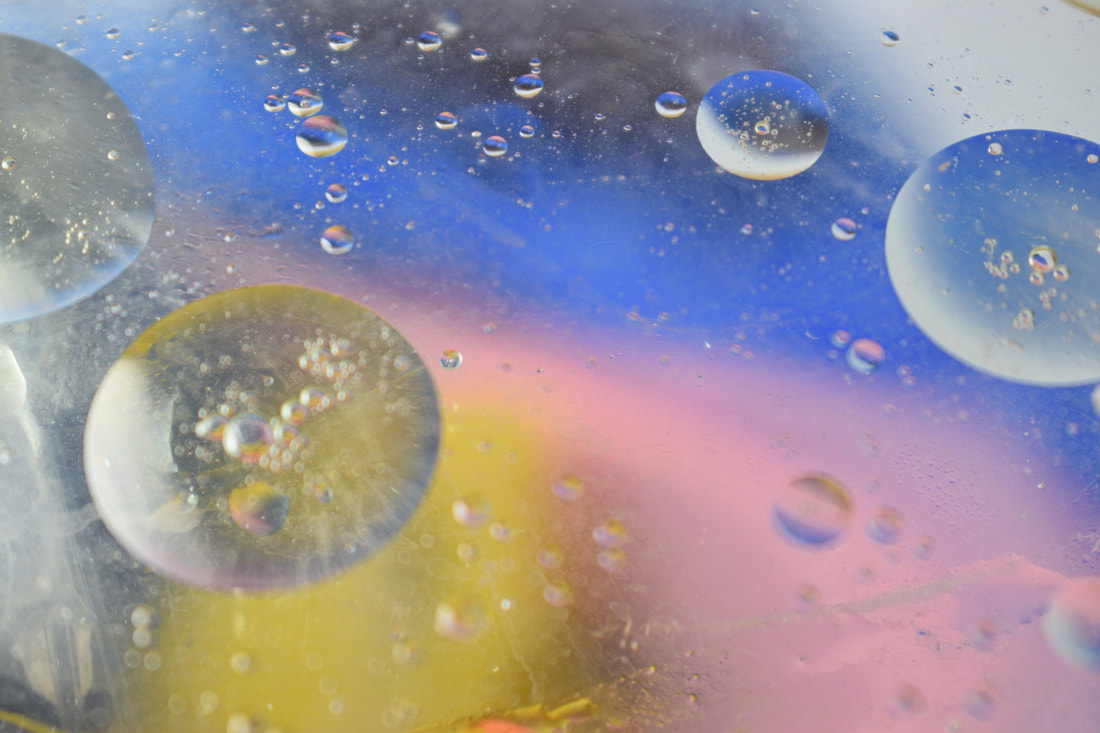
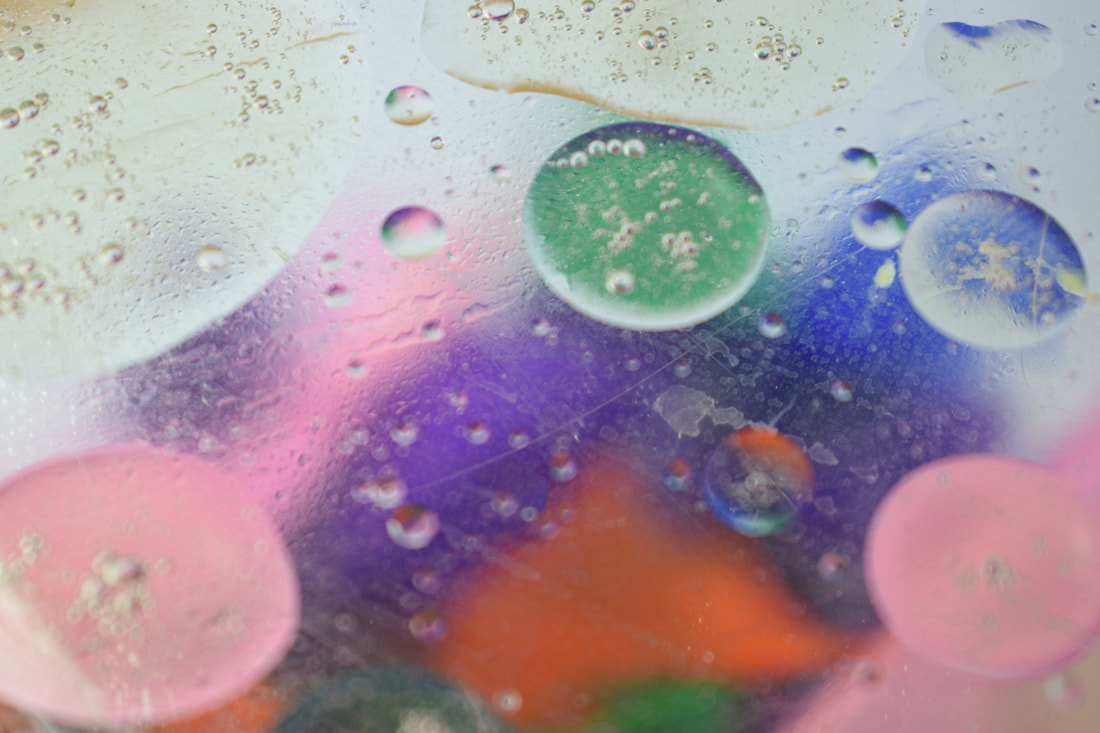
photo-shoot two:
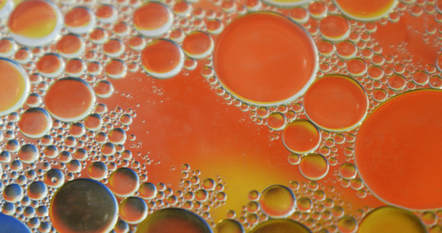
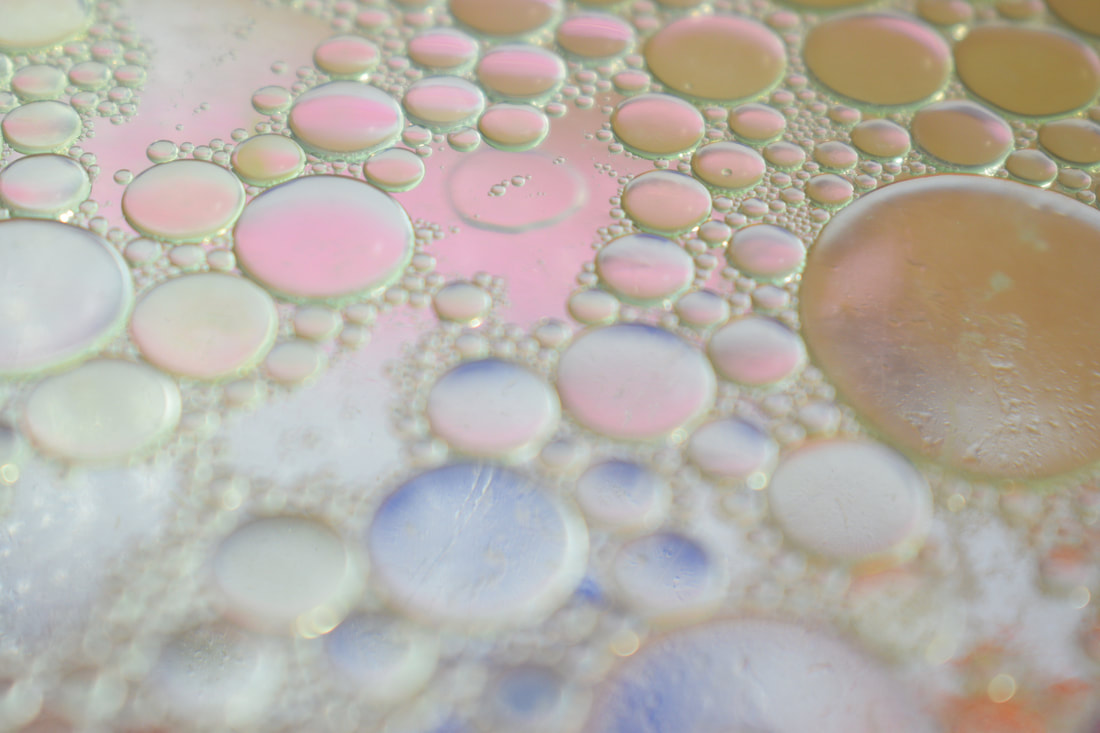
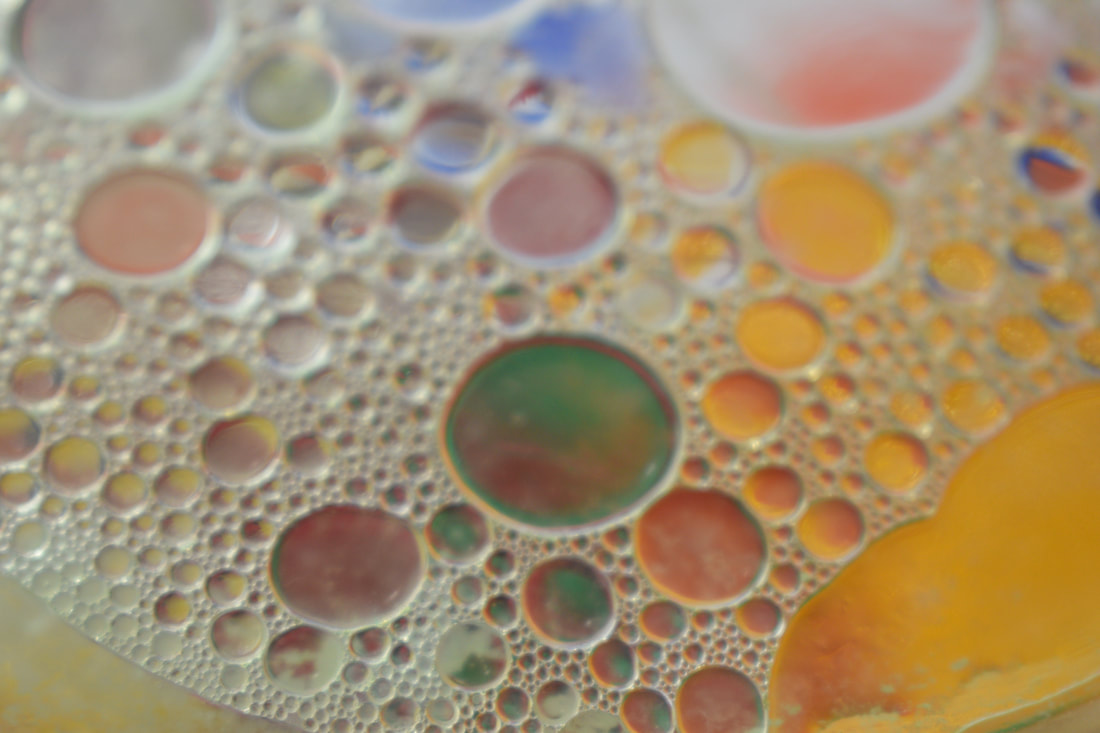
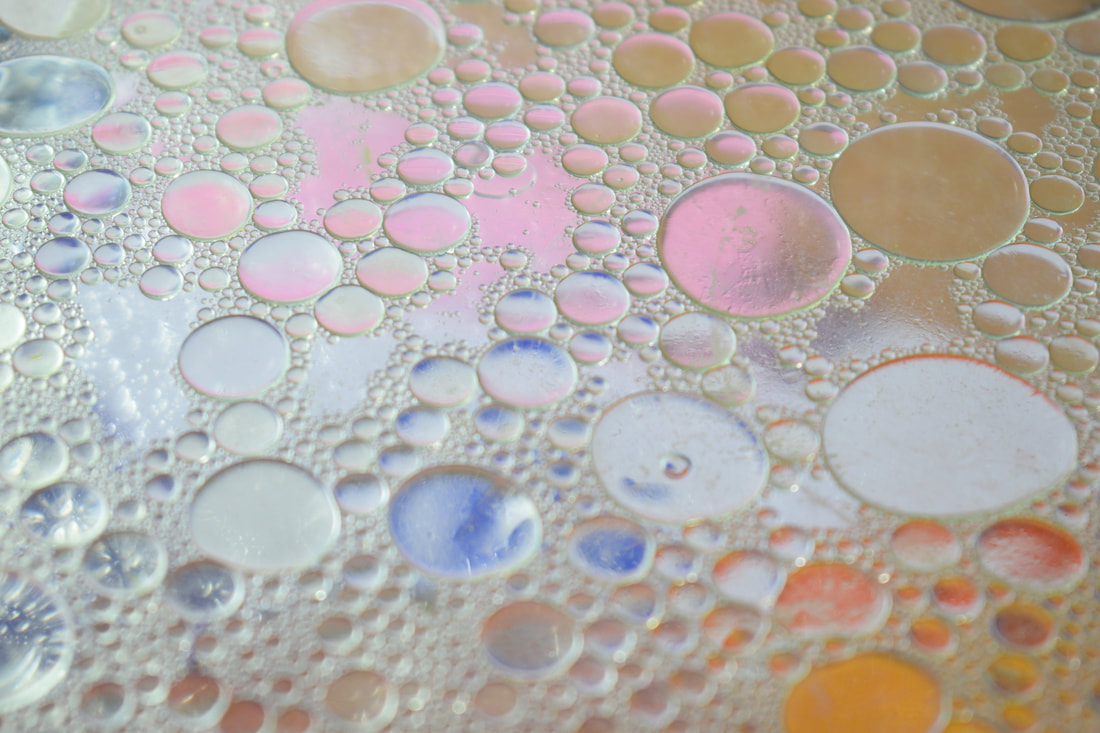
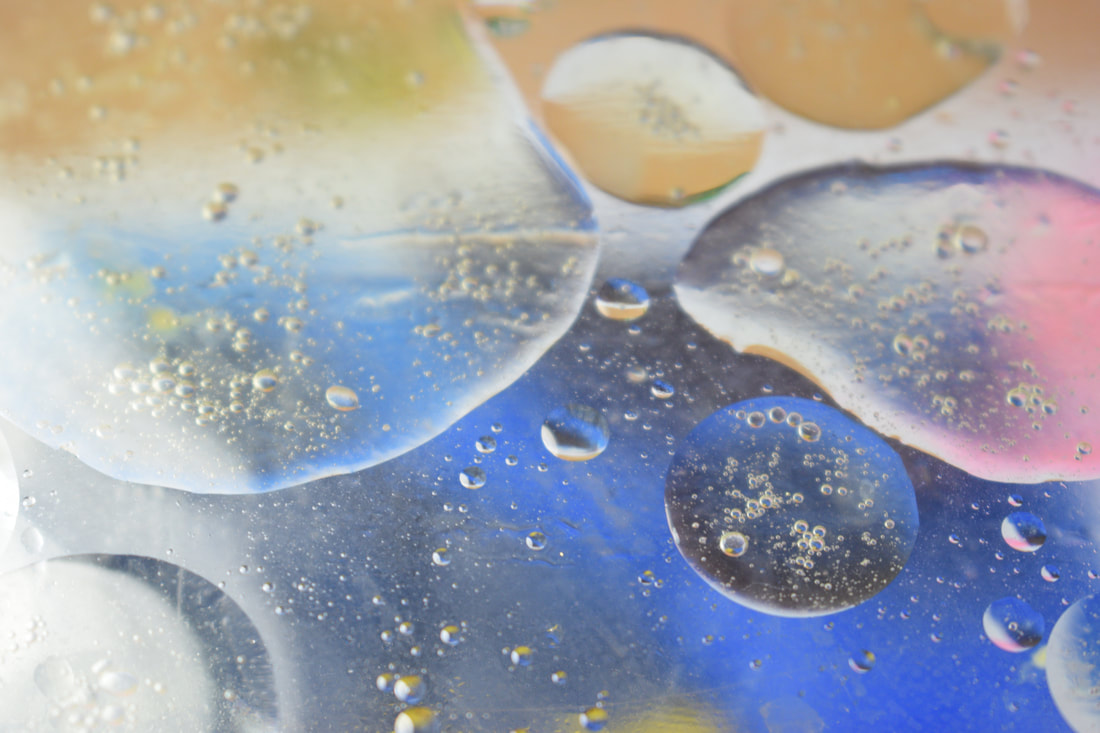
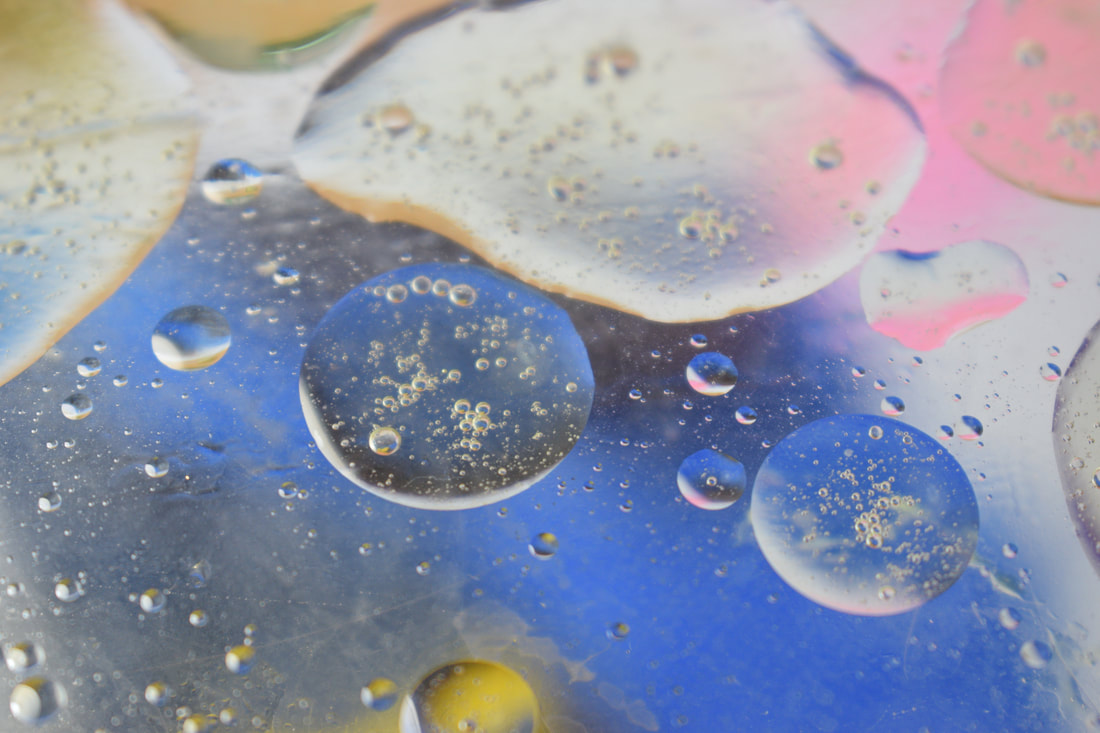
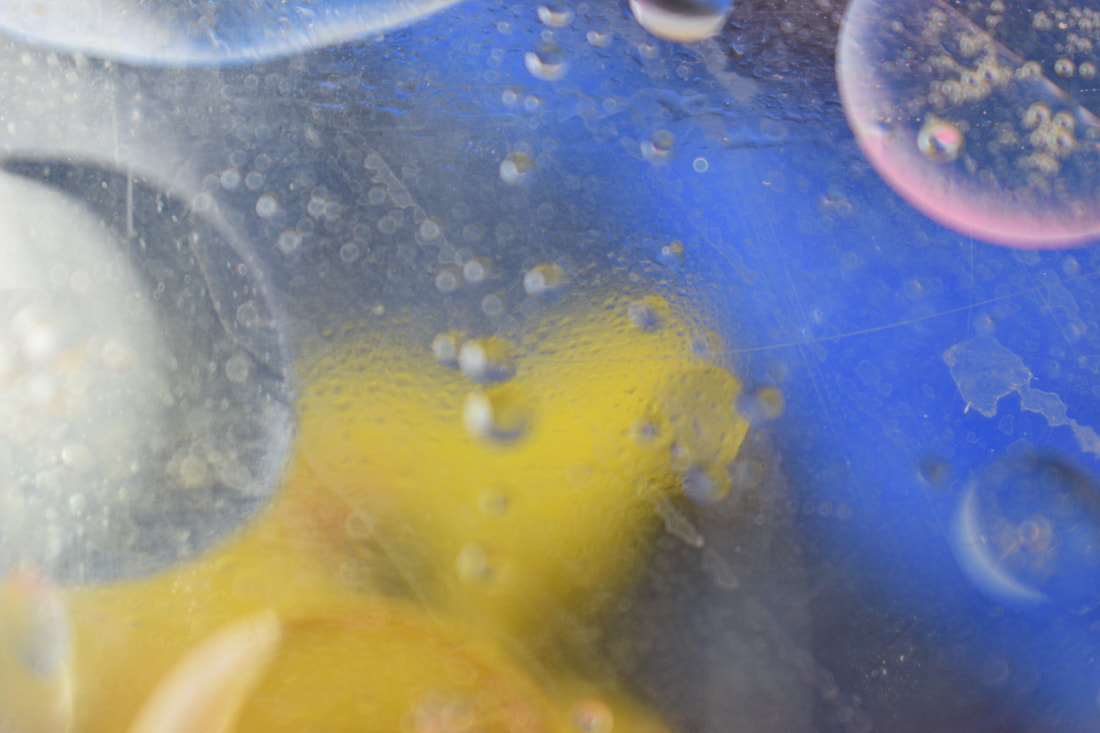
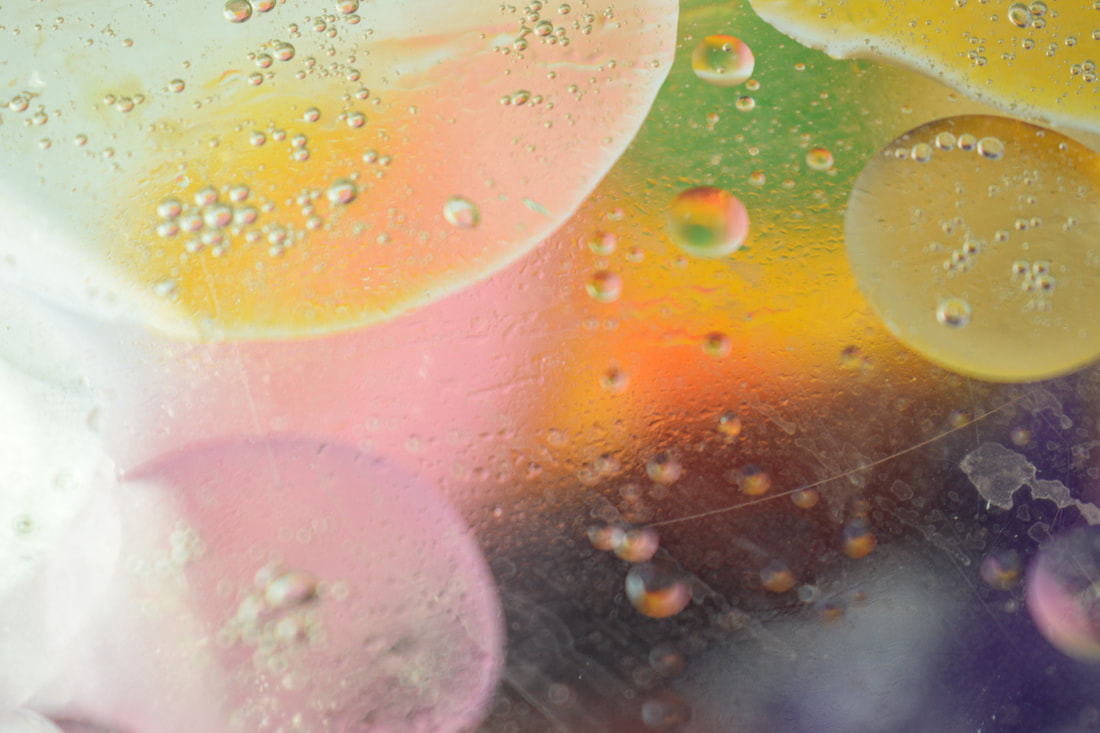
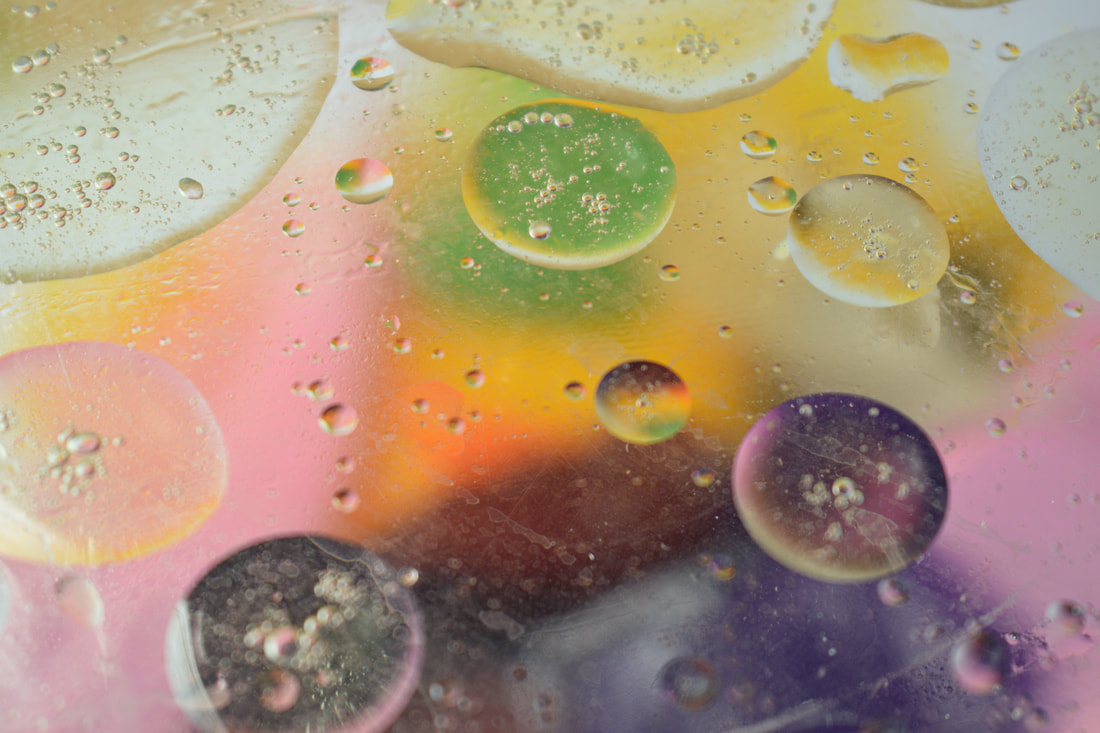
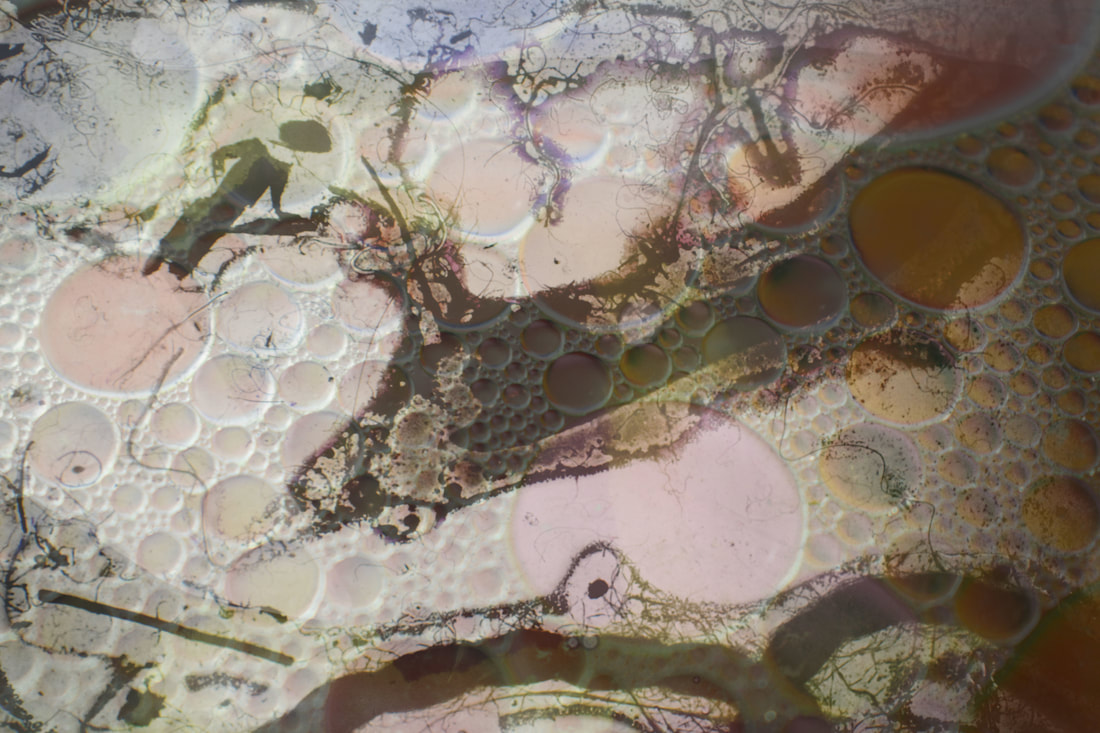
In this photo shoot I looked at the same idea as the first shoot but this time I added a little more oil to the water and chance the colour of the background to see if this would build of my first photo shoot looking at just water and oil.
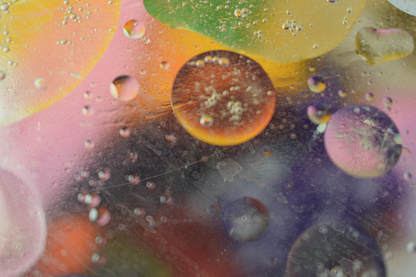
WWW: In this photo shoot i feel like it went really well, like the first photo shoot like this one with just water and oil i added and build on the first one and to make it different i chanced the colours under the glass to lighting colours so that the two shoot were different and to see weather or not the colour background would make a different to the over all image and feel that in some ways it does make the image from the two different shoot look different.
EBI: I do think that some things did go wrong in the shot like not been able to get lots of different angles. |


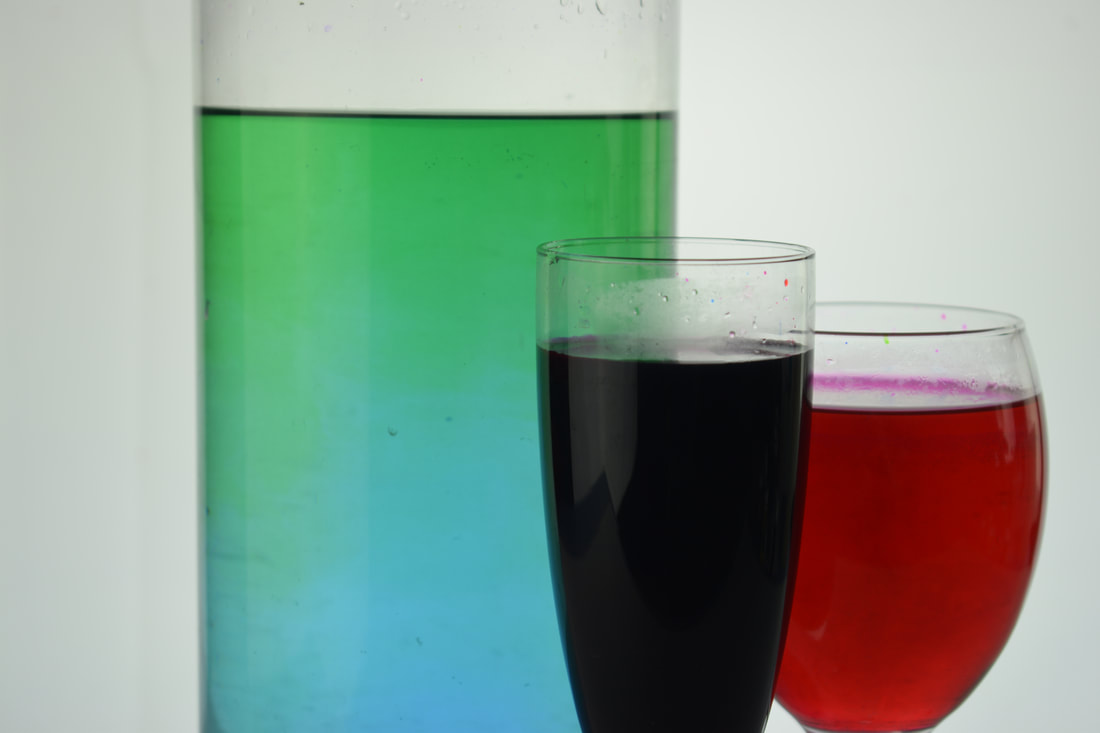
With this editing I mixed lots of different images together from different photo shoots.
|
|
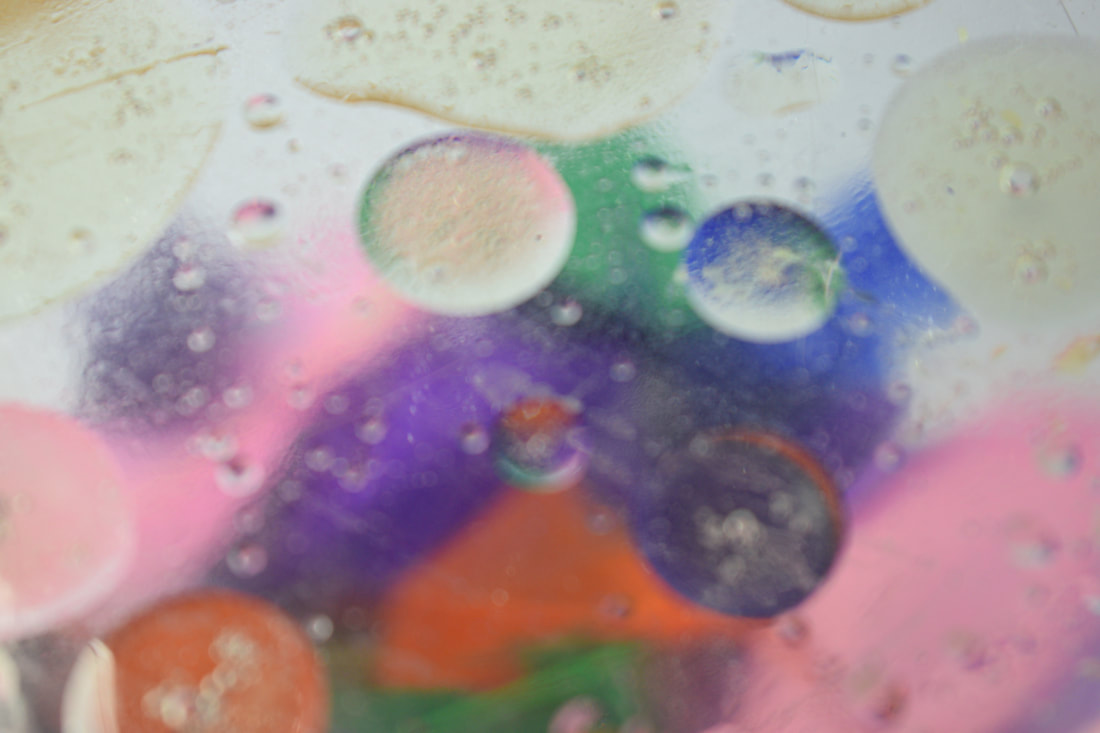
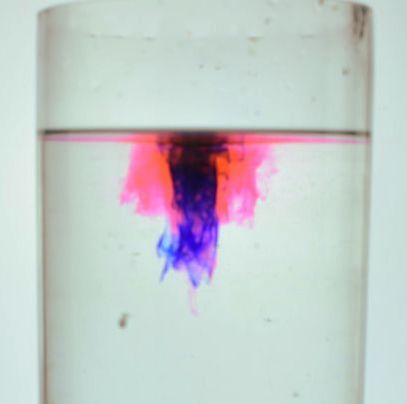
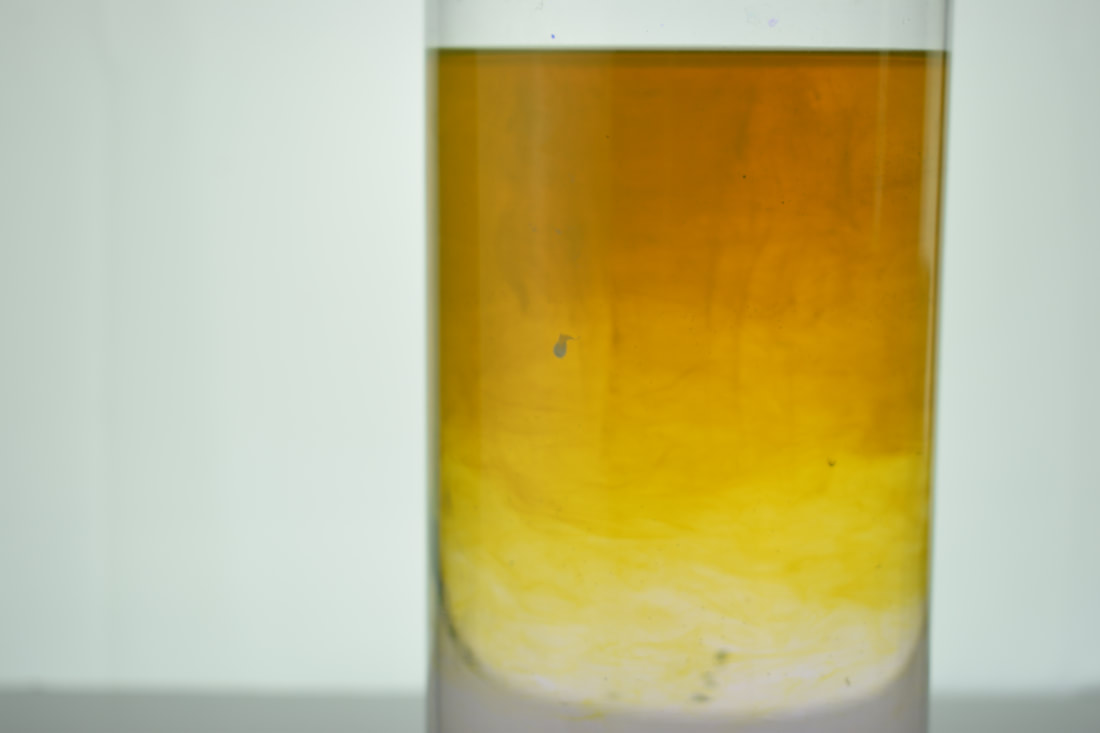
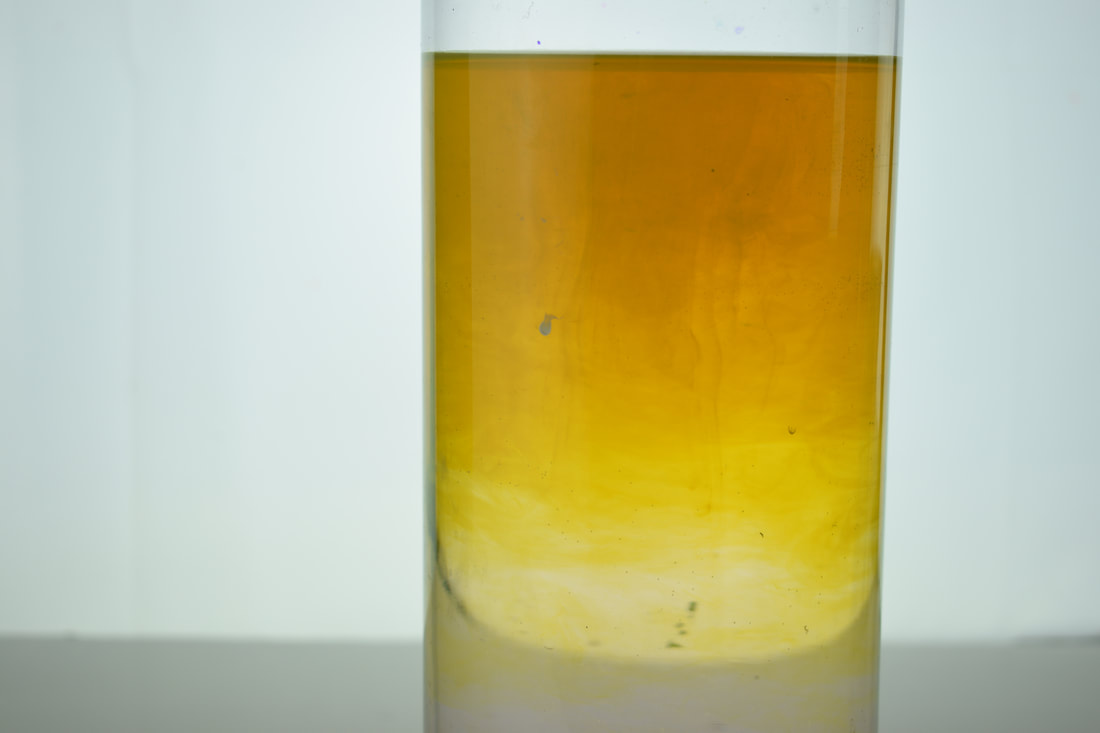
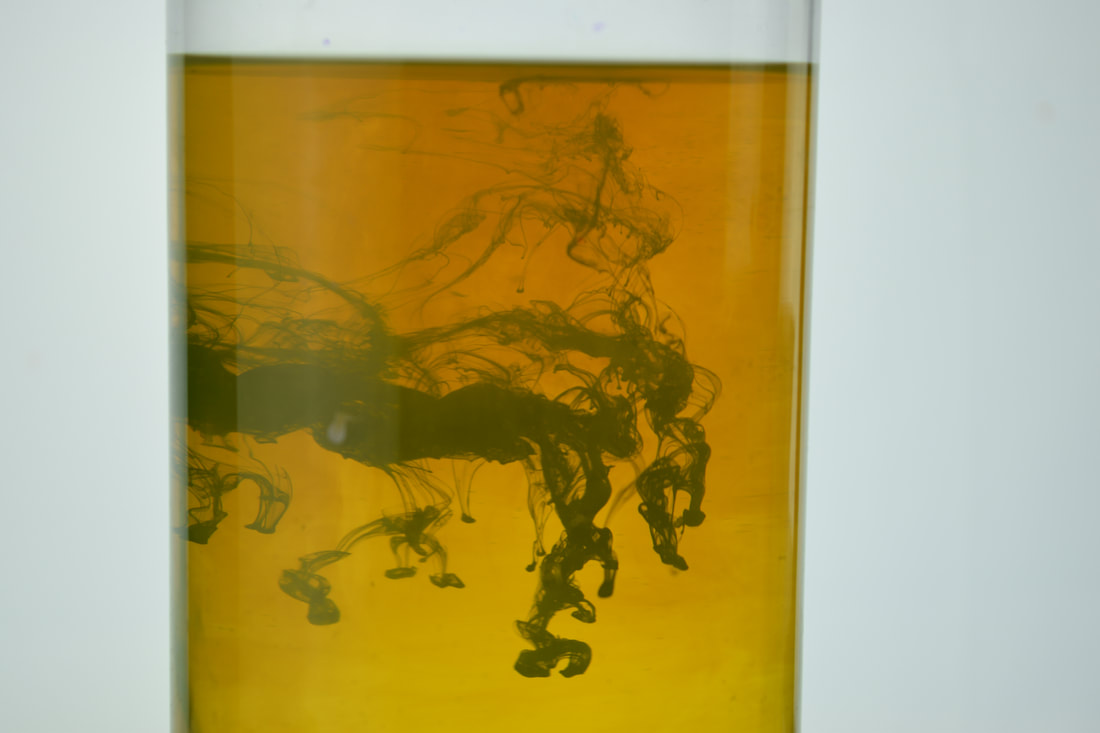
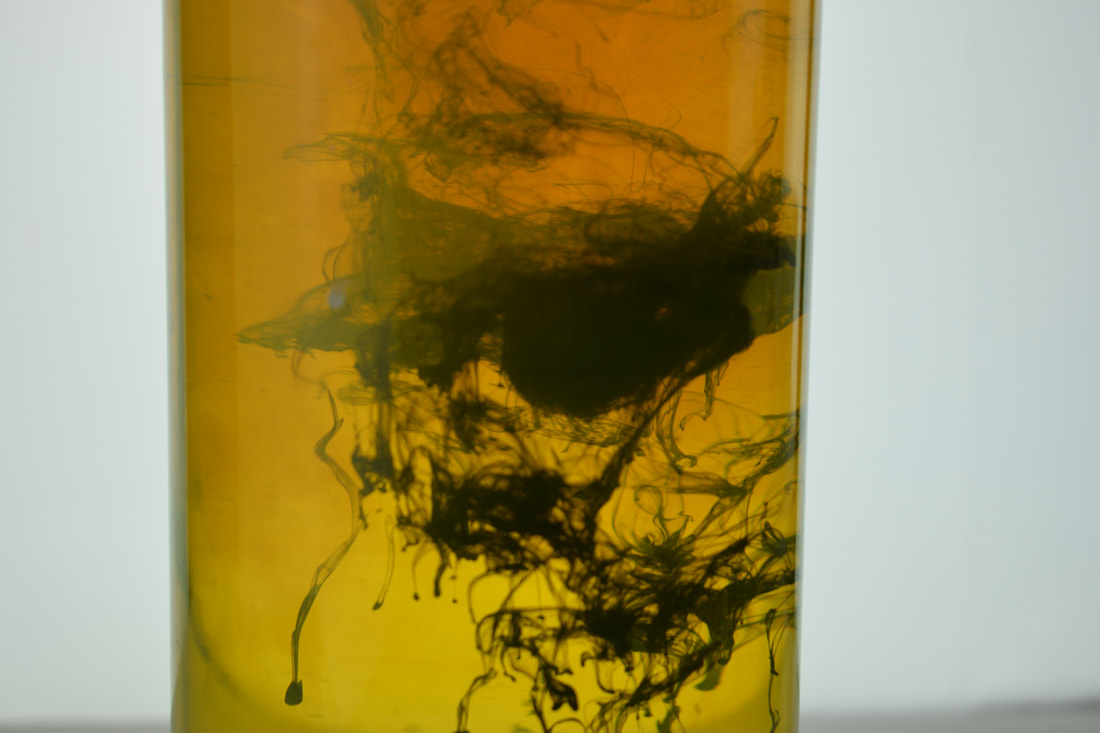
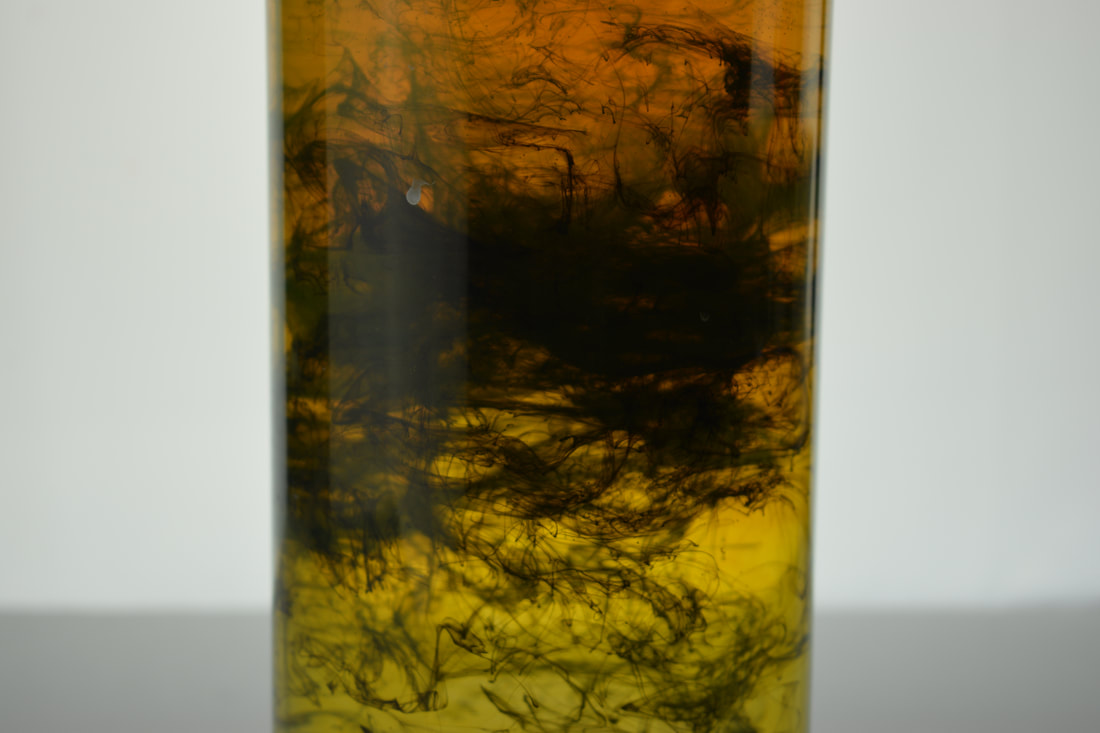
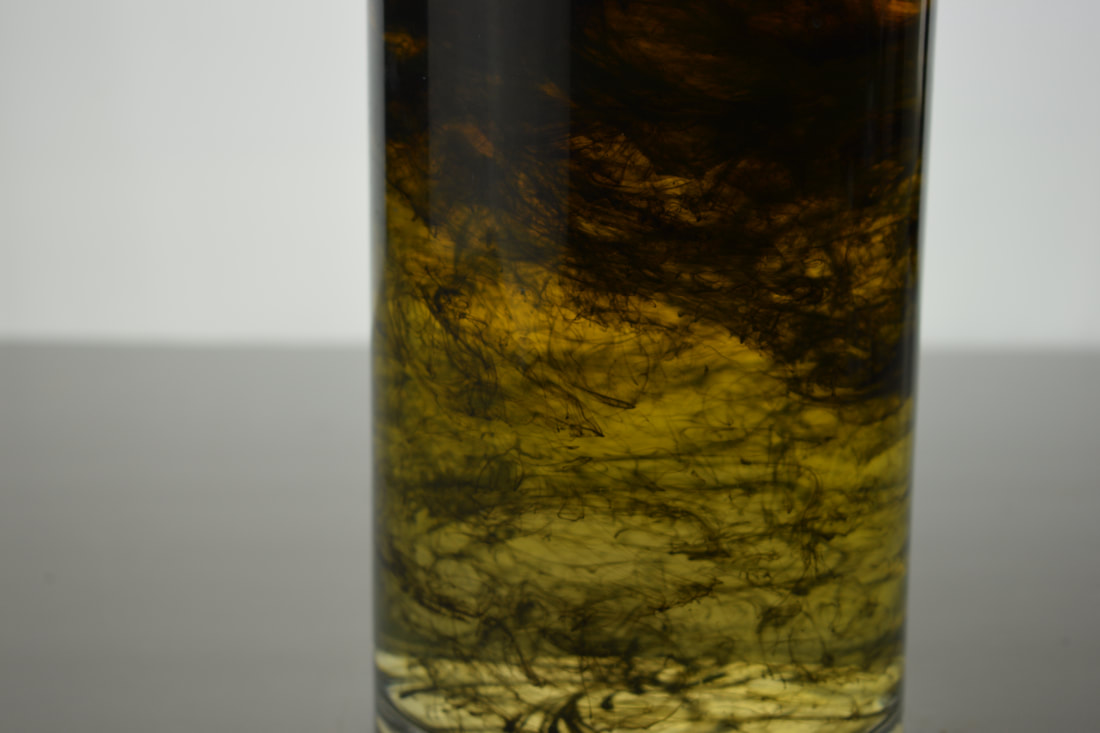
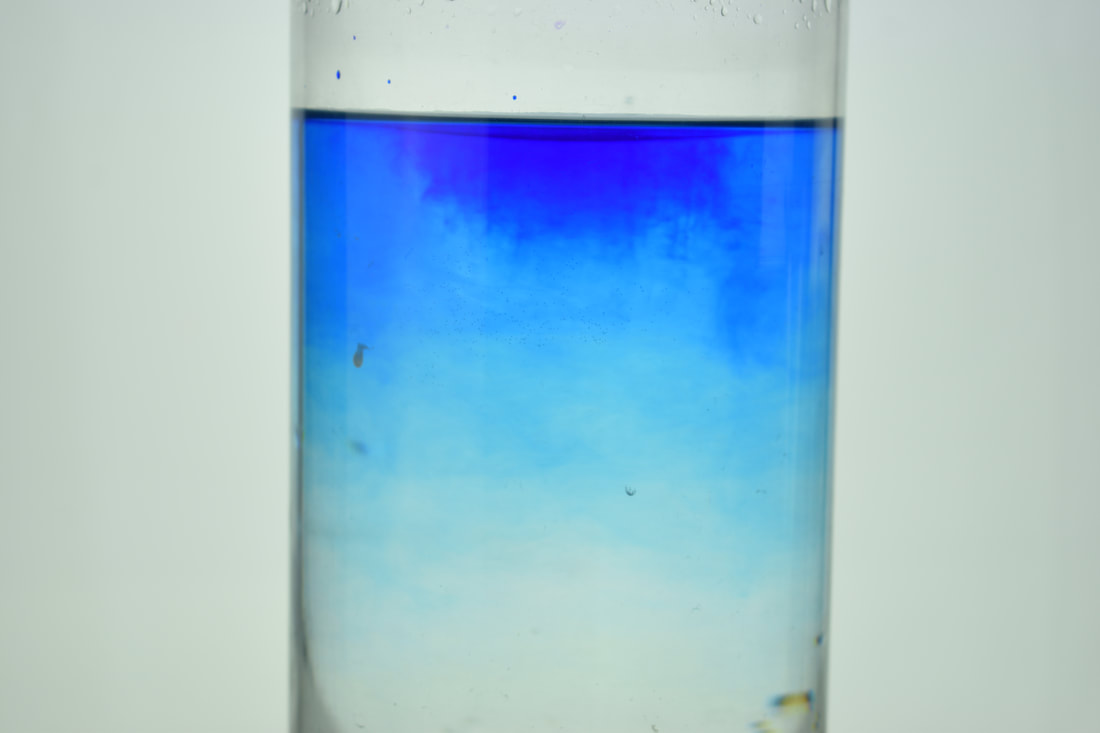
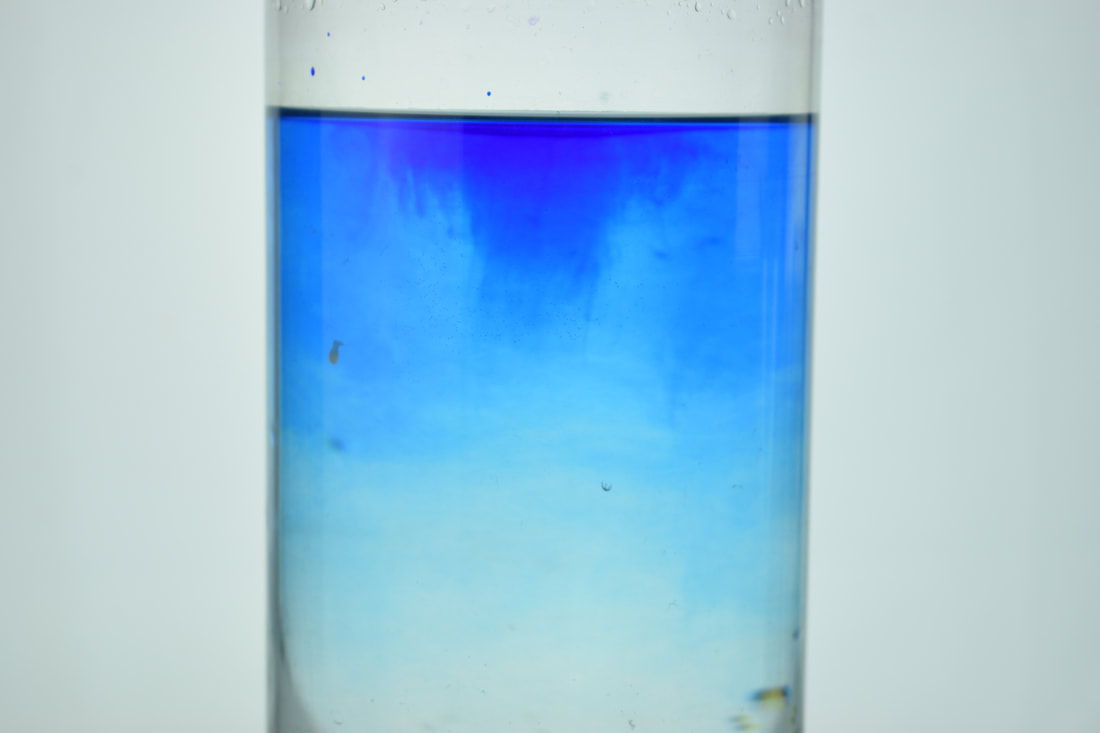
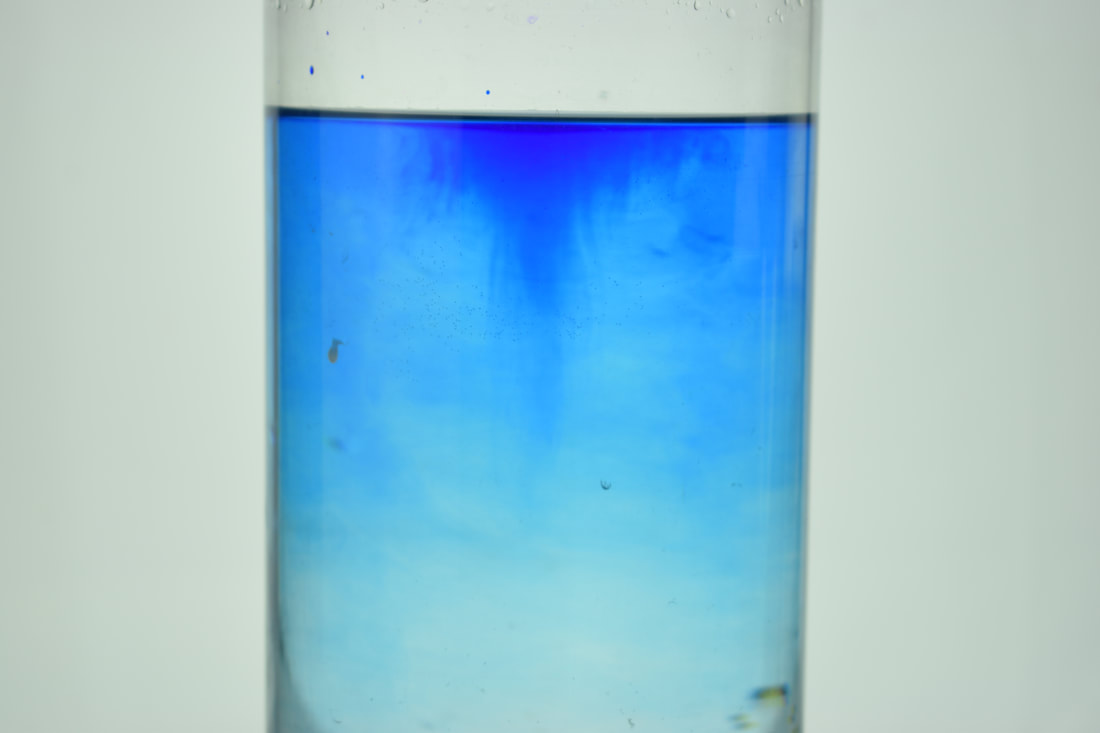
water drops photography shoot:
|
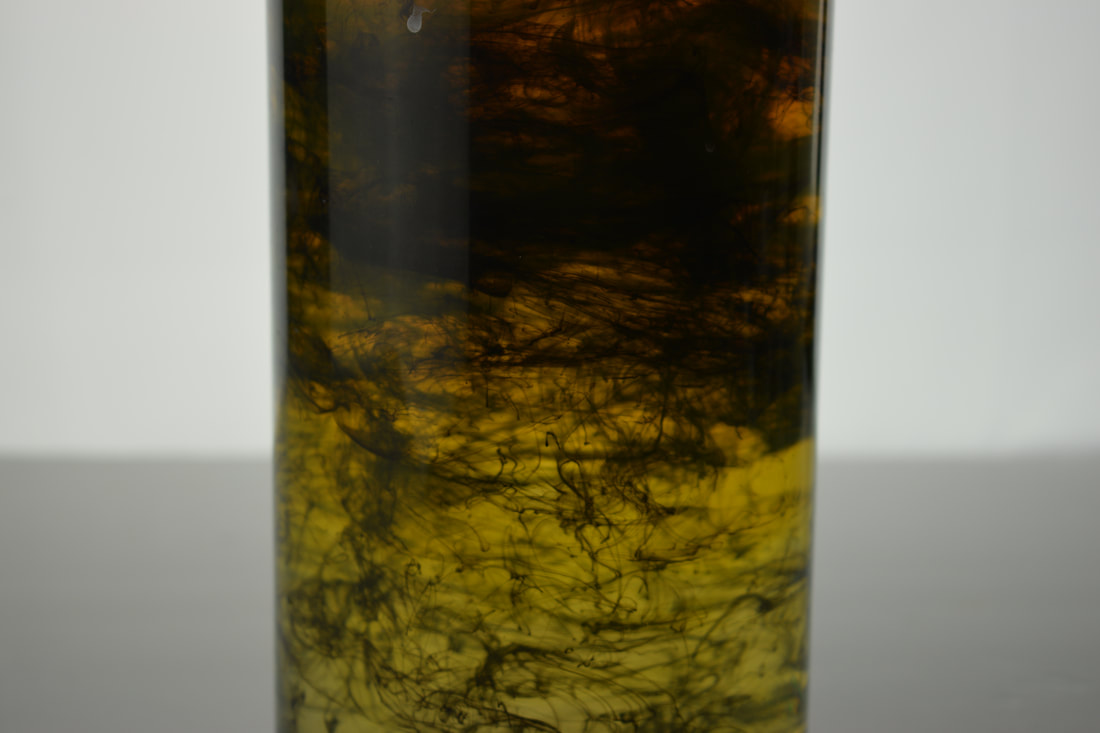
In this you can see how the photos get better and better as they go on.
you can also see how the two colours start to mix together. |
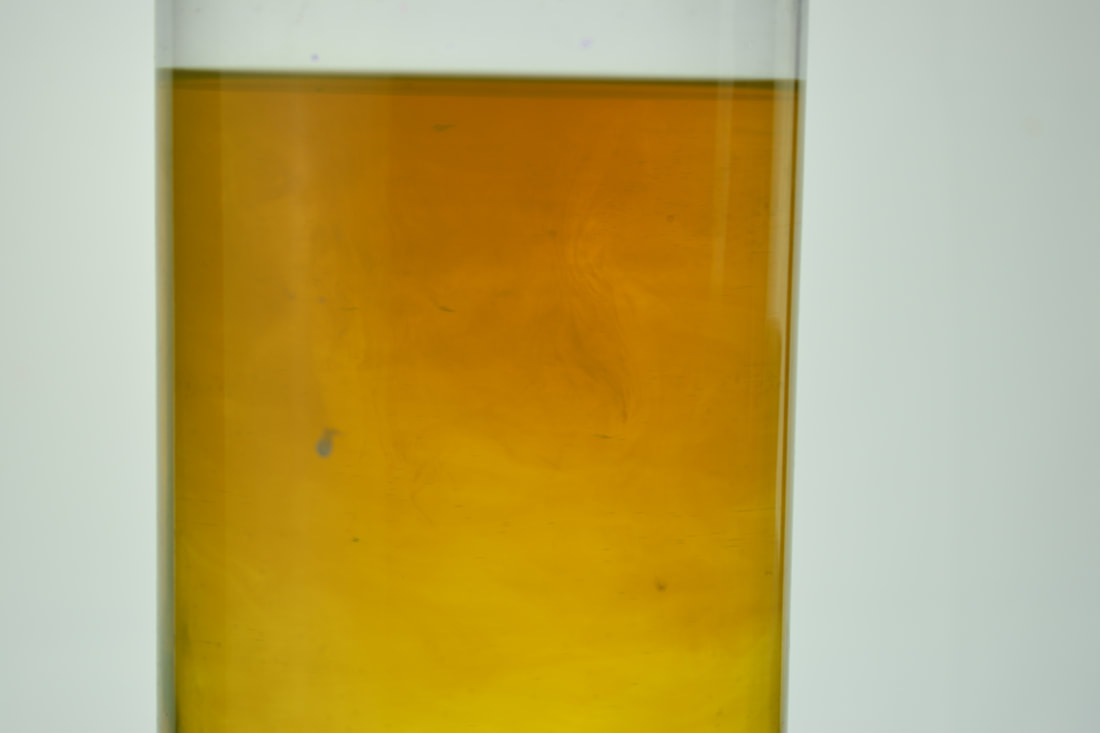
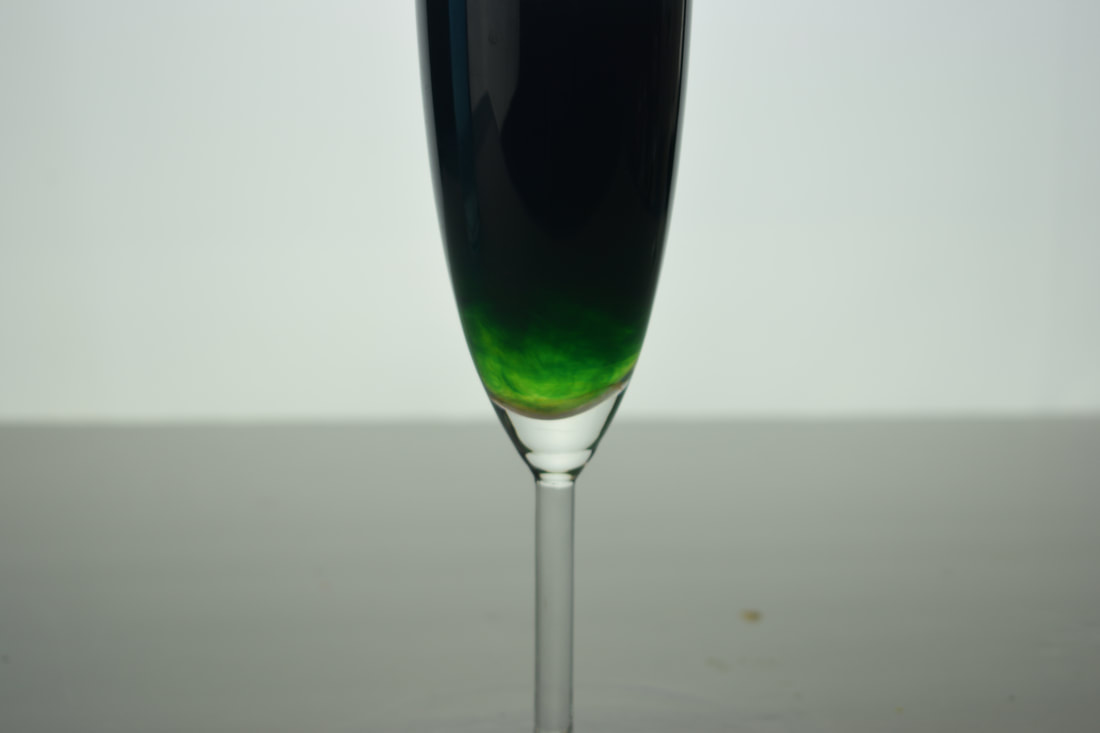
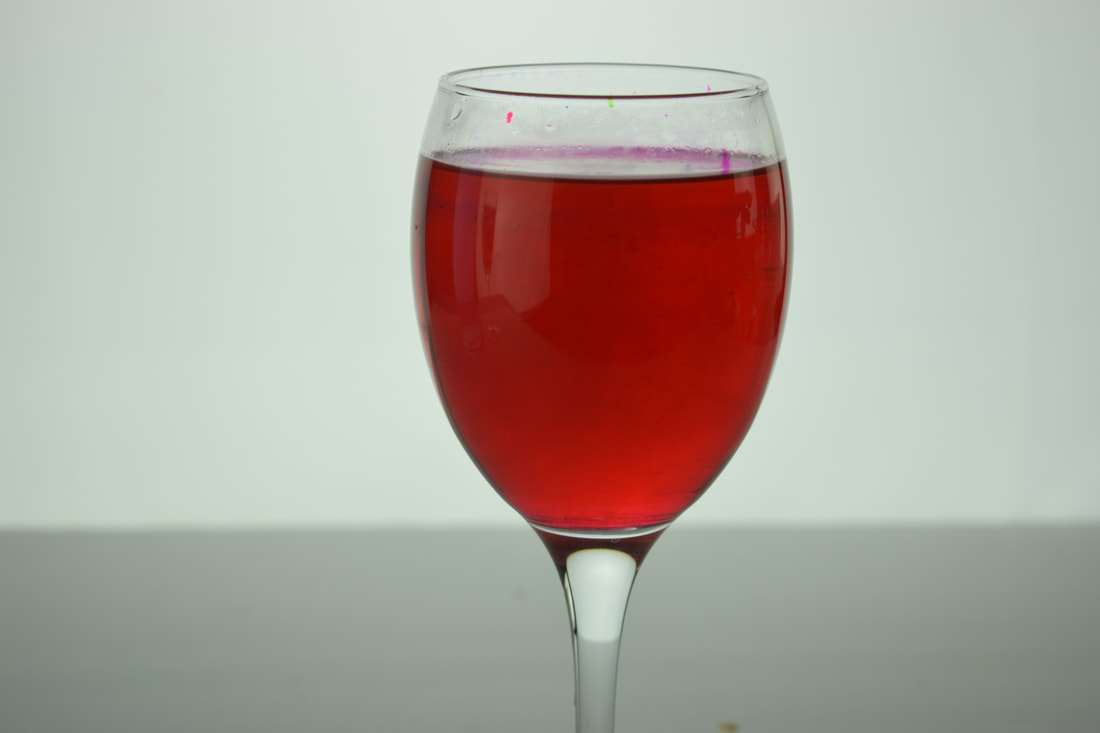
This is a final edited image where i have added to the editing by adding a filter to make the image look older and to help the mix colours stand out a lot more.I like the way this filter makes the photo look.
|
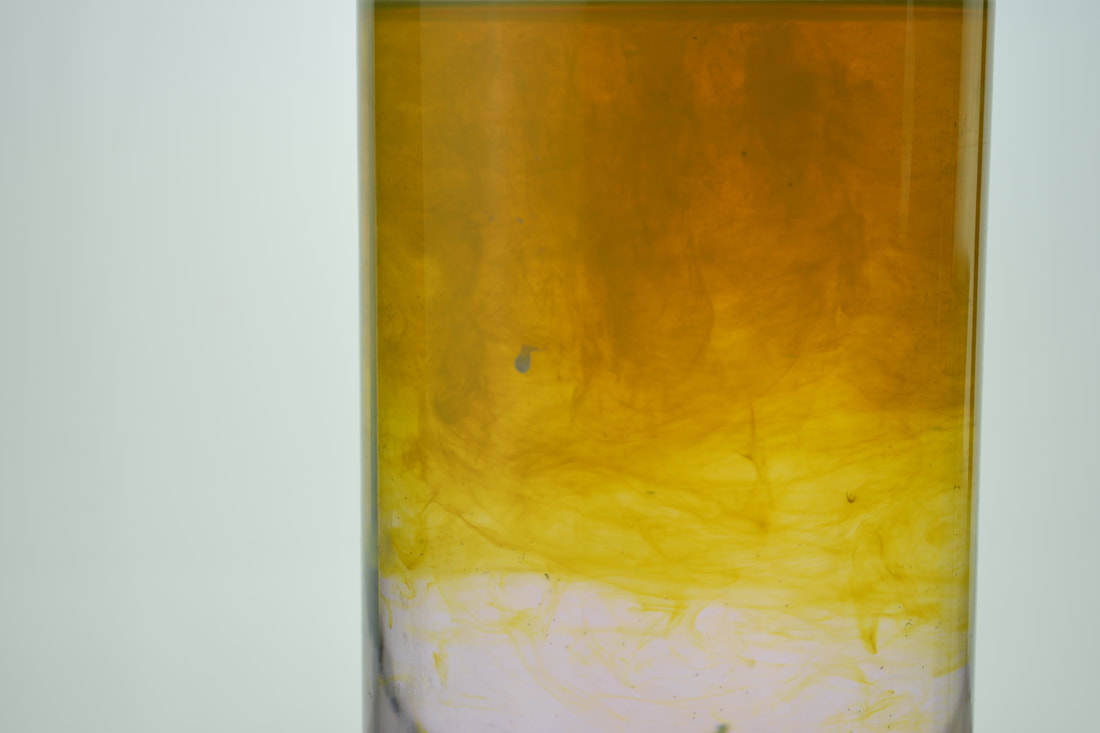
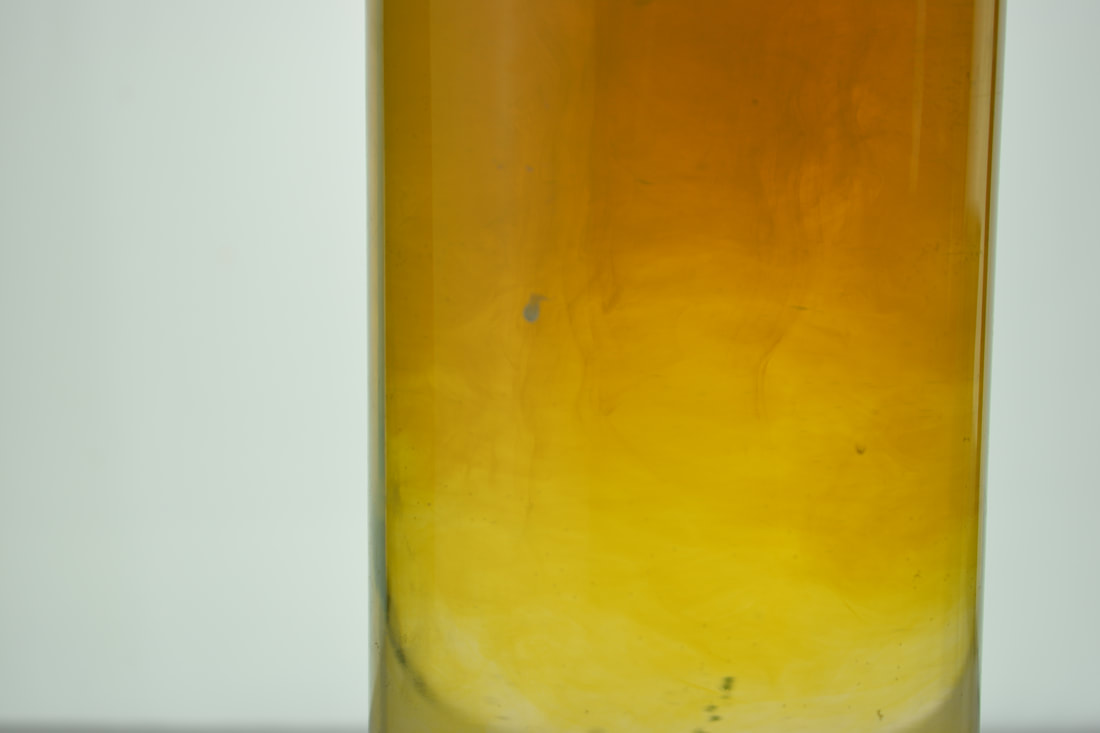
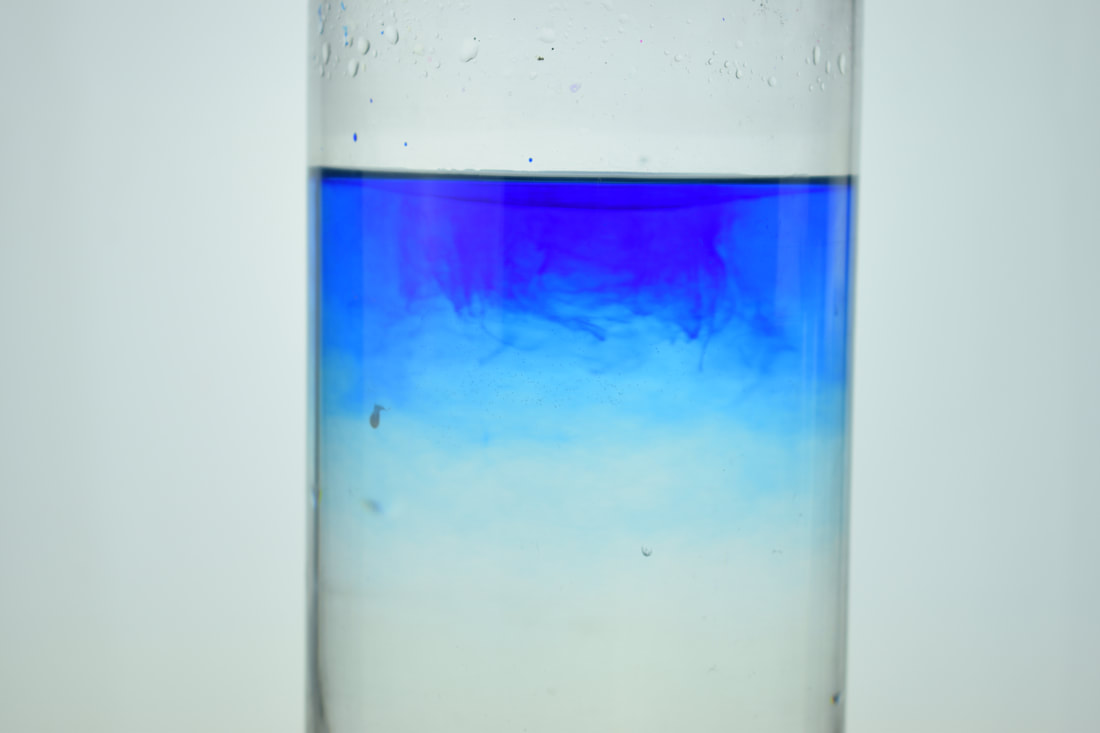
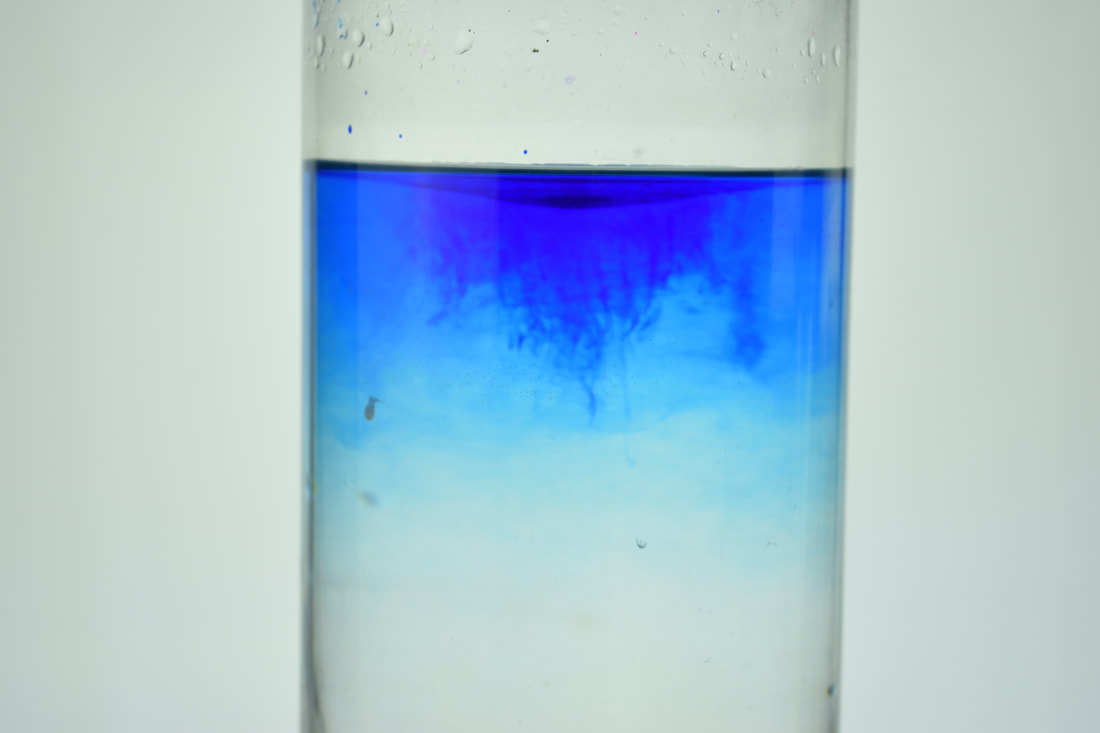
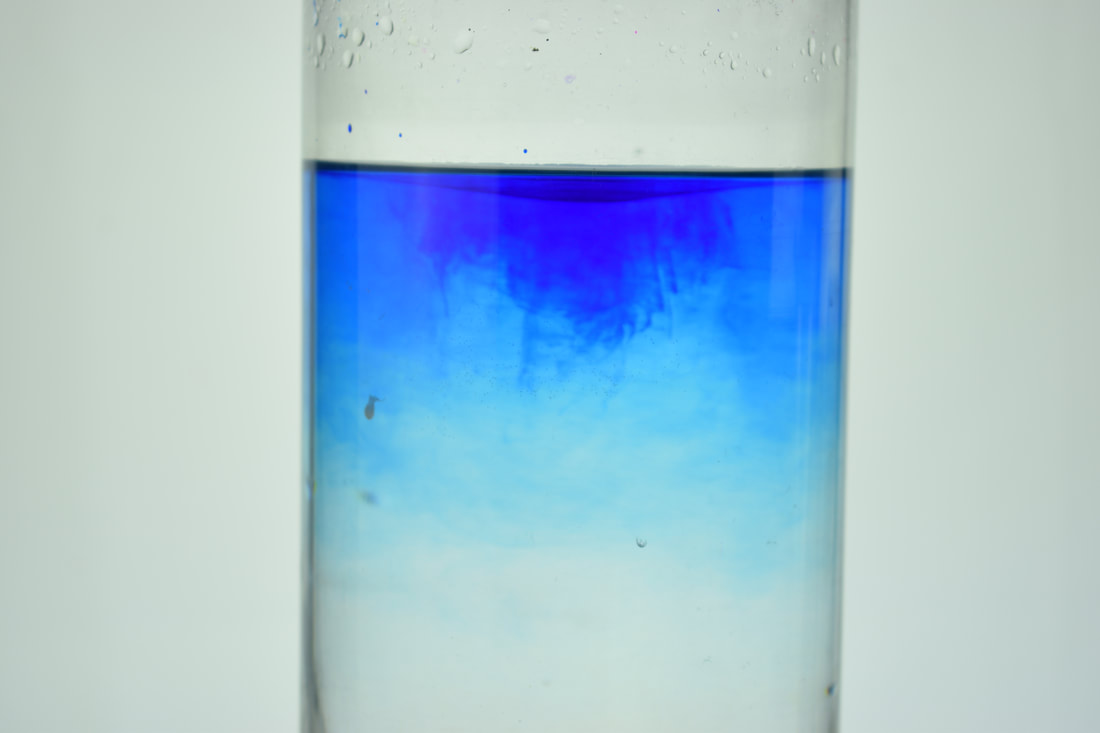
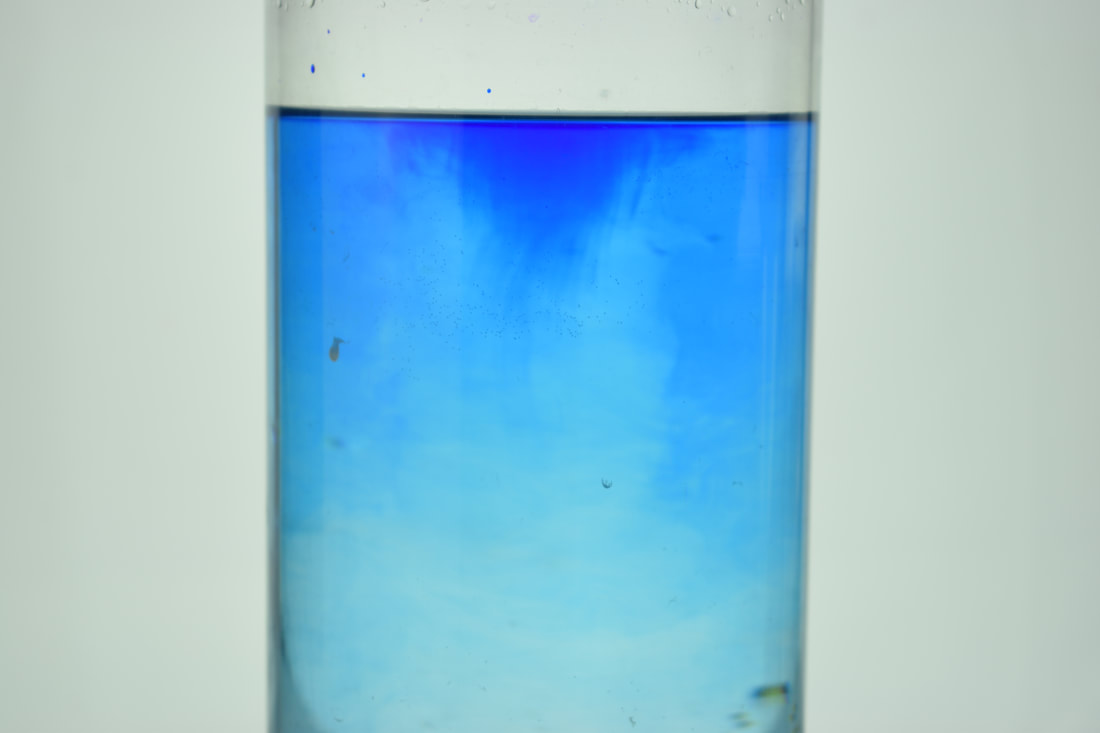

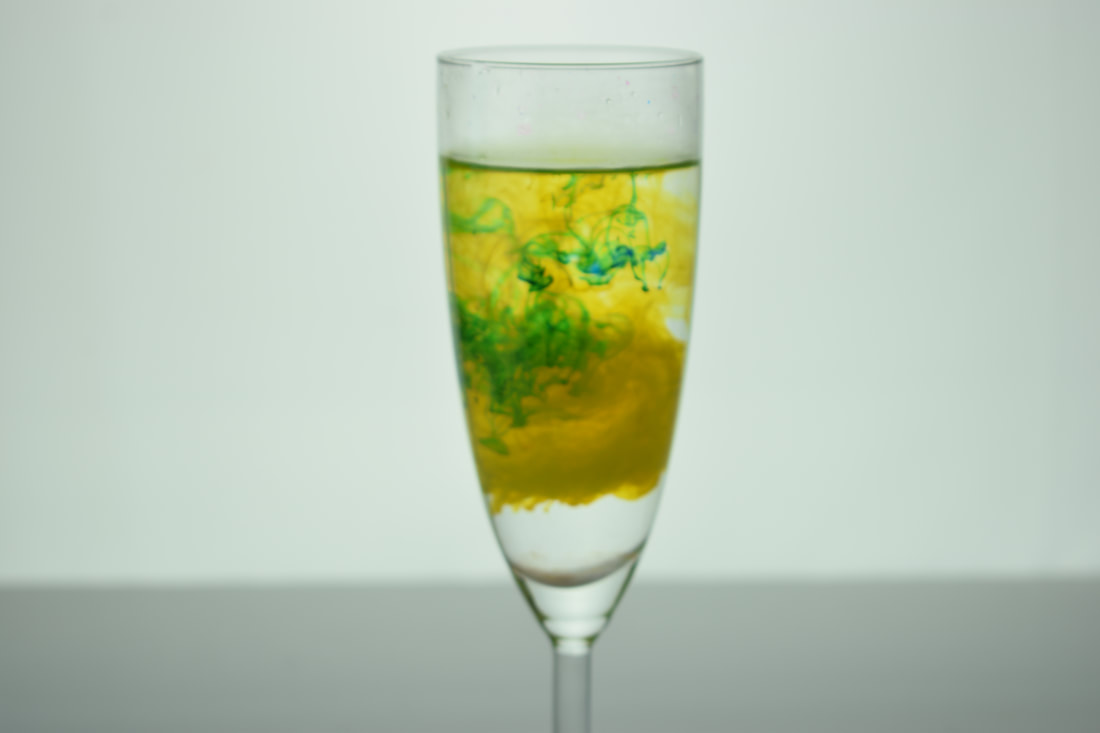
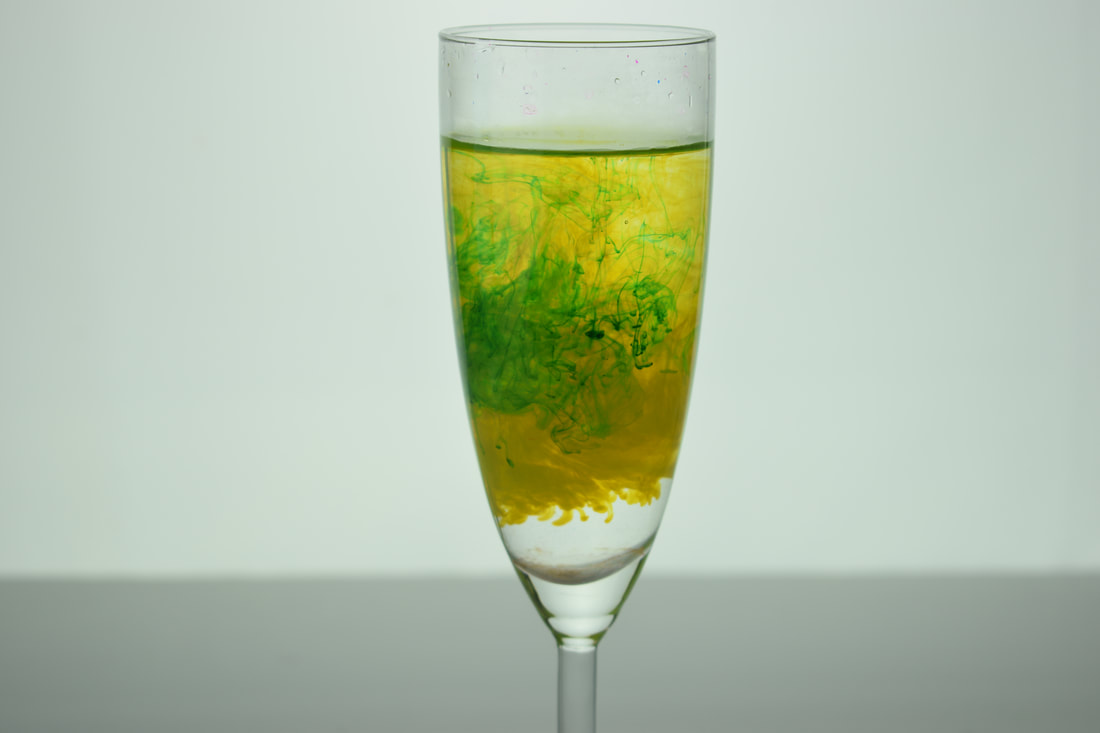
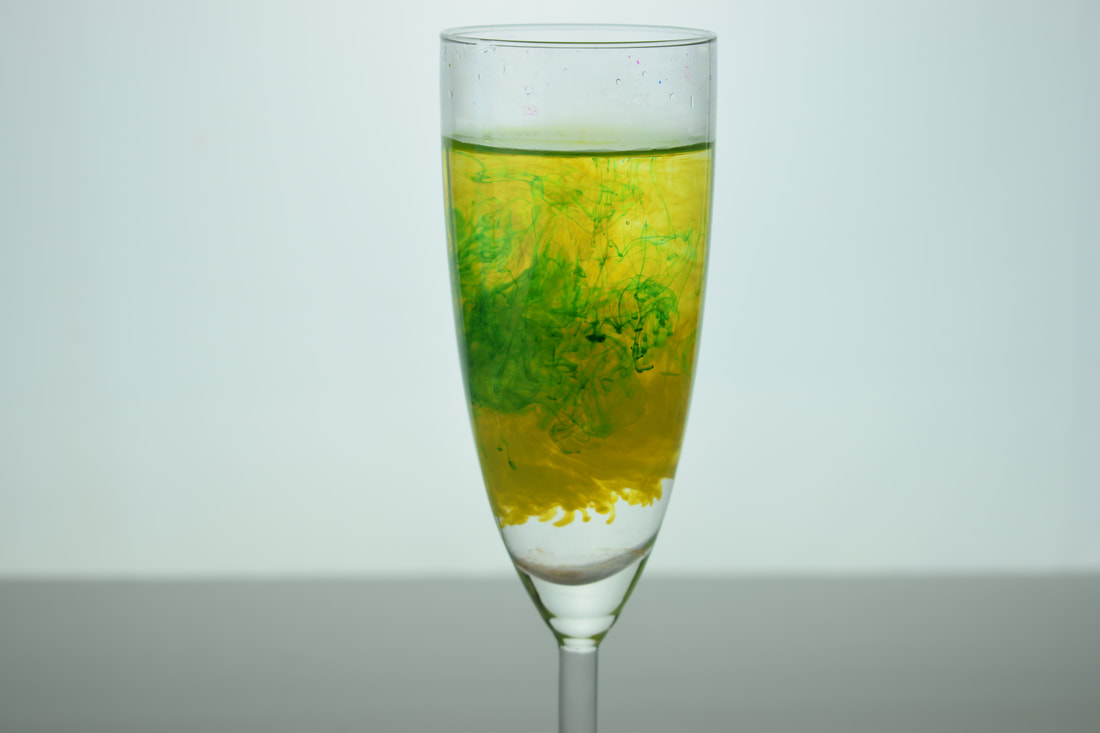
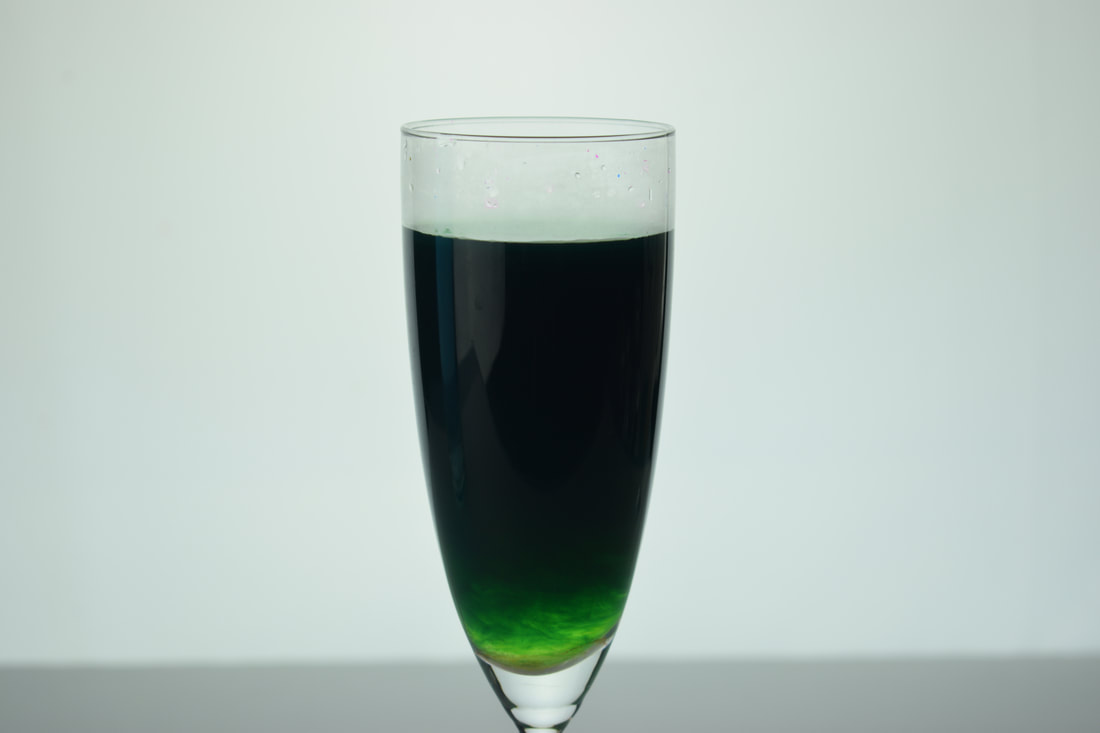
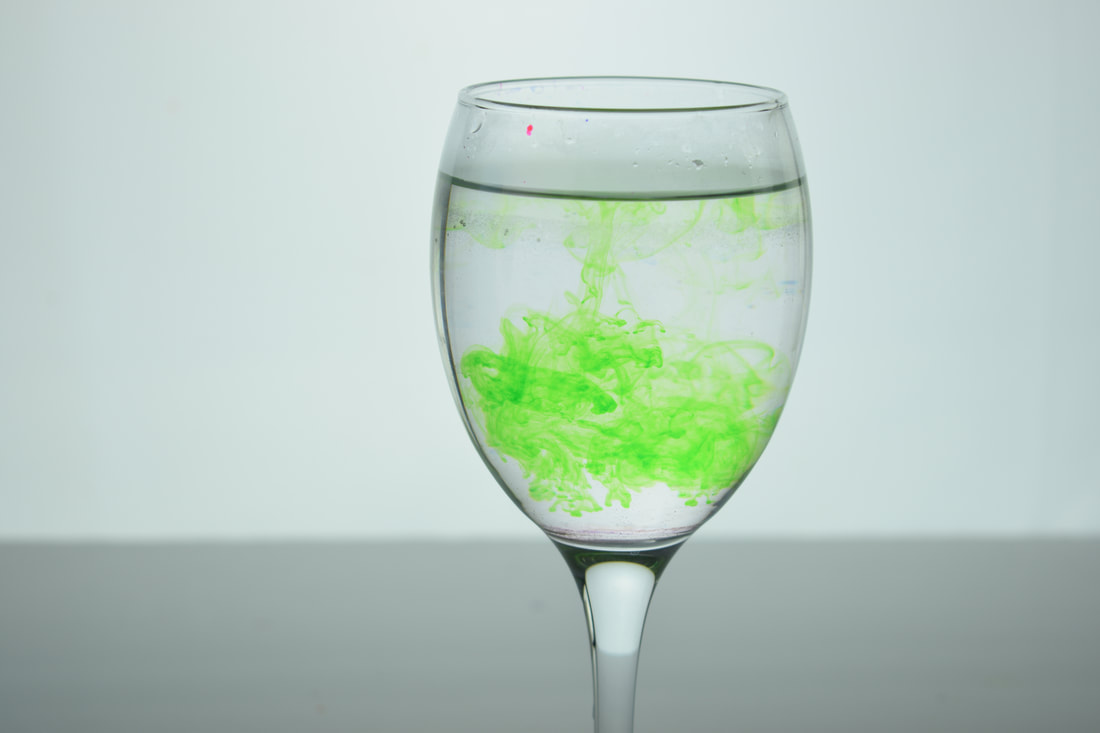

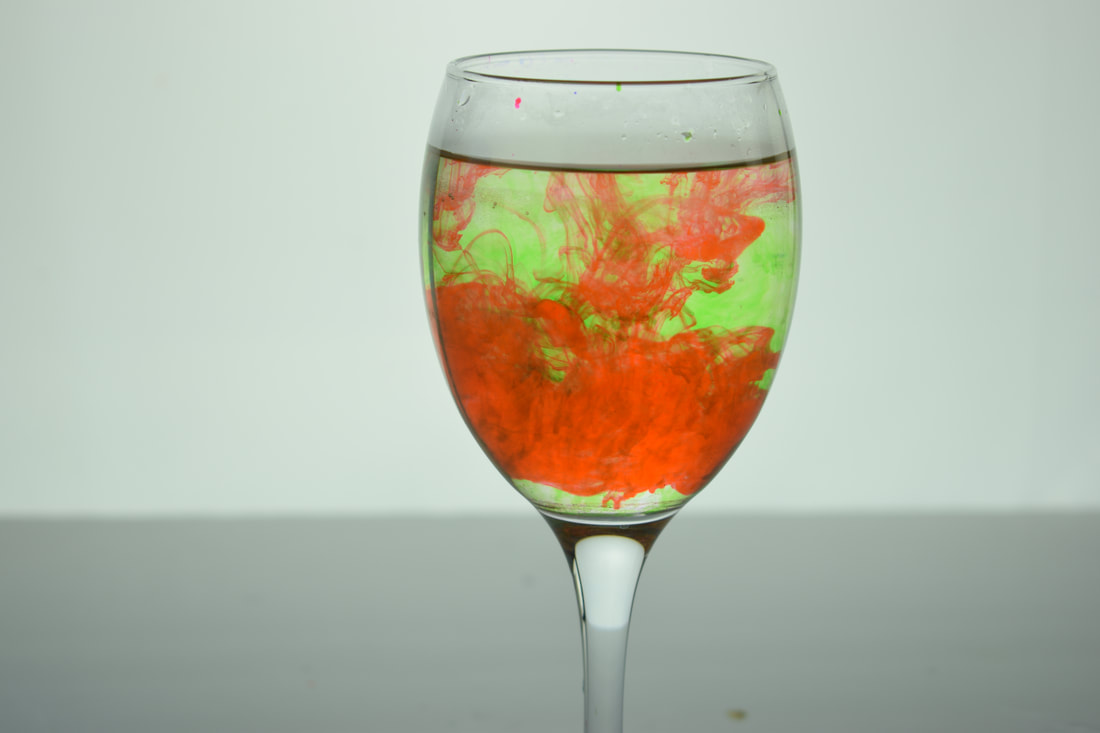
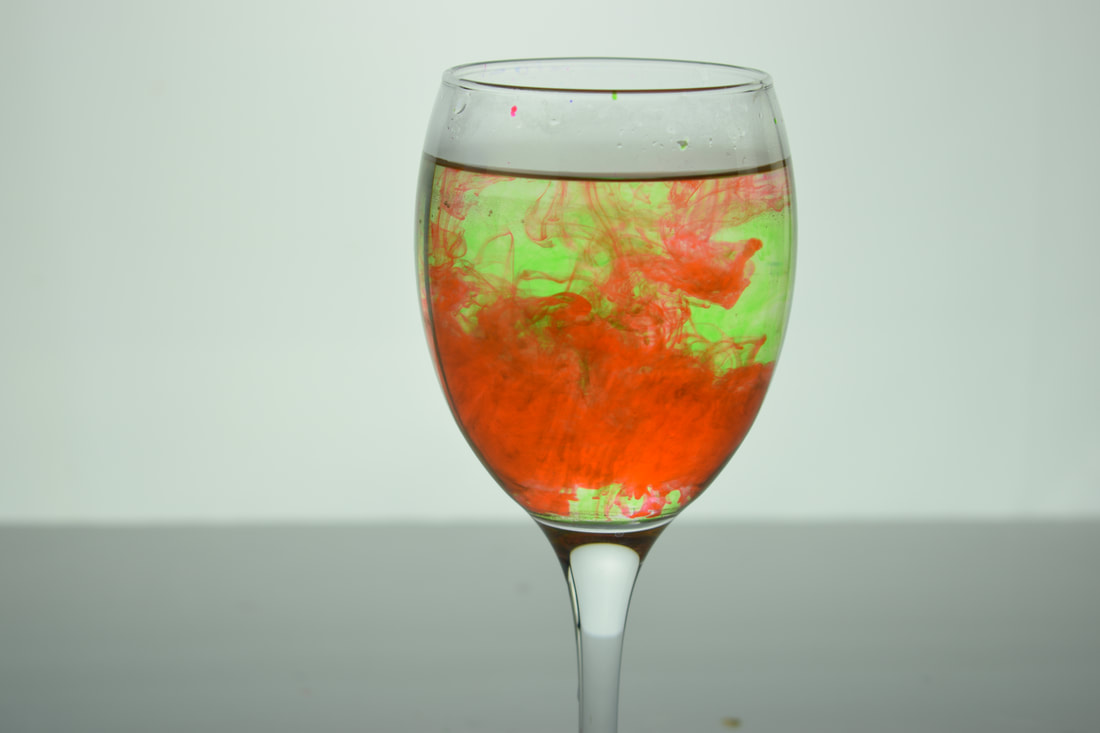
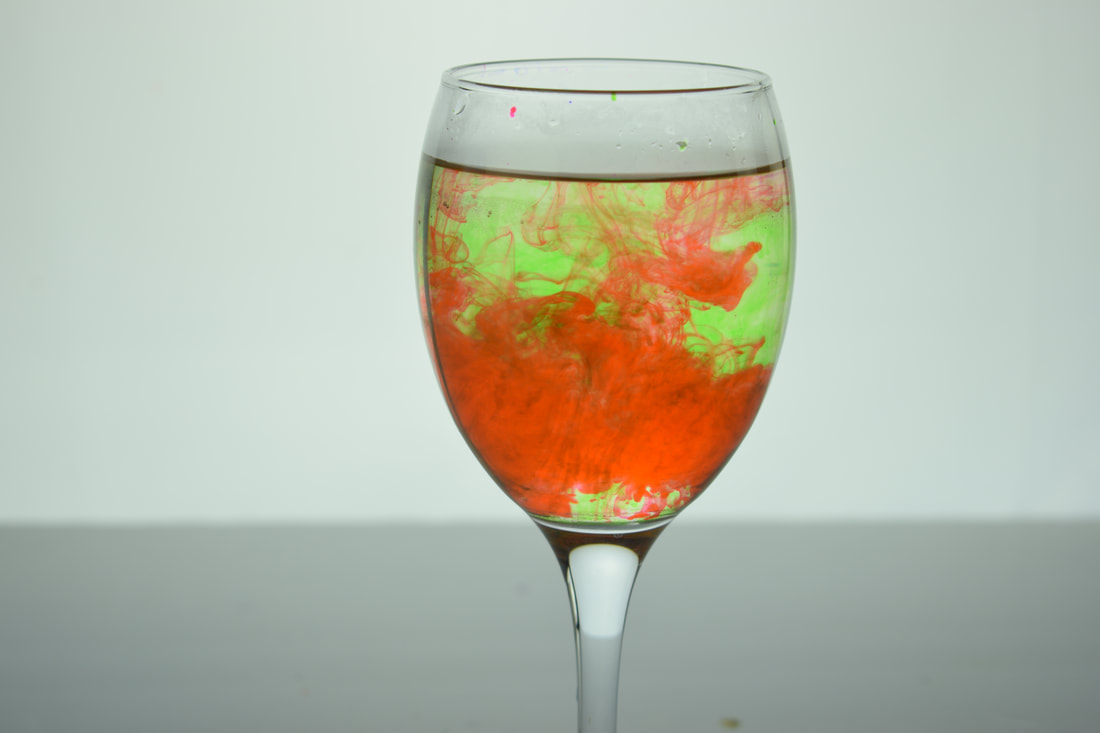
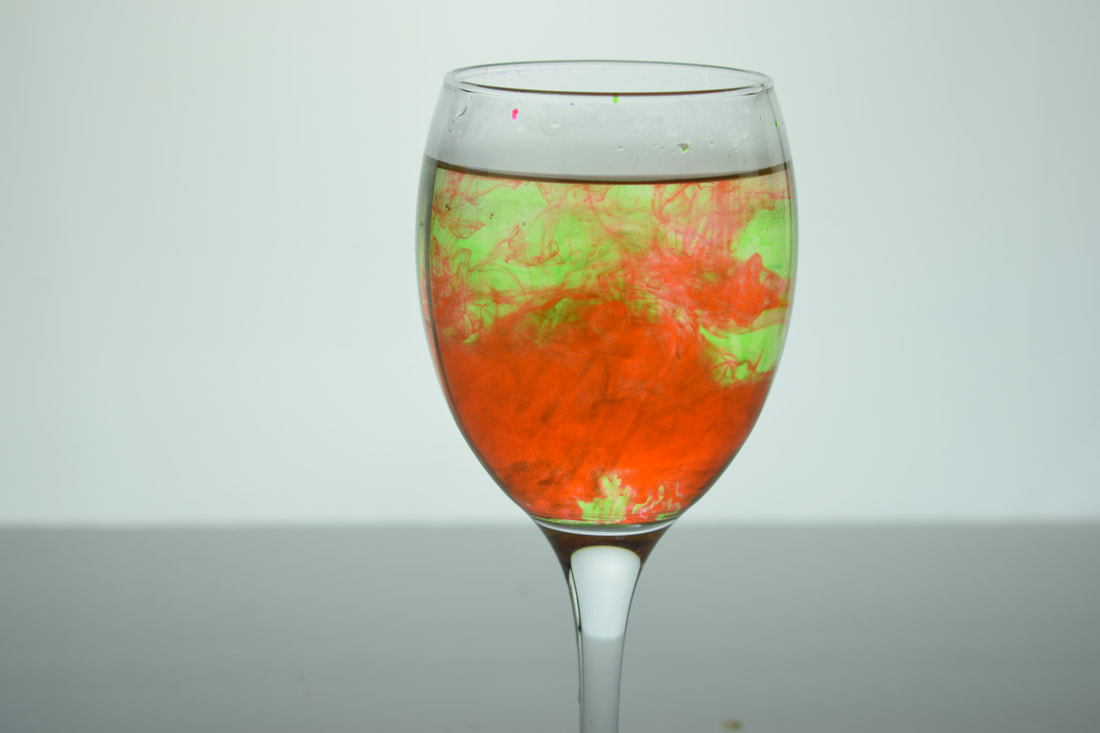


WWW: I think this photo shoot went really well and I had a lot of fun doing it. I think I was able to catch the colours mixing with the water really well and I think I mix the colours well making the colours match together well.
EBI: I would have like to do the photoshoot will different sizes glasses and maybe with different lighting to see how it would make the colours look within the glass doing that. so therefore if I was to do this photo shoot again I would change the lighting and set up to see weather or not it made any different to the images.
EBI: I would have like to do the photoshoot will different sizes glasses and maybe with different lighting to see how it would make the colours look within the glass doing that. so therefore if I was to do this photo shoot again I would change the lighting and set up to see weather or not it made any different to the images.
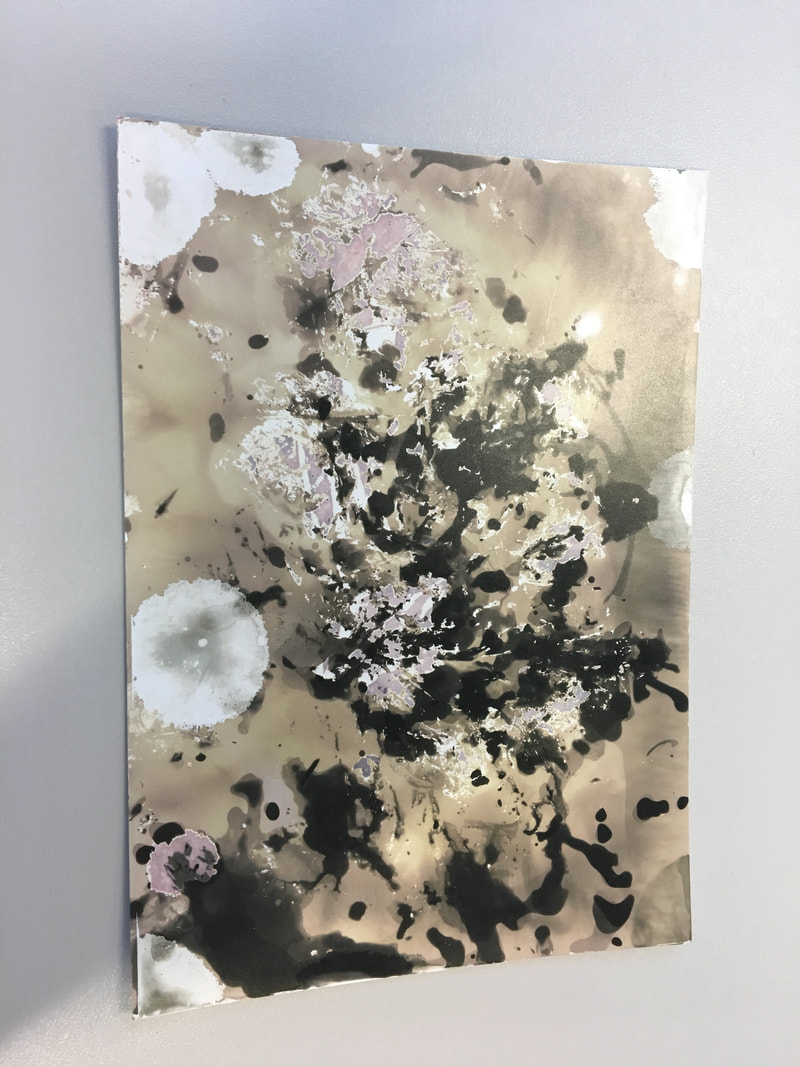
Chemigrams
Chemigrams was made by a man called Pierns Cordier in the 1960s.
there are three different ways to make different looking Chemigrams the ones I done in this photo shoot where a positive image, negative image and a masking image here are the examples from my photo shoot and how I do the different types of Chemigrams.
there are three different ways to make different looking Chemigrams the ones I done in this photo shoot where a positive image, negative image and a masking image here are the examples from my photo shoot and how I do the different types of Chemigrams.
Positive image

|
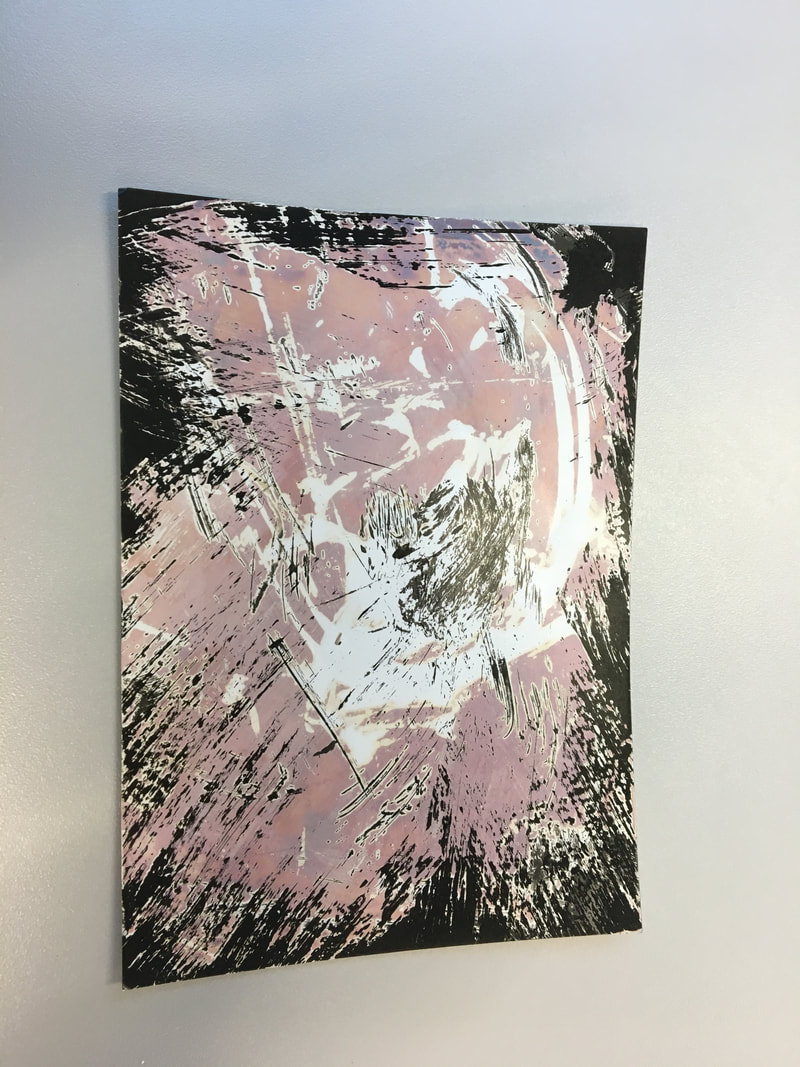
Negative image

|
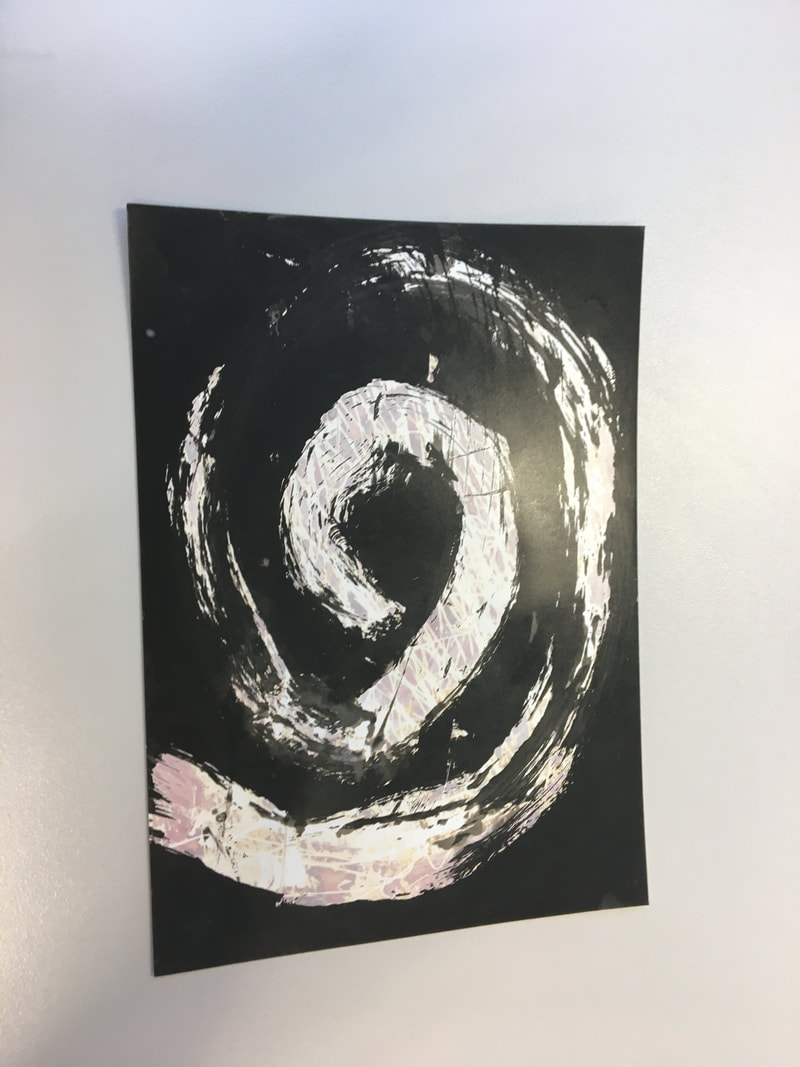
Masking image

|

|
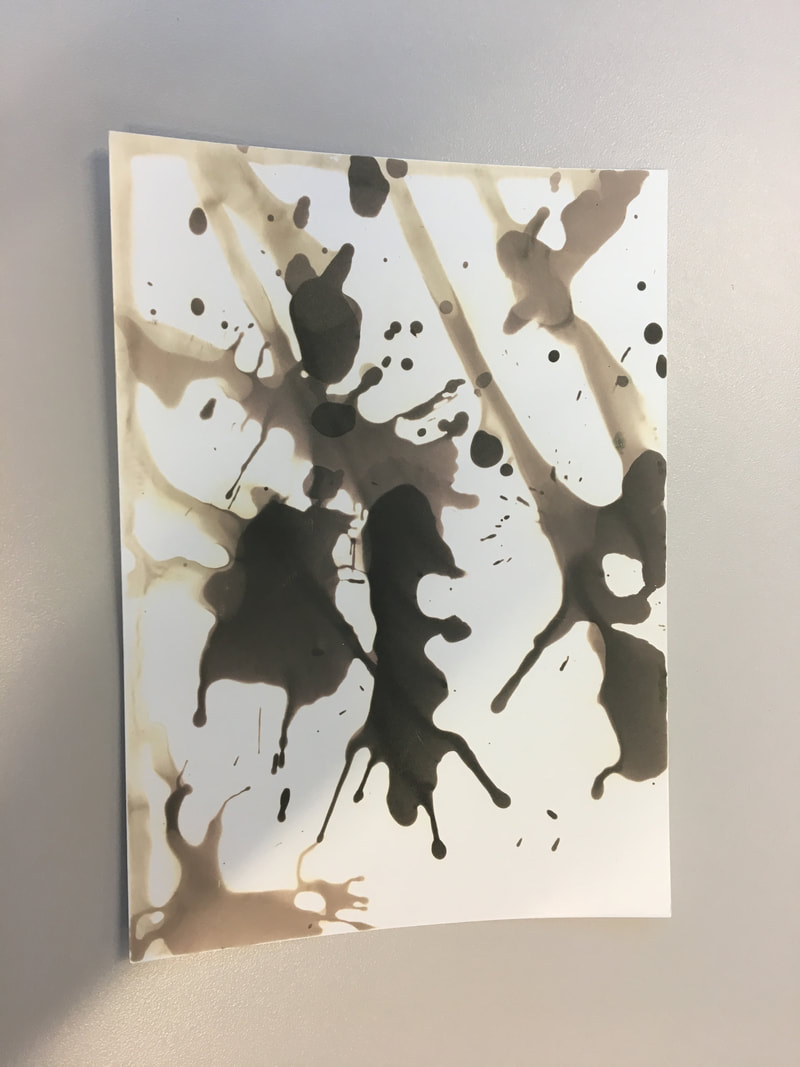
To make a positive image, I first exposed my film paper to natural light around me. I then used the developing liquid to draw a picture. I then placed the paper into the stopper liquid to stop the developer from working. I them put that into a fixer to fix the image I had drawn on the paper. I then washed it of.
|
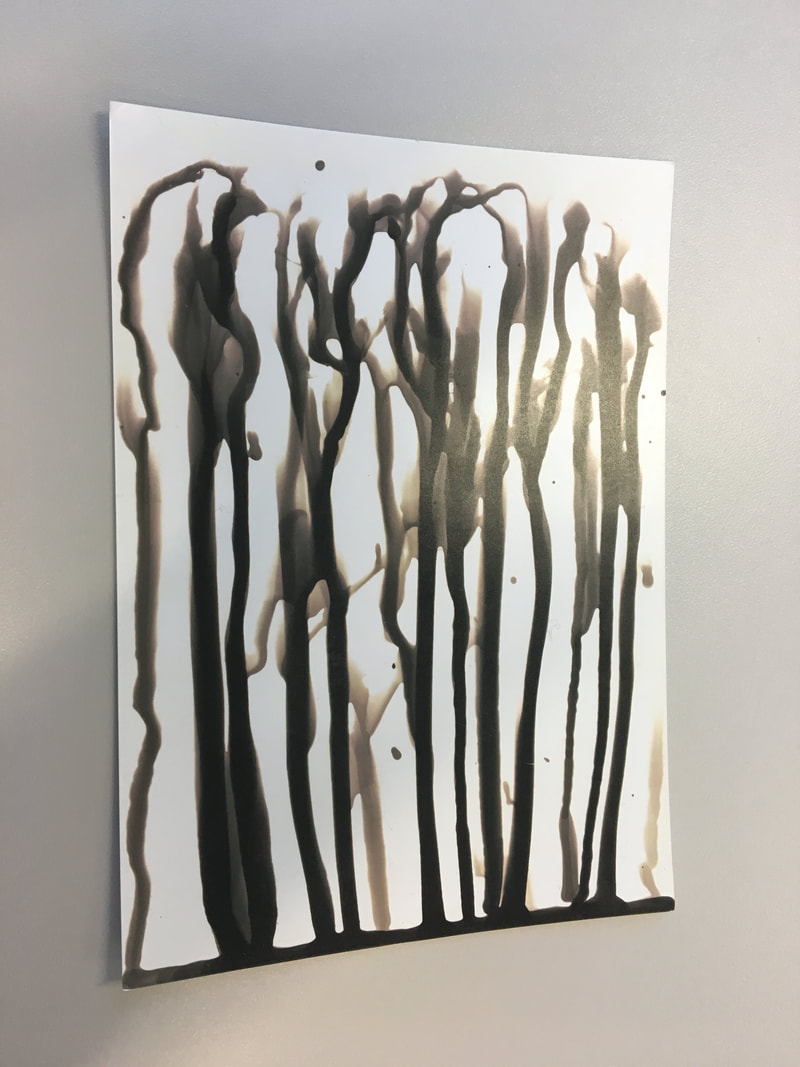
To make a negative image, I picked an object for an example in these photo's a leaf. Already exposing the paper to natural light around me, I placed the leaf in the developer liquid. I then placed the leaf on the exposed paper and then pressed on it so that the leaf showed onto the paper. I then placed that into the stopper liquid from stopping it from developing it on the paper. I them placed it into a fixer to fix the image onto the film paper and then washed it off.
|
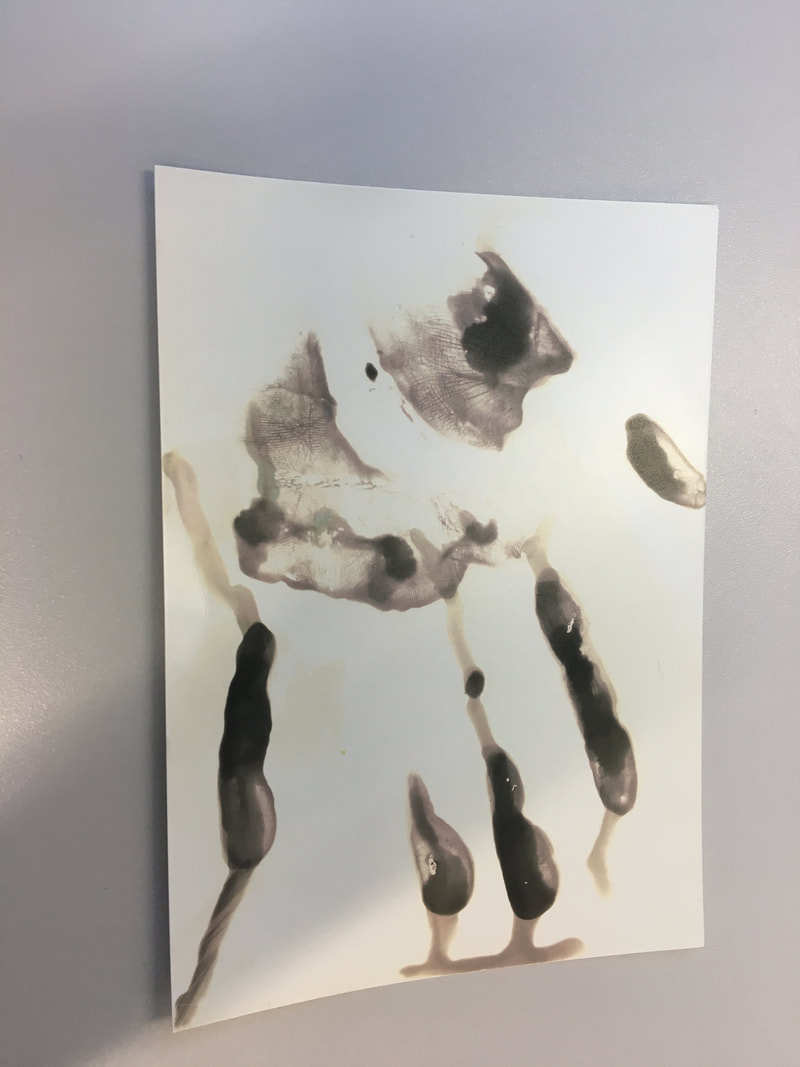
To make this making image, I exposed my film paper to natural light around me. I then used different tools such as paint brushed and knives to draw Vaseline onto the paper. After that, I then put it into the developer so I could see the image. I had then took it out and wiped off the Vaseline. I them put it back in the developer really quickly yo make sure the image was clear. Finally, I put it into the stopper to stop it from developing and them placed into the fixer to fix the image onto the film paper. I them washed all of the chemicals of.
|
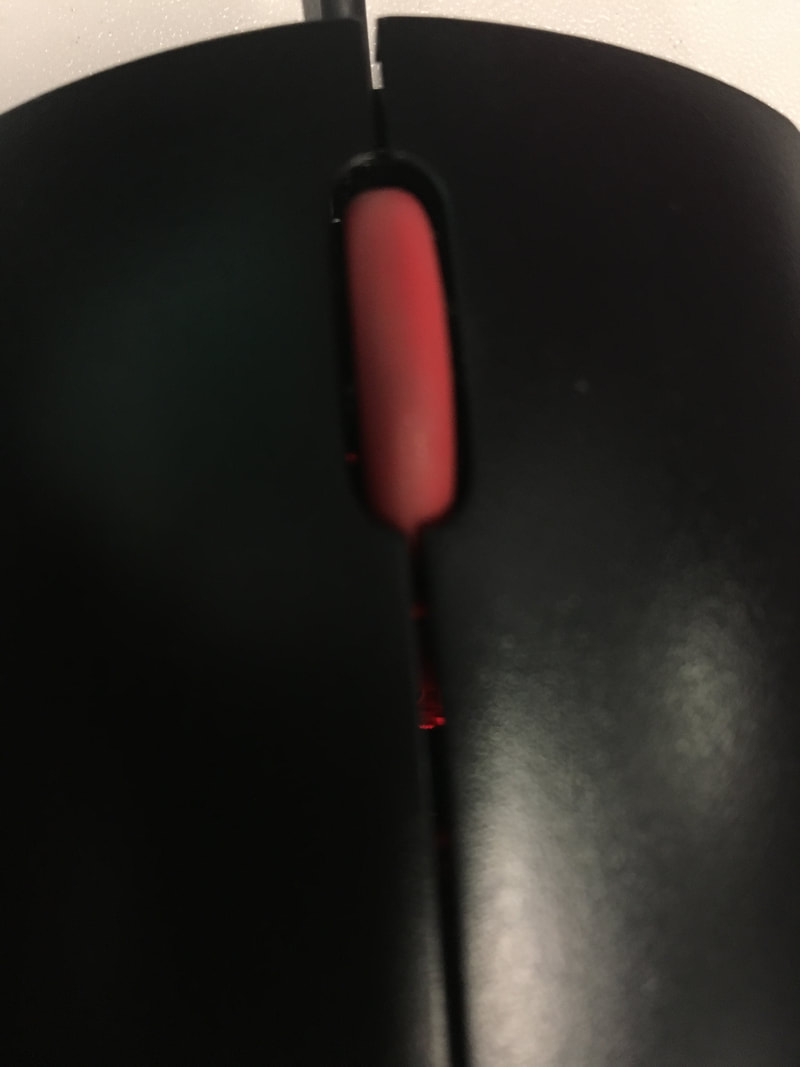
Homework photo-shoot:
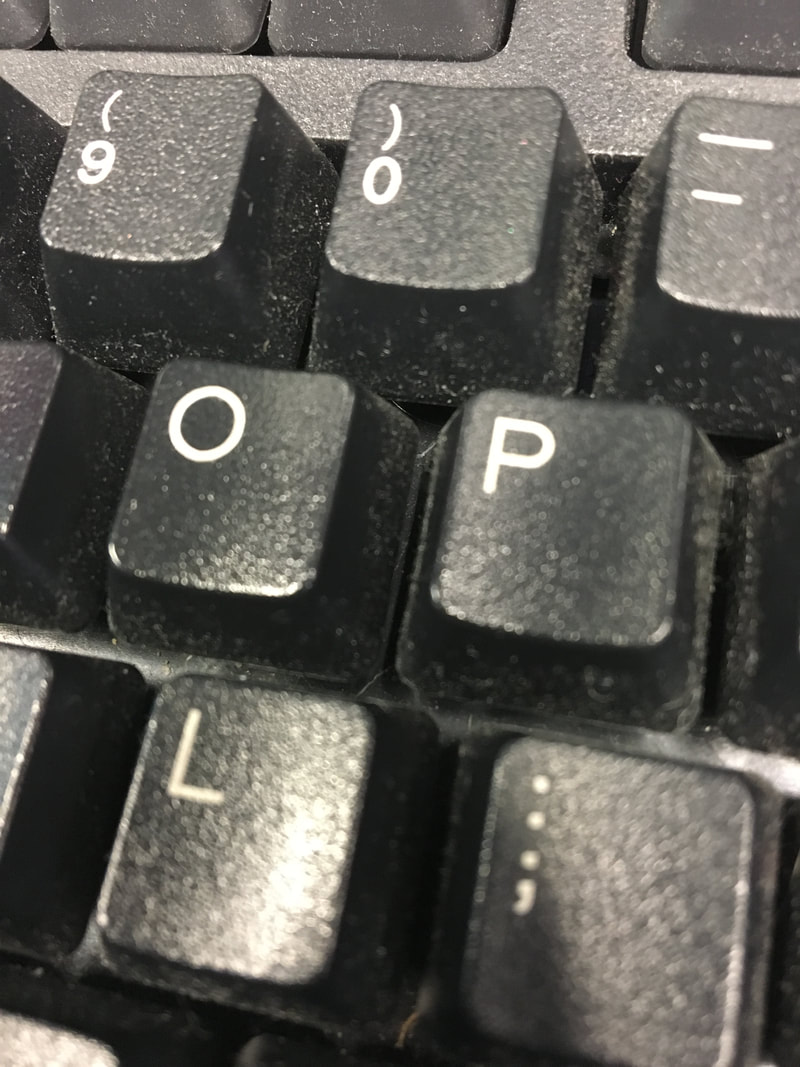
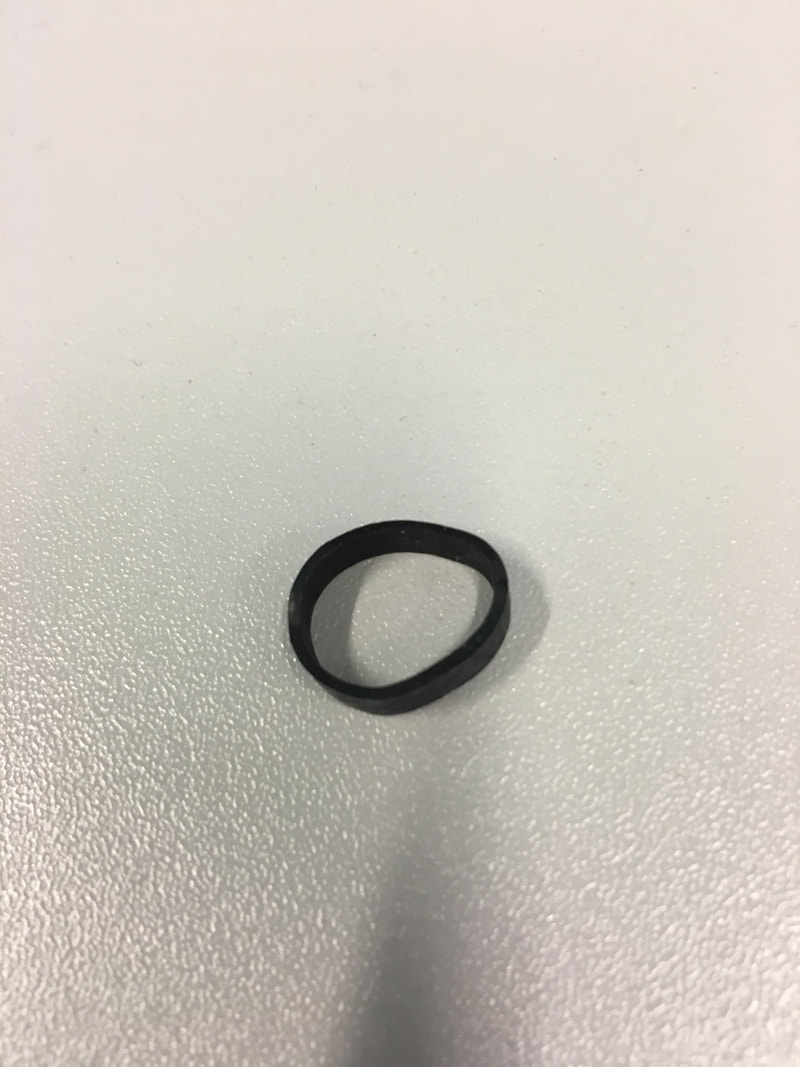
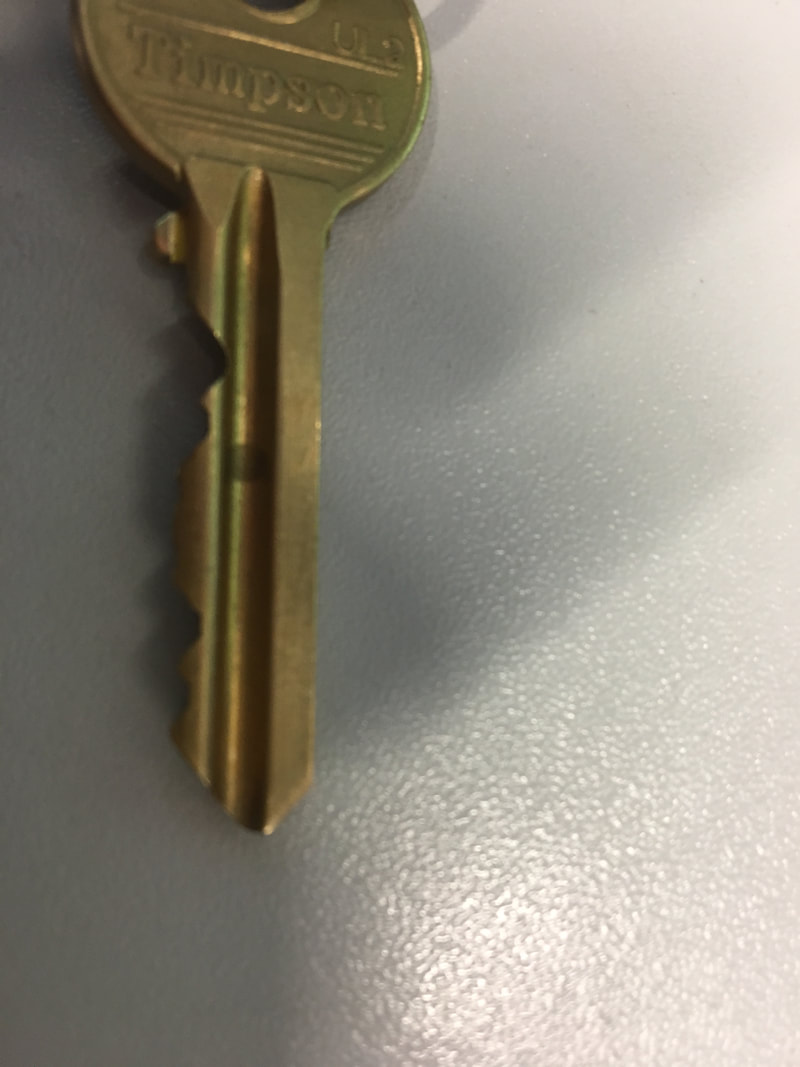
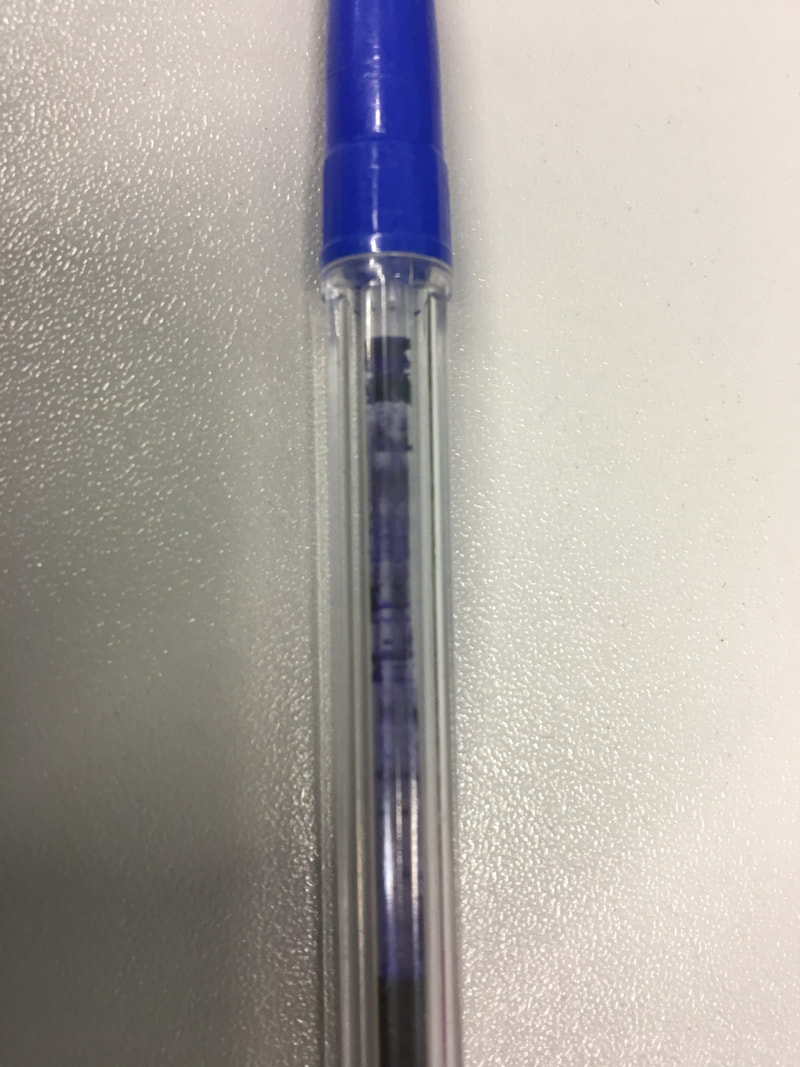
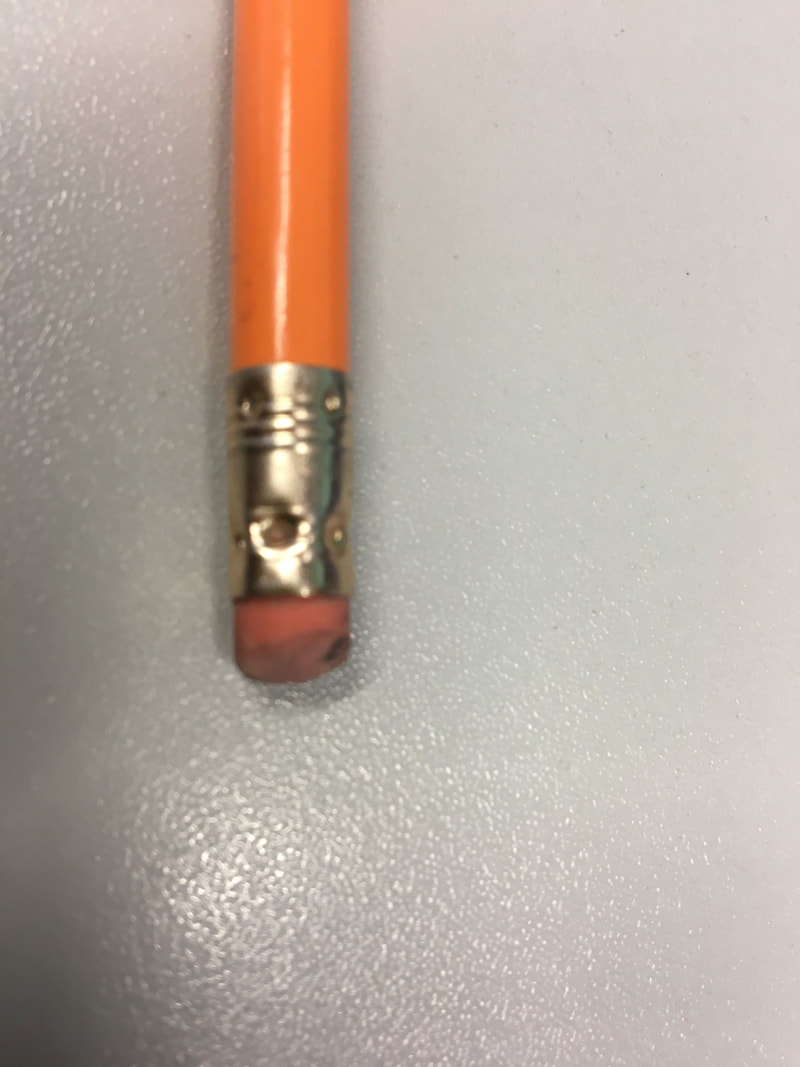
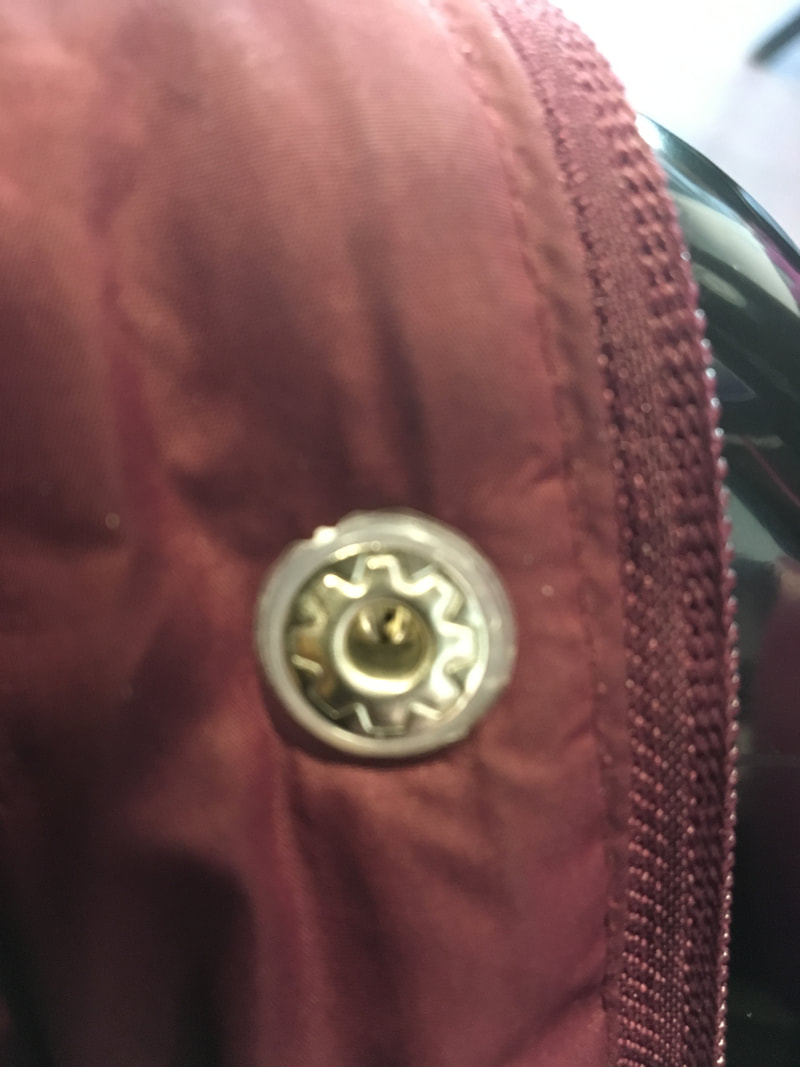
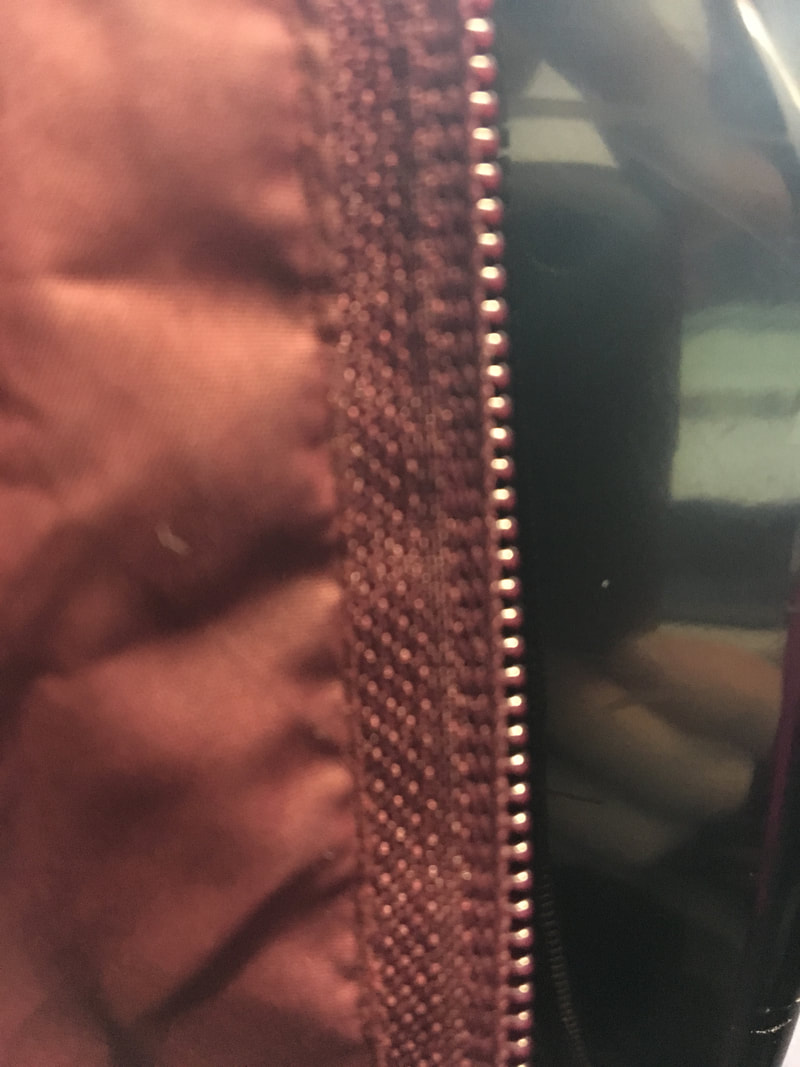
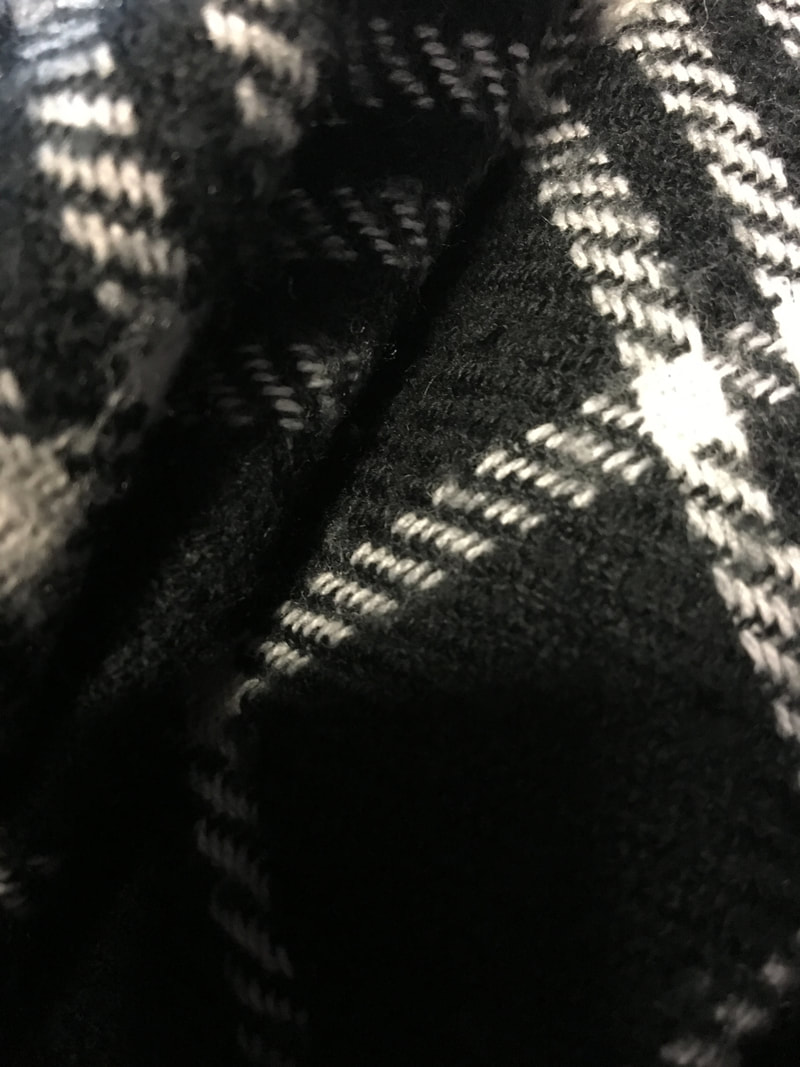
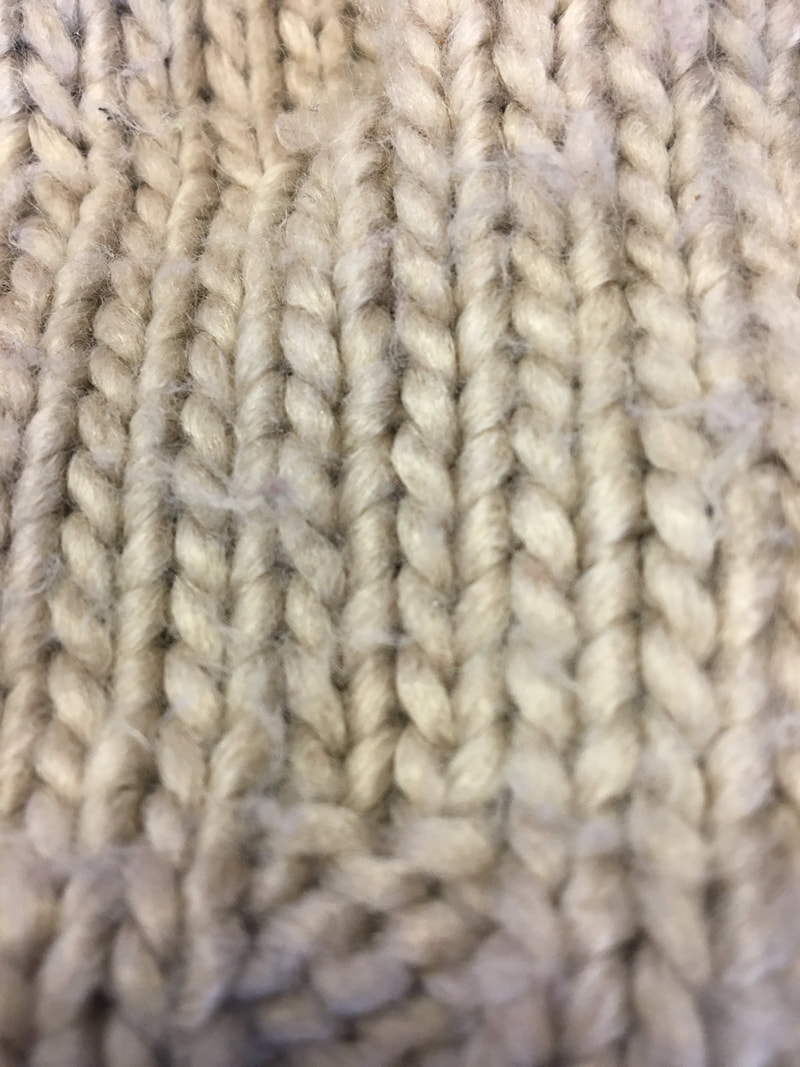
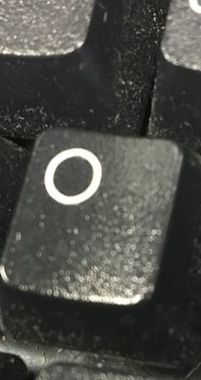
For my homework I had to go home and do my own photo shoot on abstraction photography, looking at all my other photo shoots I had done in class. looking back at my photographer research for this topic I want to do my photo shop insider by the photographer called "Nick Albertson".
Who looks at taking photos of everyday object in different ways to make them look like a different object over all to make people think again about the things they use in their everyday life's.
Who looks at taking photos of everyday object in different ways to make them look like a different object over all to make people think again about the things they use in their everyday life's.

|

|

|
WWW: I was able to look at a photographer a real create there work but in my own way.
EBI; if I could have more time to come up with more ideas on what everyday objects I could make look different than how we see them in every day life. 
|
|
